Overview
Having observed both Red Breasted and White Breasted Nuthatches at the bird feeder, I wanted to learn more about them. The best way to learn about a bird is to try and carve them. The process starts with researching the bird in books and online. Initially, I’m interested finding positions that would make an interesting carving. Rather than picking the most common pose, I look for something a little different. Once I have a few poses to choose from, I want to get the dimensions of the bird. You can not simply look up the length of a bird in a birding book or online. The standard length of a bird does not represent a perched bird. Scientist measure the length of birds with the bird on it’s back, the neck stretched out and the beak pointed away from the body. Given that perched birds have an “S” shaped curve in their necks, a stretched out bird will be significantly larger than a perched or standing bird. So unless you have a specimen to look at, you have to get crafty.
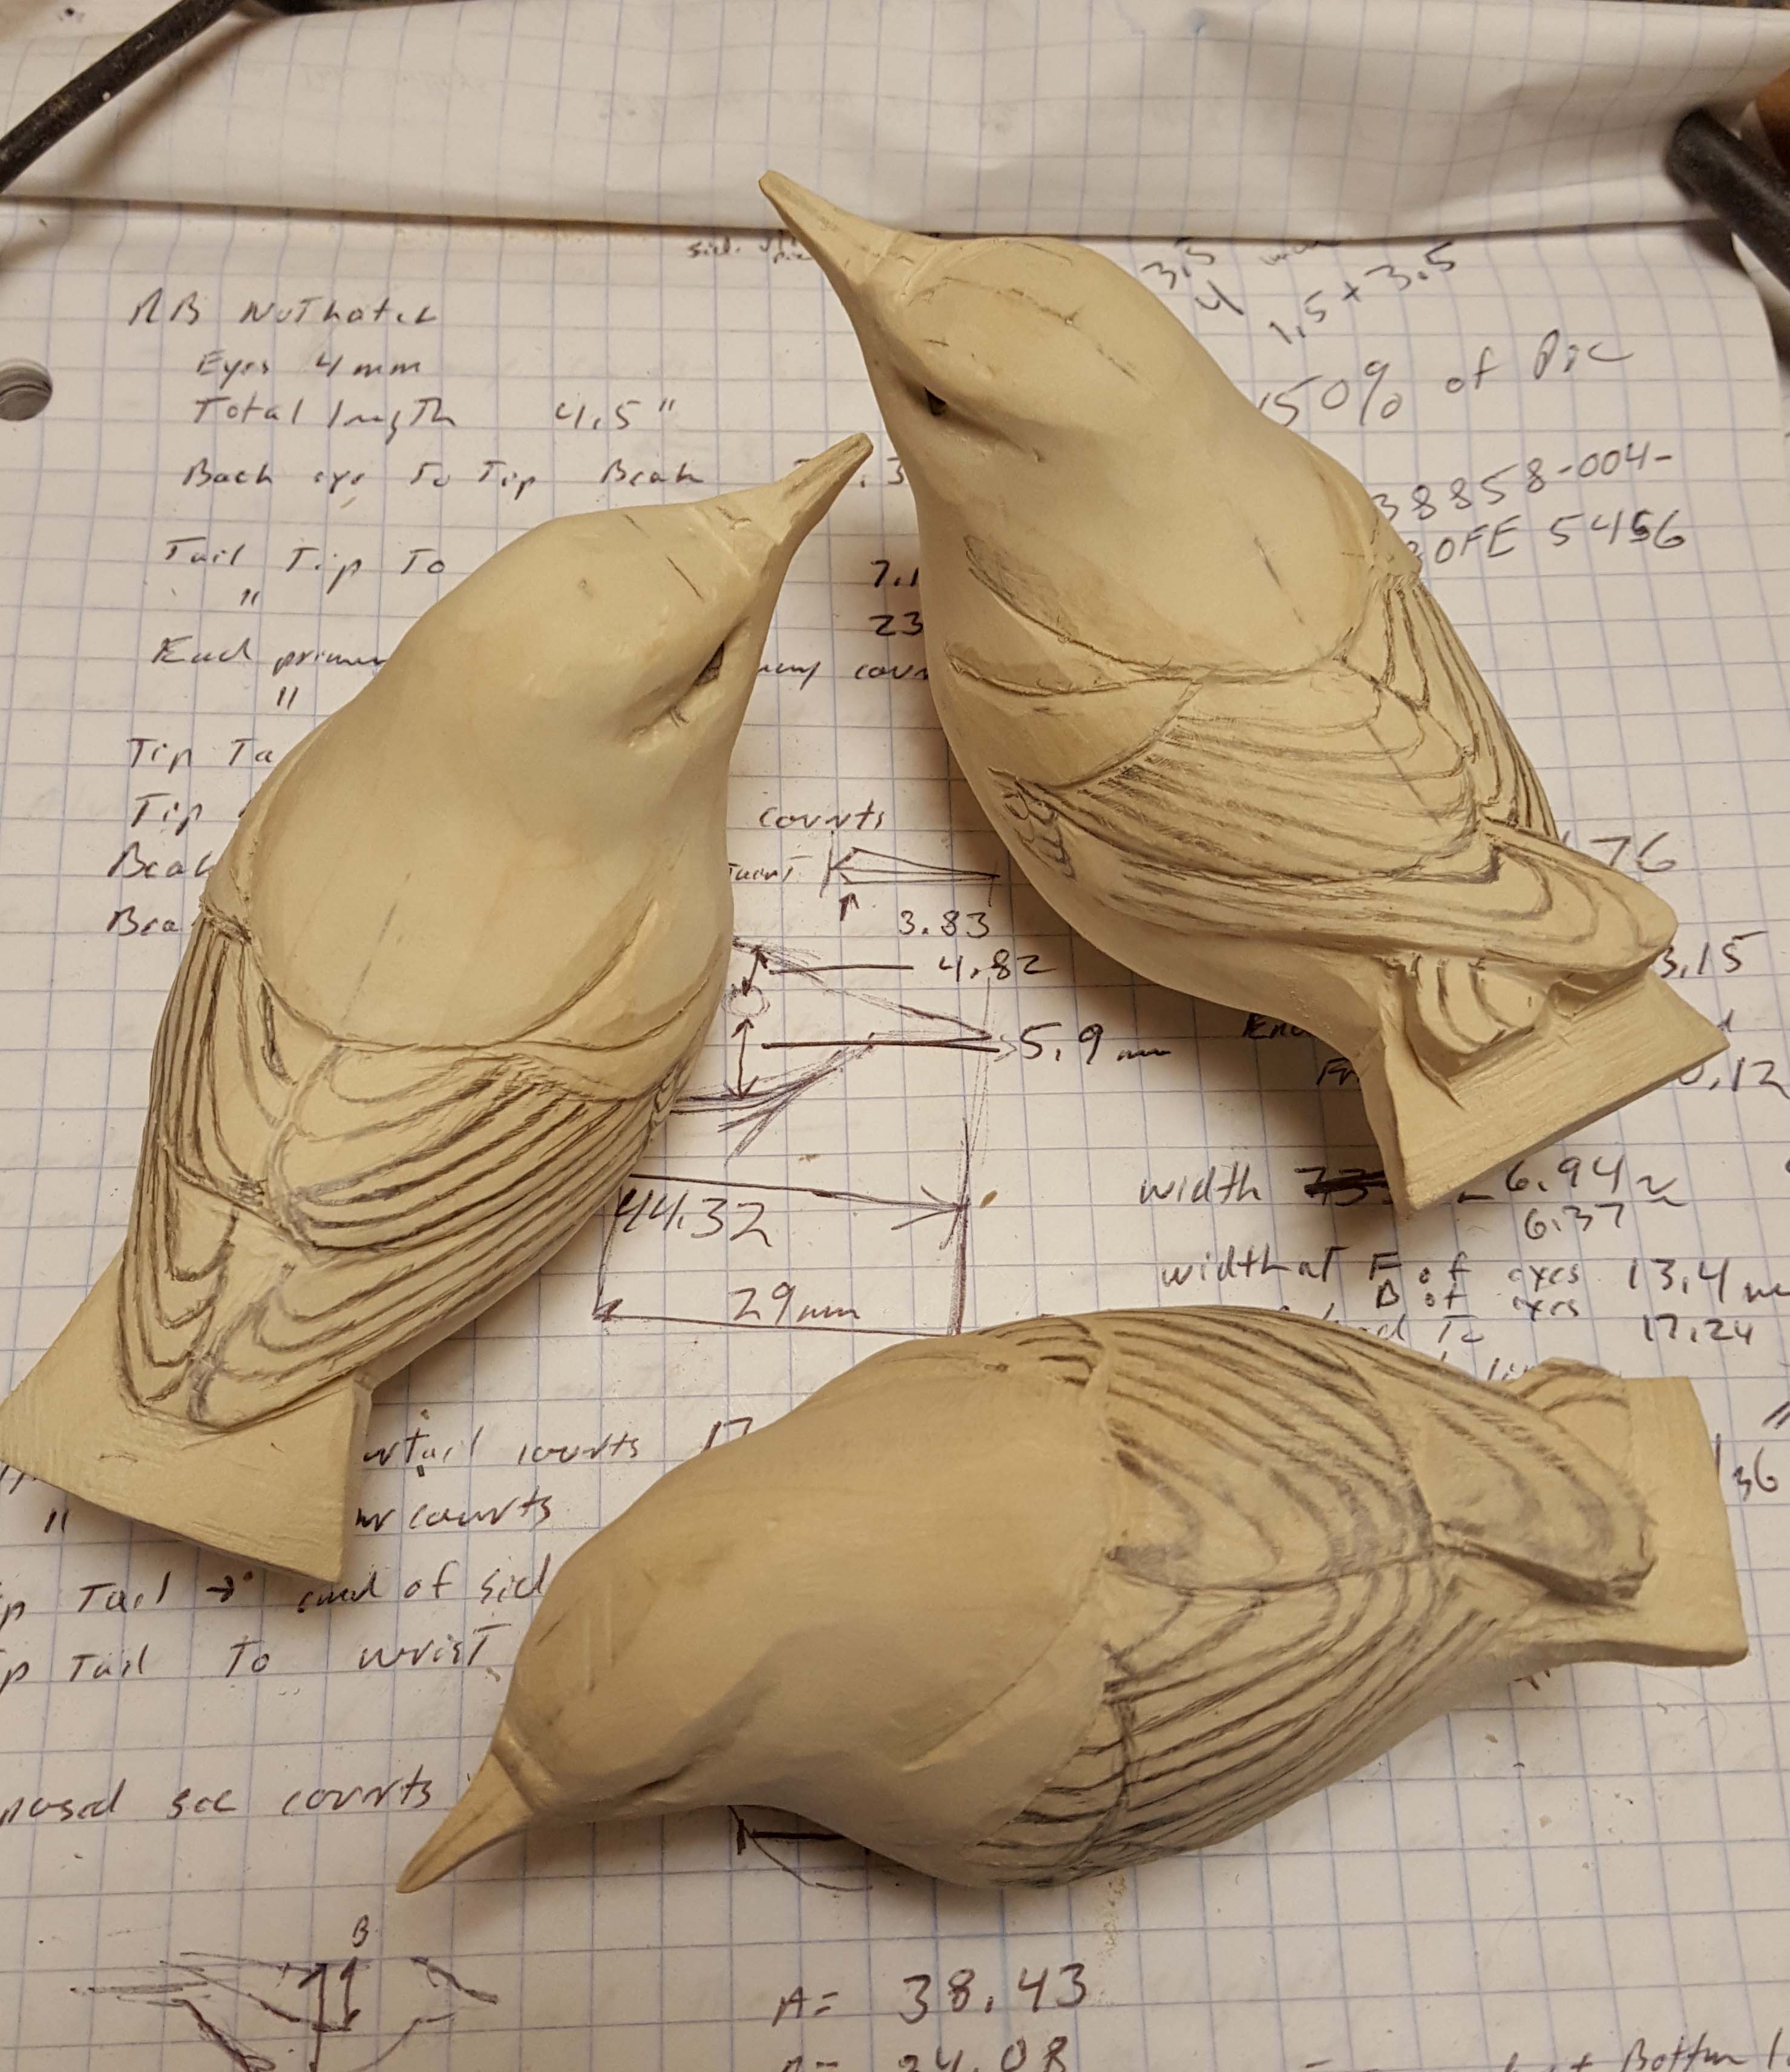
Start with the documented size of the eyes. Red Breasted Nuthatch has a eye diameter of 4 millimeters. A White Breasted Nuthatch has an eye between 4.5 and 5 millimeters in diameter. Armed with this information, you can fine a good reference picture (preferably a side view to start with) and use a photo editing program to enlarge or reduce the image until the image eye matches 4 millimeters (for a Red Breasted). Now you can measure (I use Calipers) all the key measurements that help you carve the bird with accuracy.
Once I have the dimensions, I sculpt the bird in clay. The clay sculpture allows me to test my sculpting ideas and change them in needed. I then use the clay models as a reference when carving the wood.
Clay sculptures of the Nuthatches.
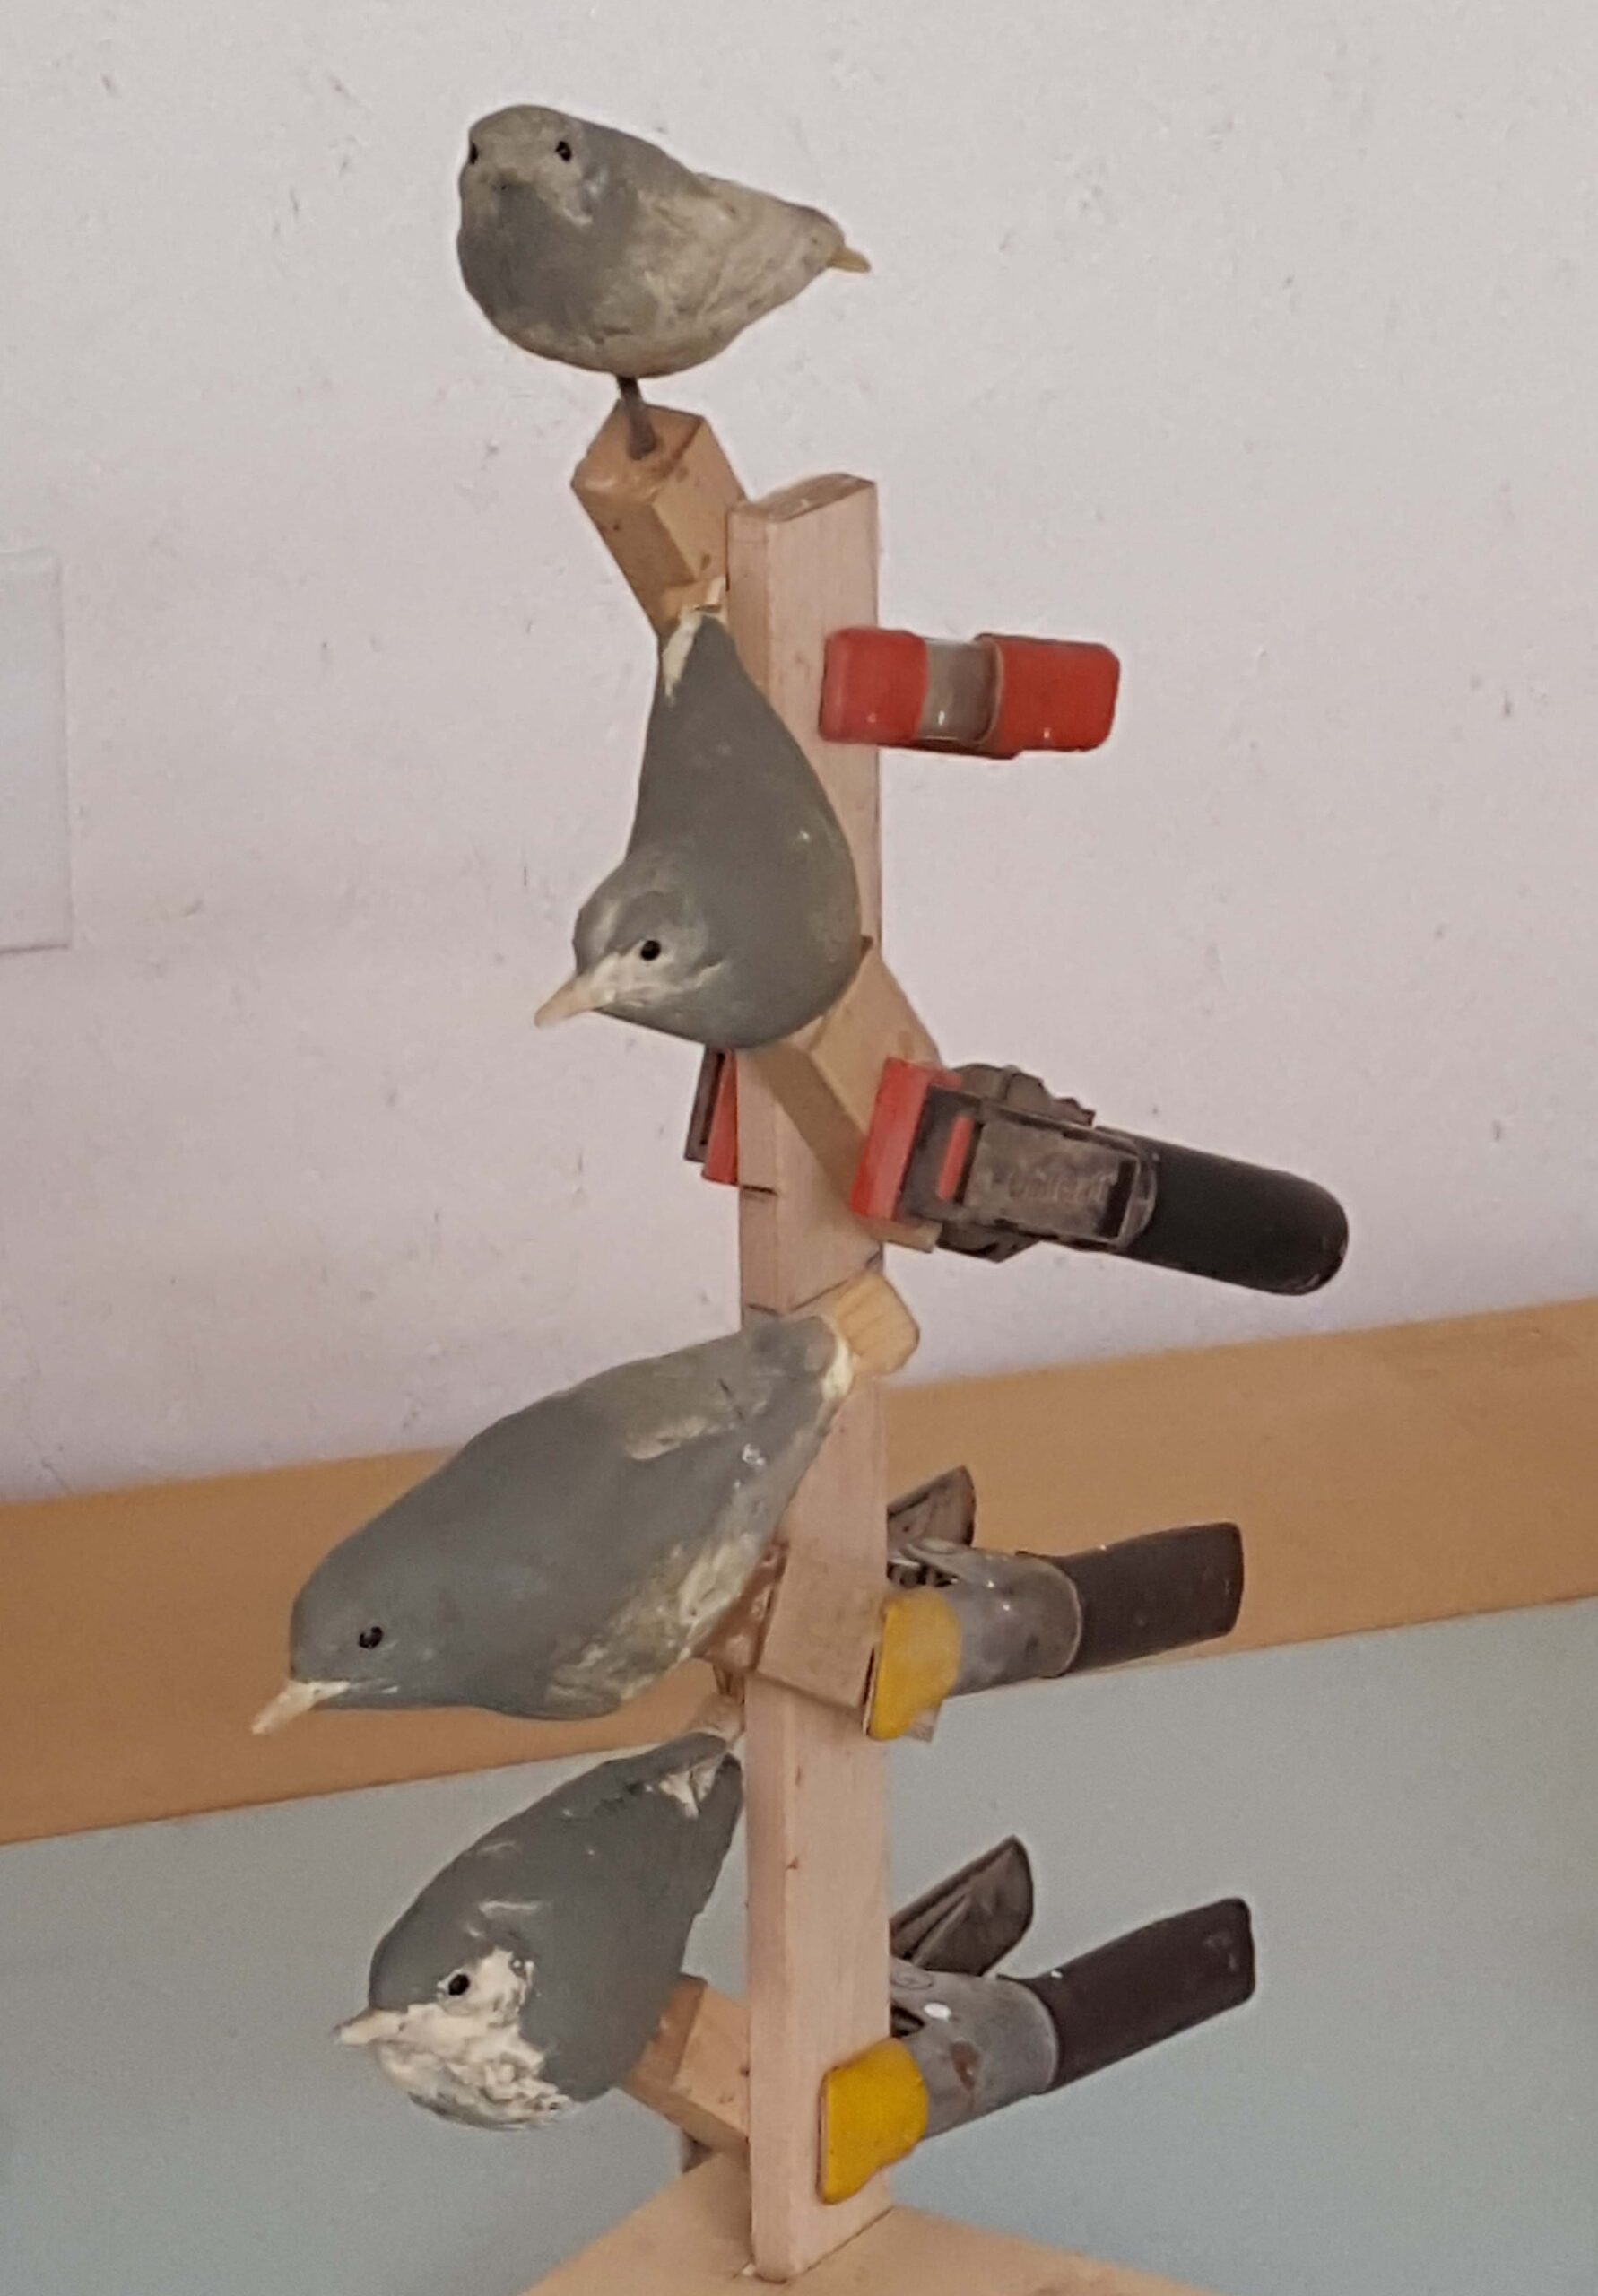
Two White Breasted and two Red Breasted Nuthatches.
The First Day of Carving
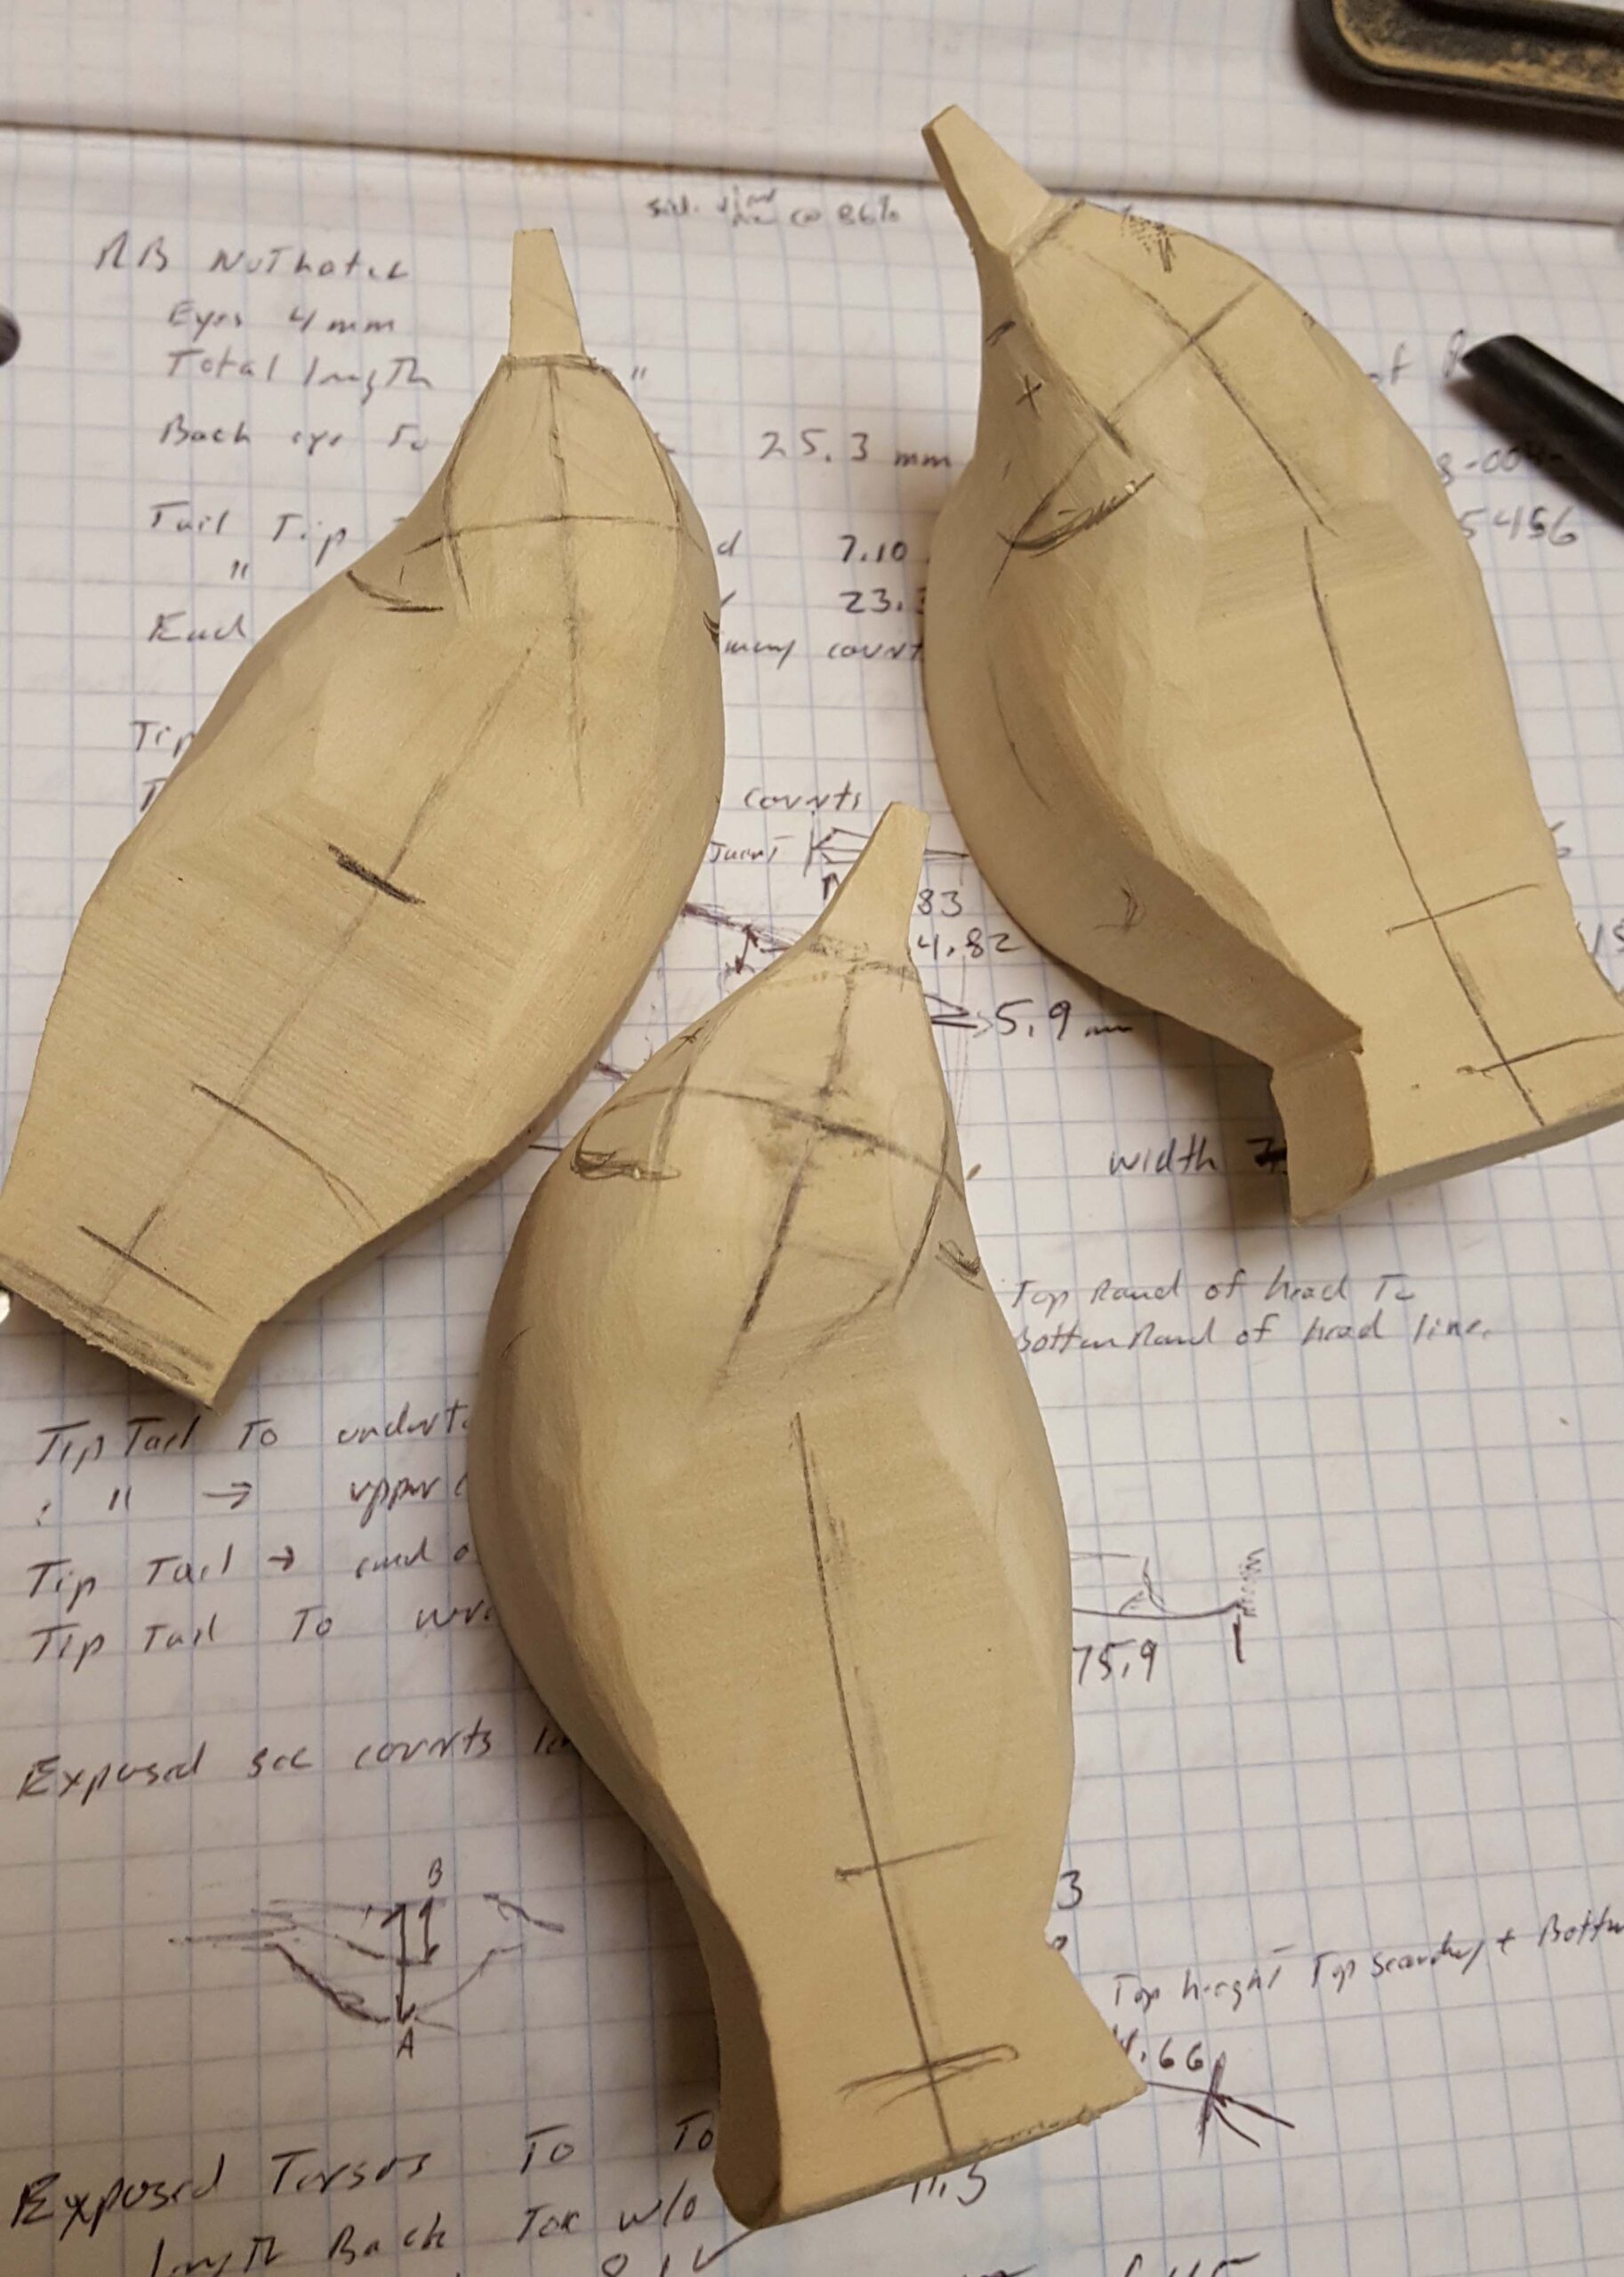
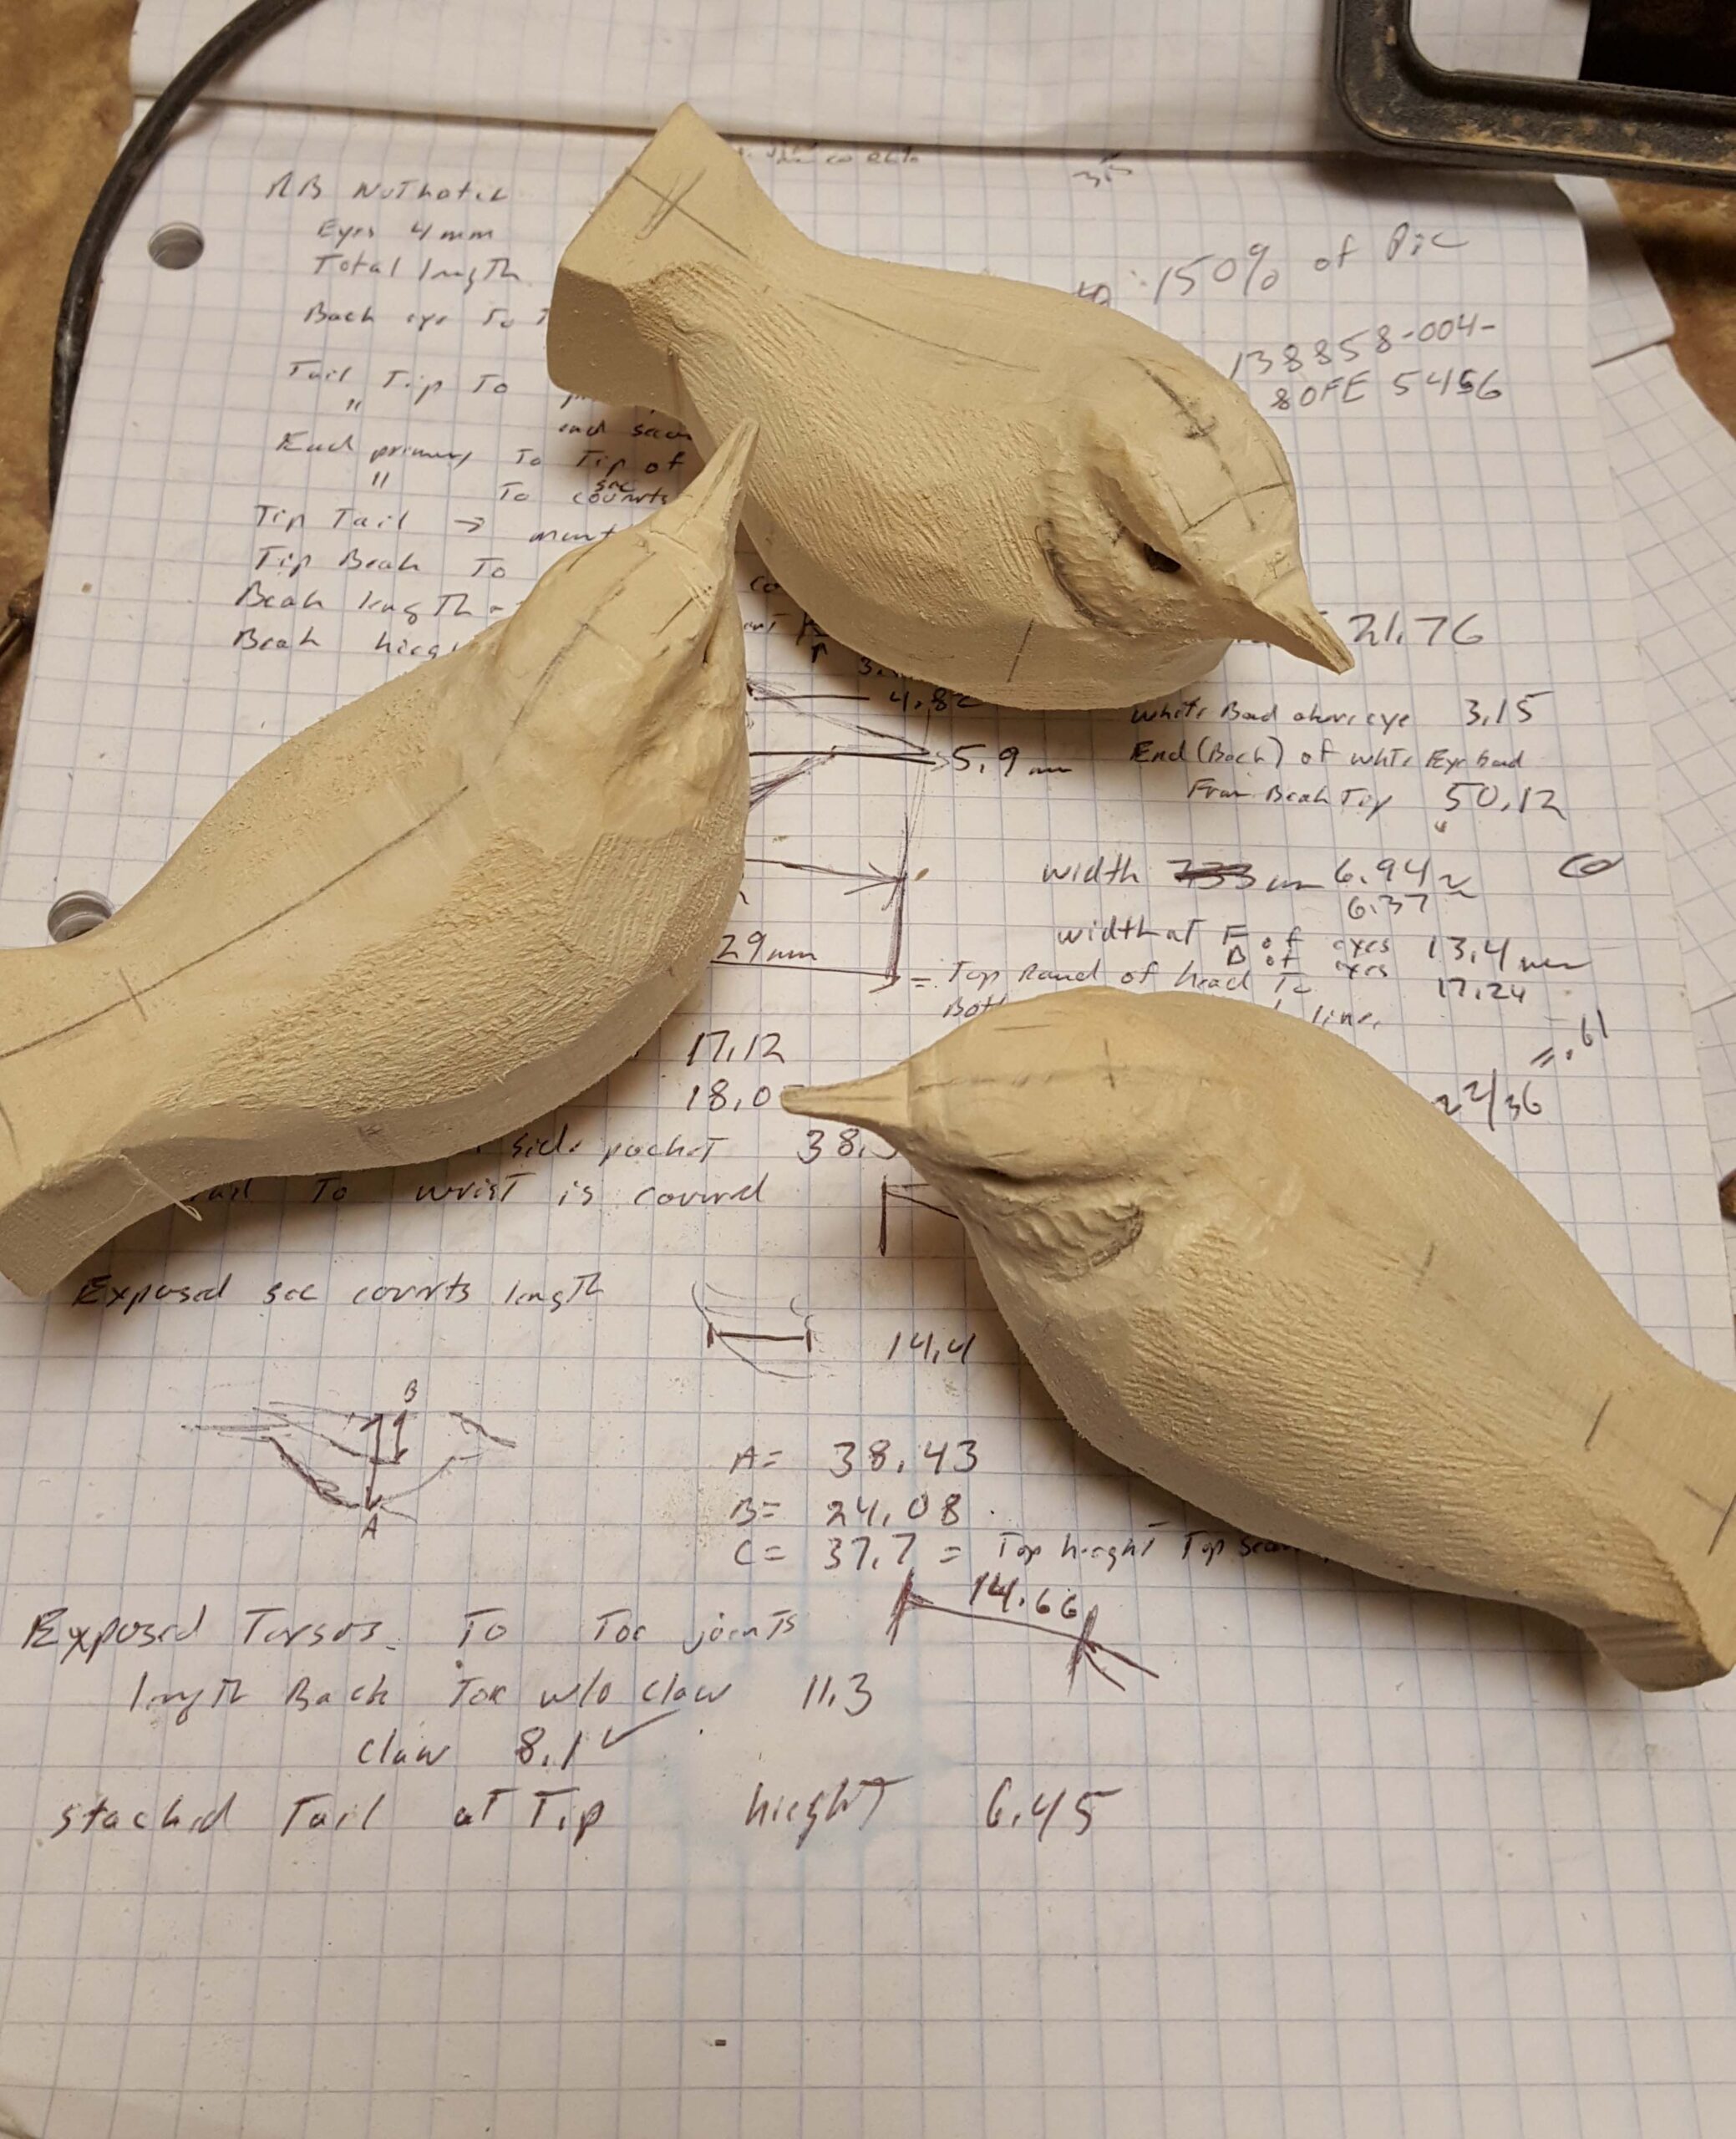
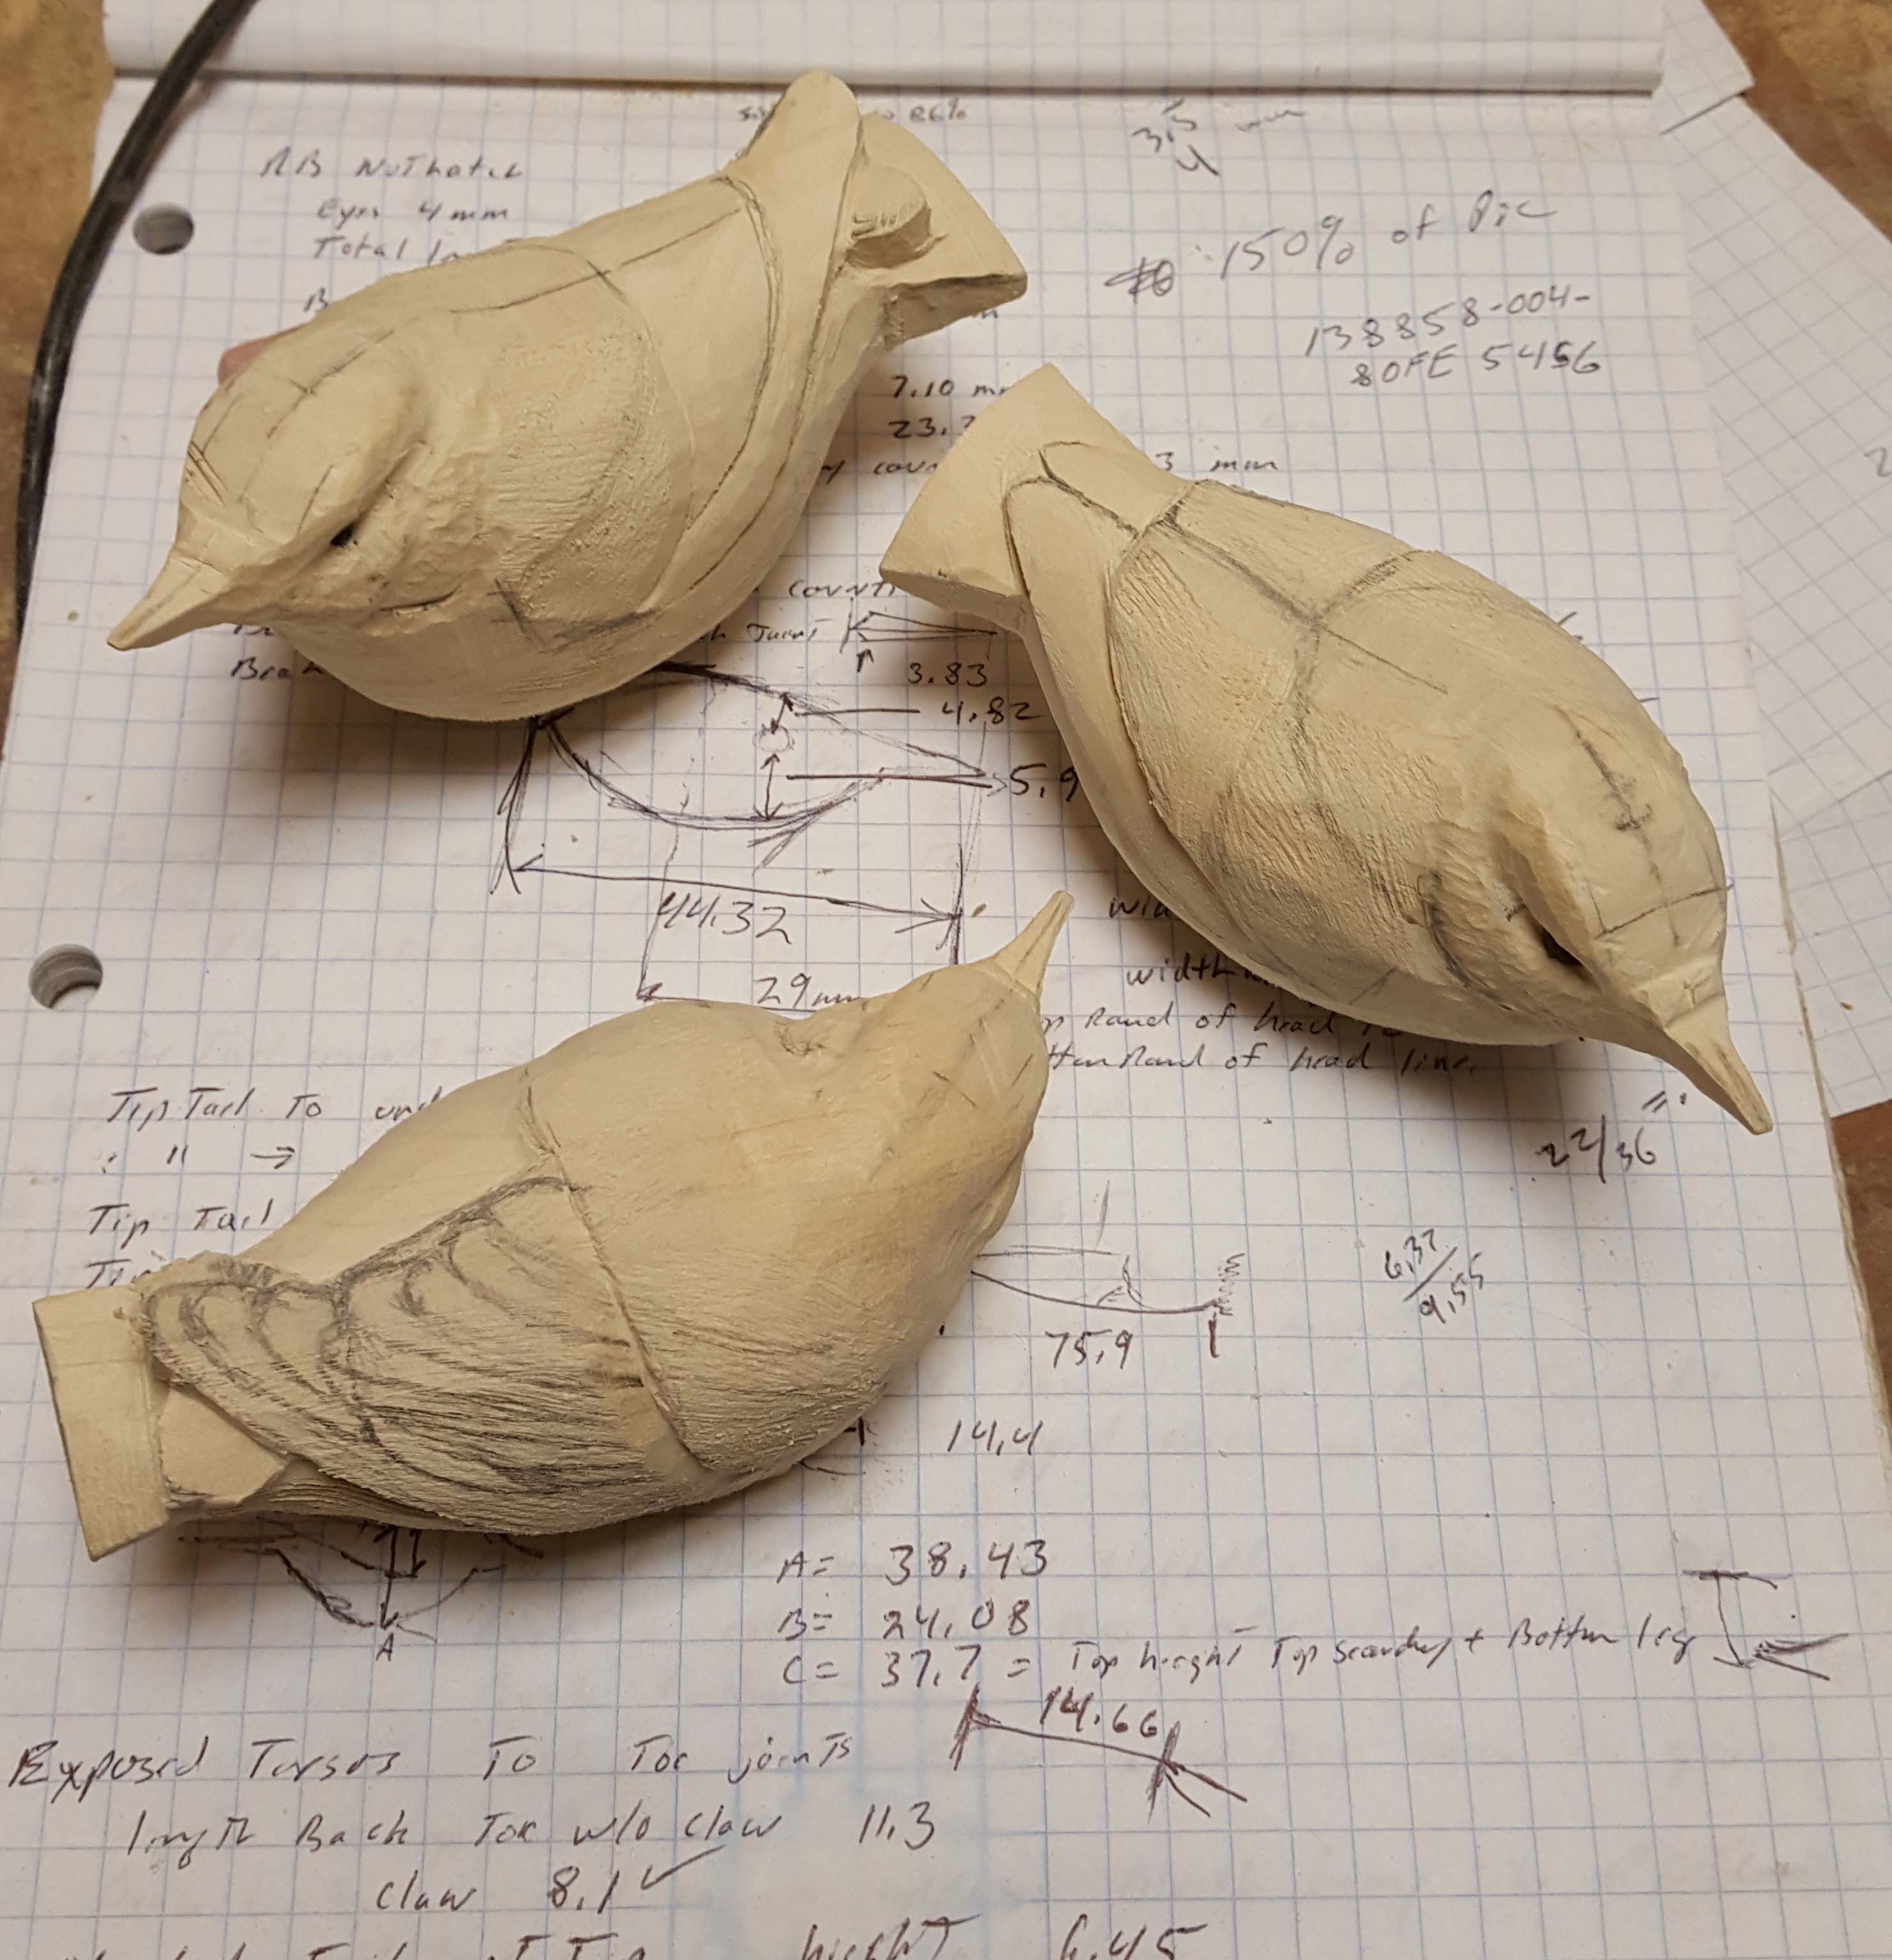
The first image shows the measurement that identify placement of the primaries, secondary’s, nape and top of the head. I always start with the beak and the eye placement prior to starting the rest of the body. The third picture shows the feather groups and a preliminary drawing of the wing feathers. The forth picture shows the birds at the end of the day. I’ve drawn the wing feathers to make sure I will leave enough wood for the crossed wing tips.
Day Two
With the wings contoured I went back to the heads. Specifically, I wanted to refine the beaks and the feathers on the face. Next I started drawing the feathers on the nape. I ended the day with the first step of carving the tail feathers. I prefer to start feathering from the front of the bird and work my way towards the back. This process helps to make sure any overlapping feathers (such as those covering the front of the wing) are marked prior to carving wing feathers.
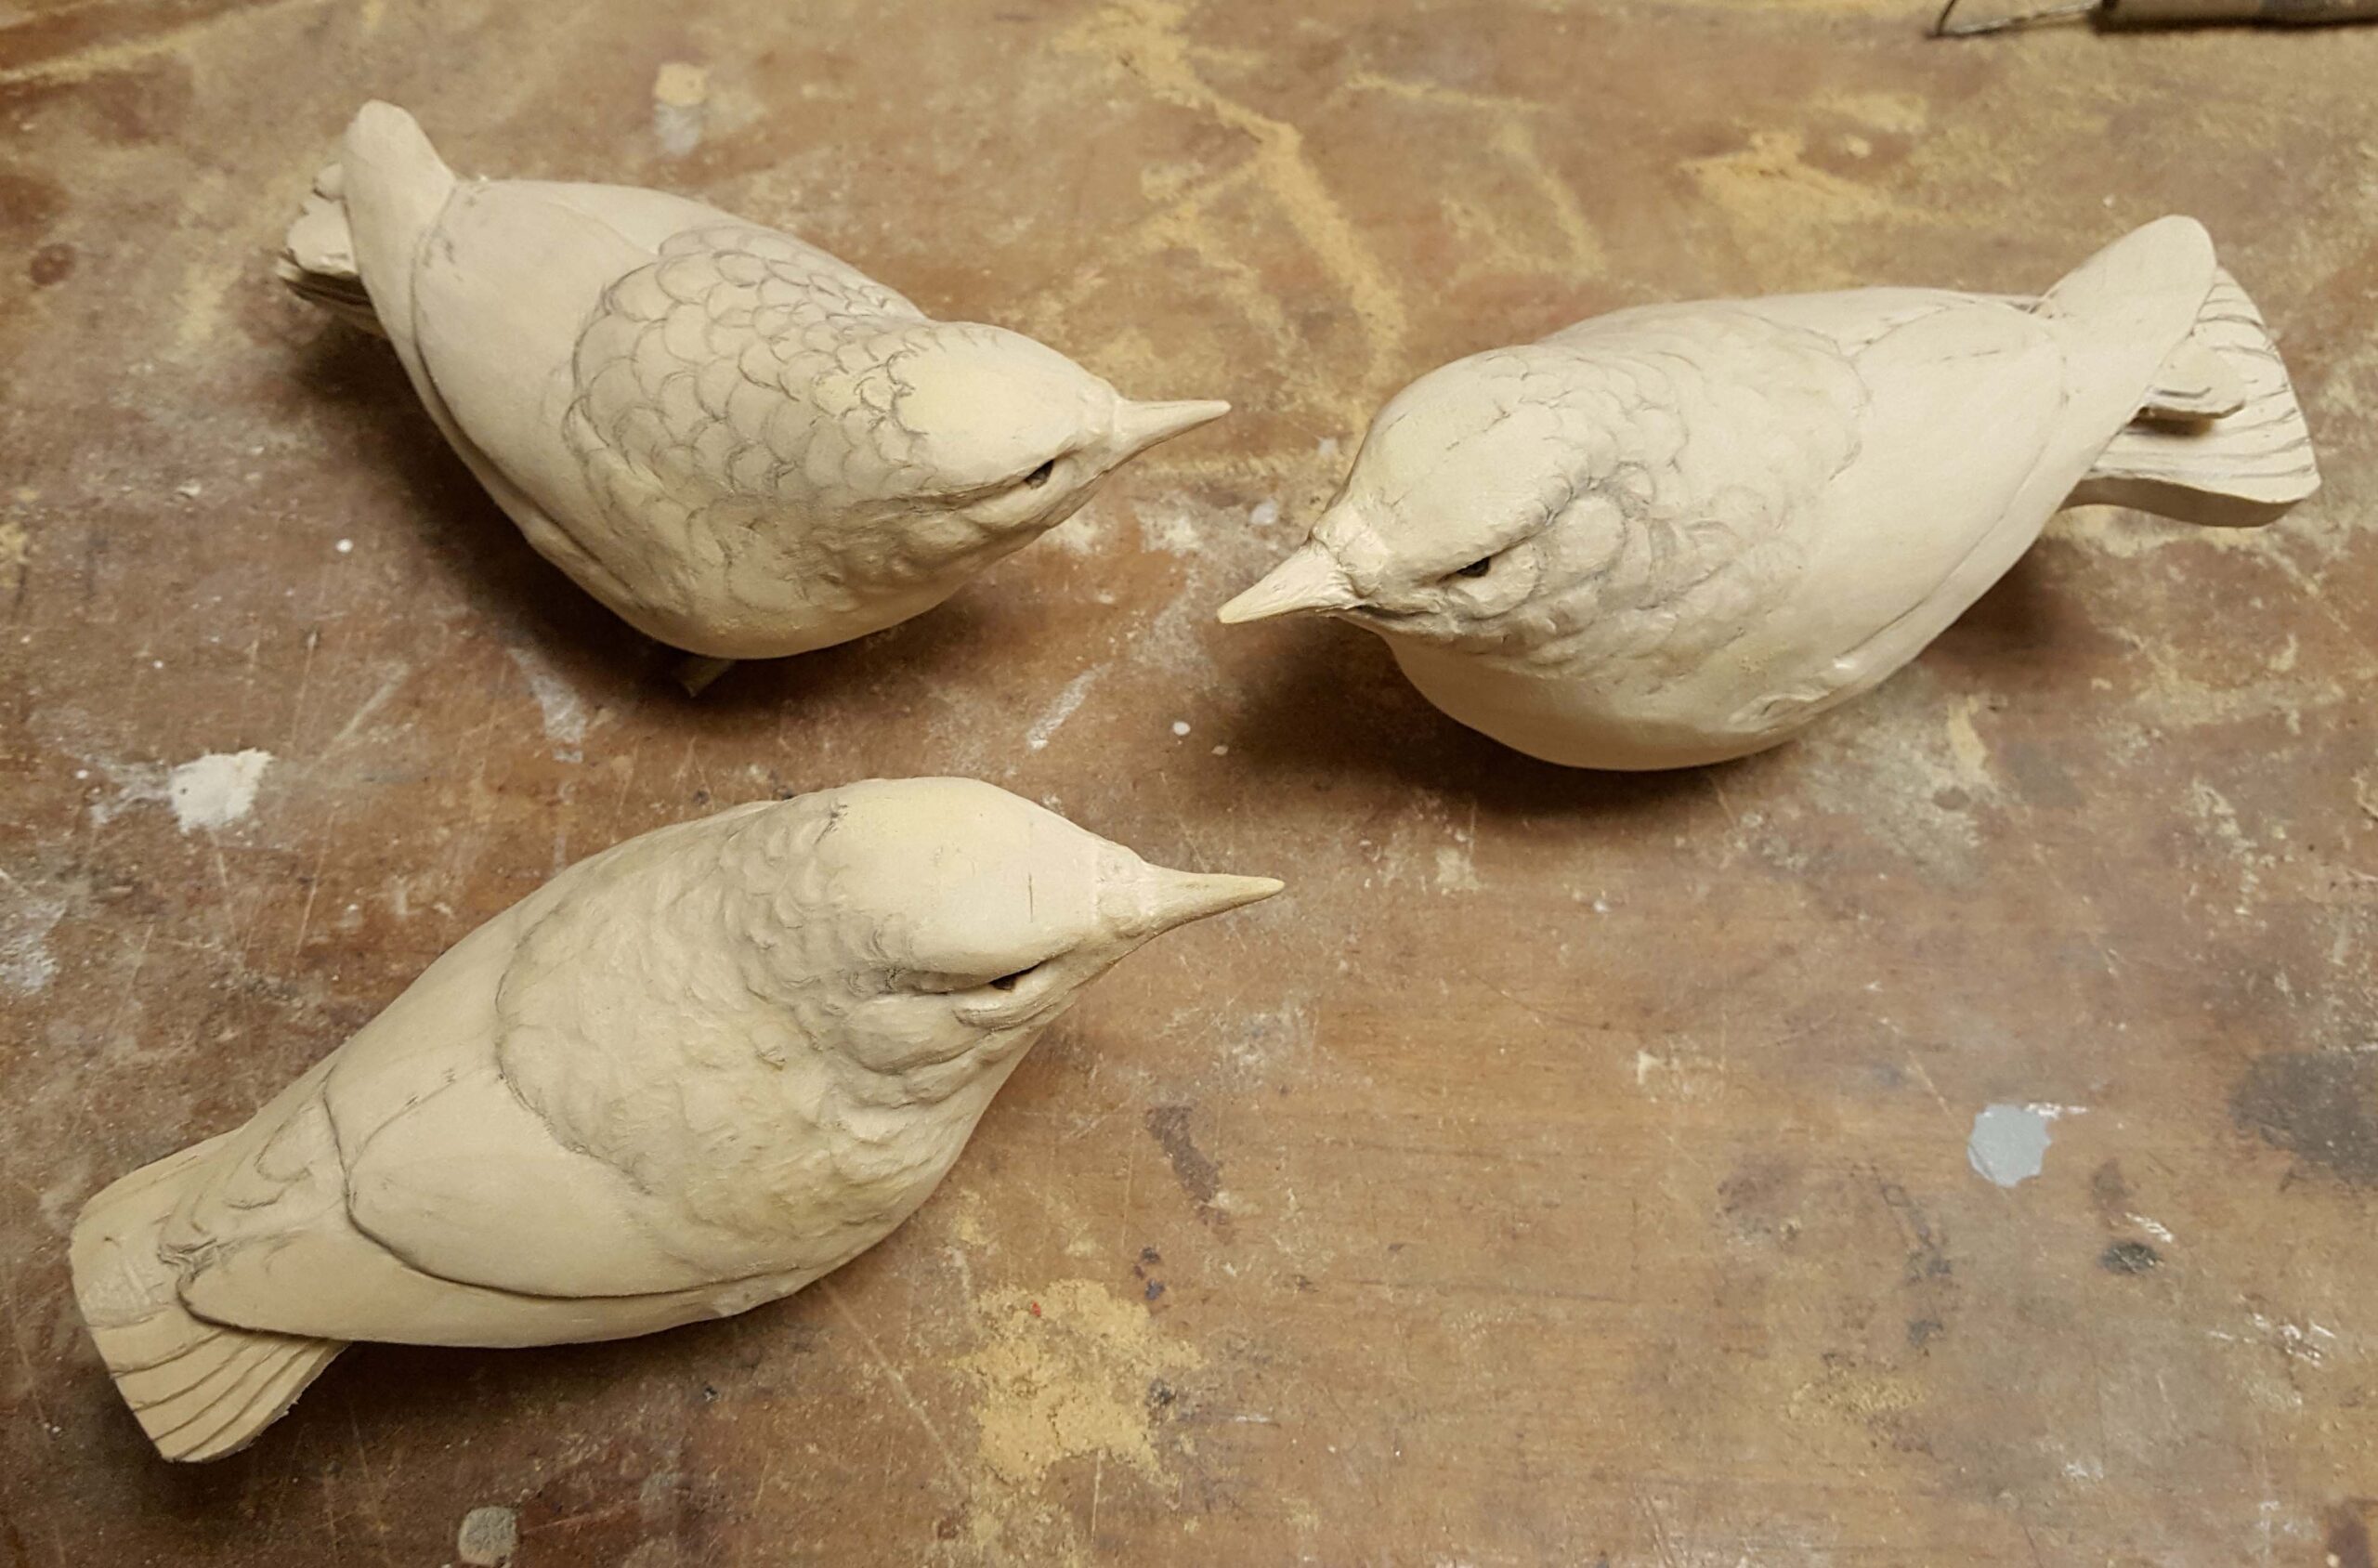
Red Breasted Nuthatches at the end of the second day.
What Will The Birds Sit On?
In most cases, a sculptor will determine how the birds will be displayed. Often this may a rough sketch or an idea in your head. For the six Nuthatches in this project I decided to make a few different perches. Two birds will sit on carved pine cones. One will be mounted on a twisted branch. One will be on a carved part of a tree with some bark. The other two will be on a small piece of wood.
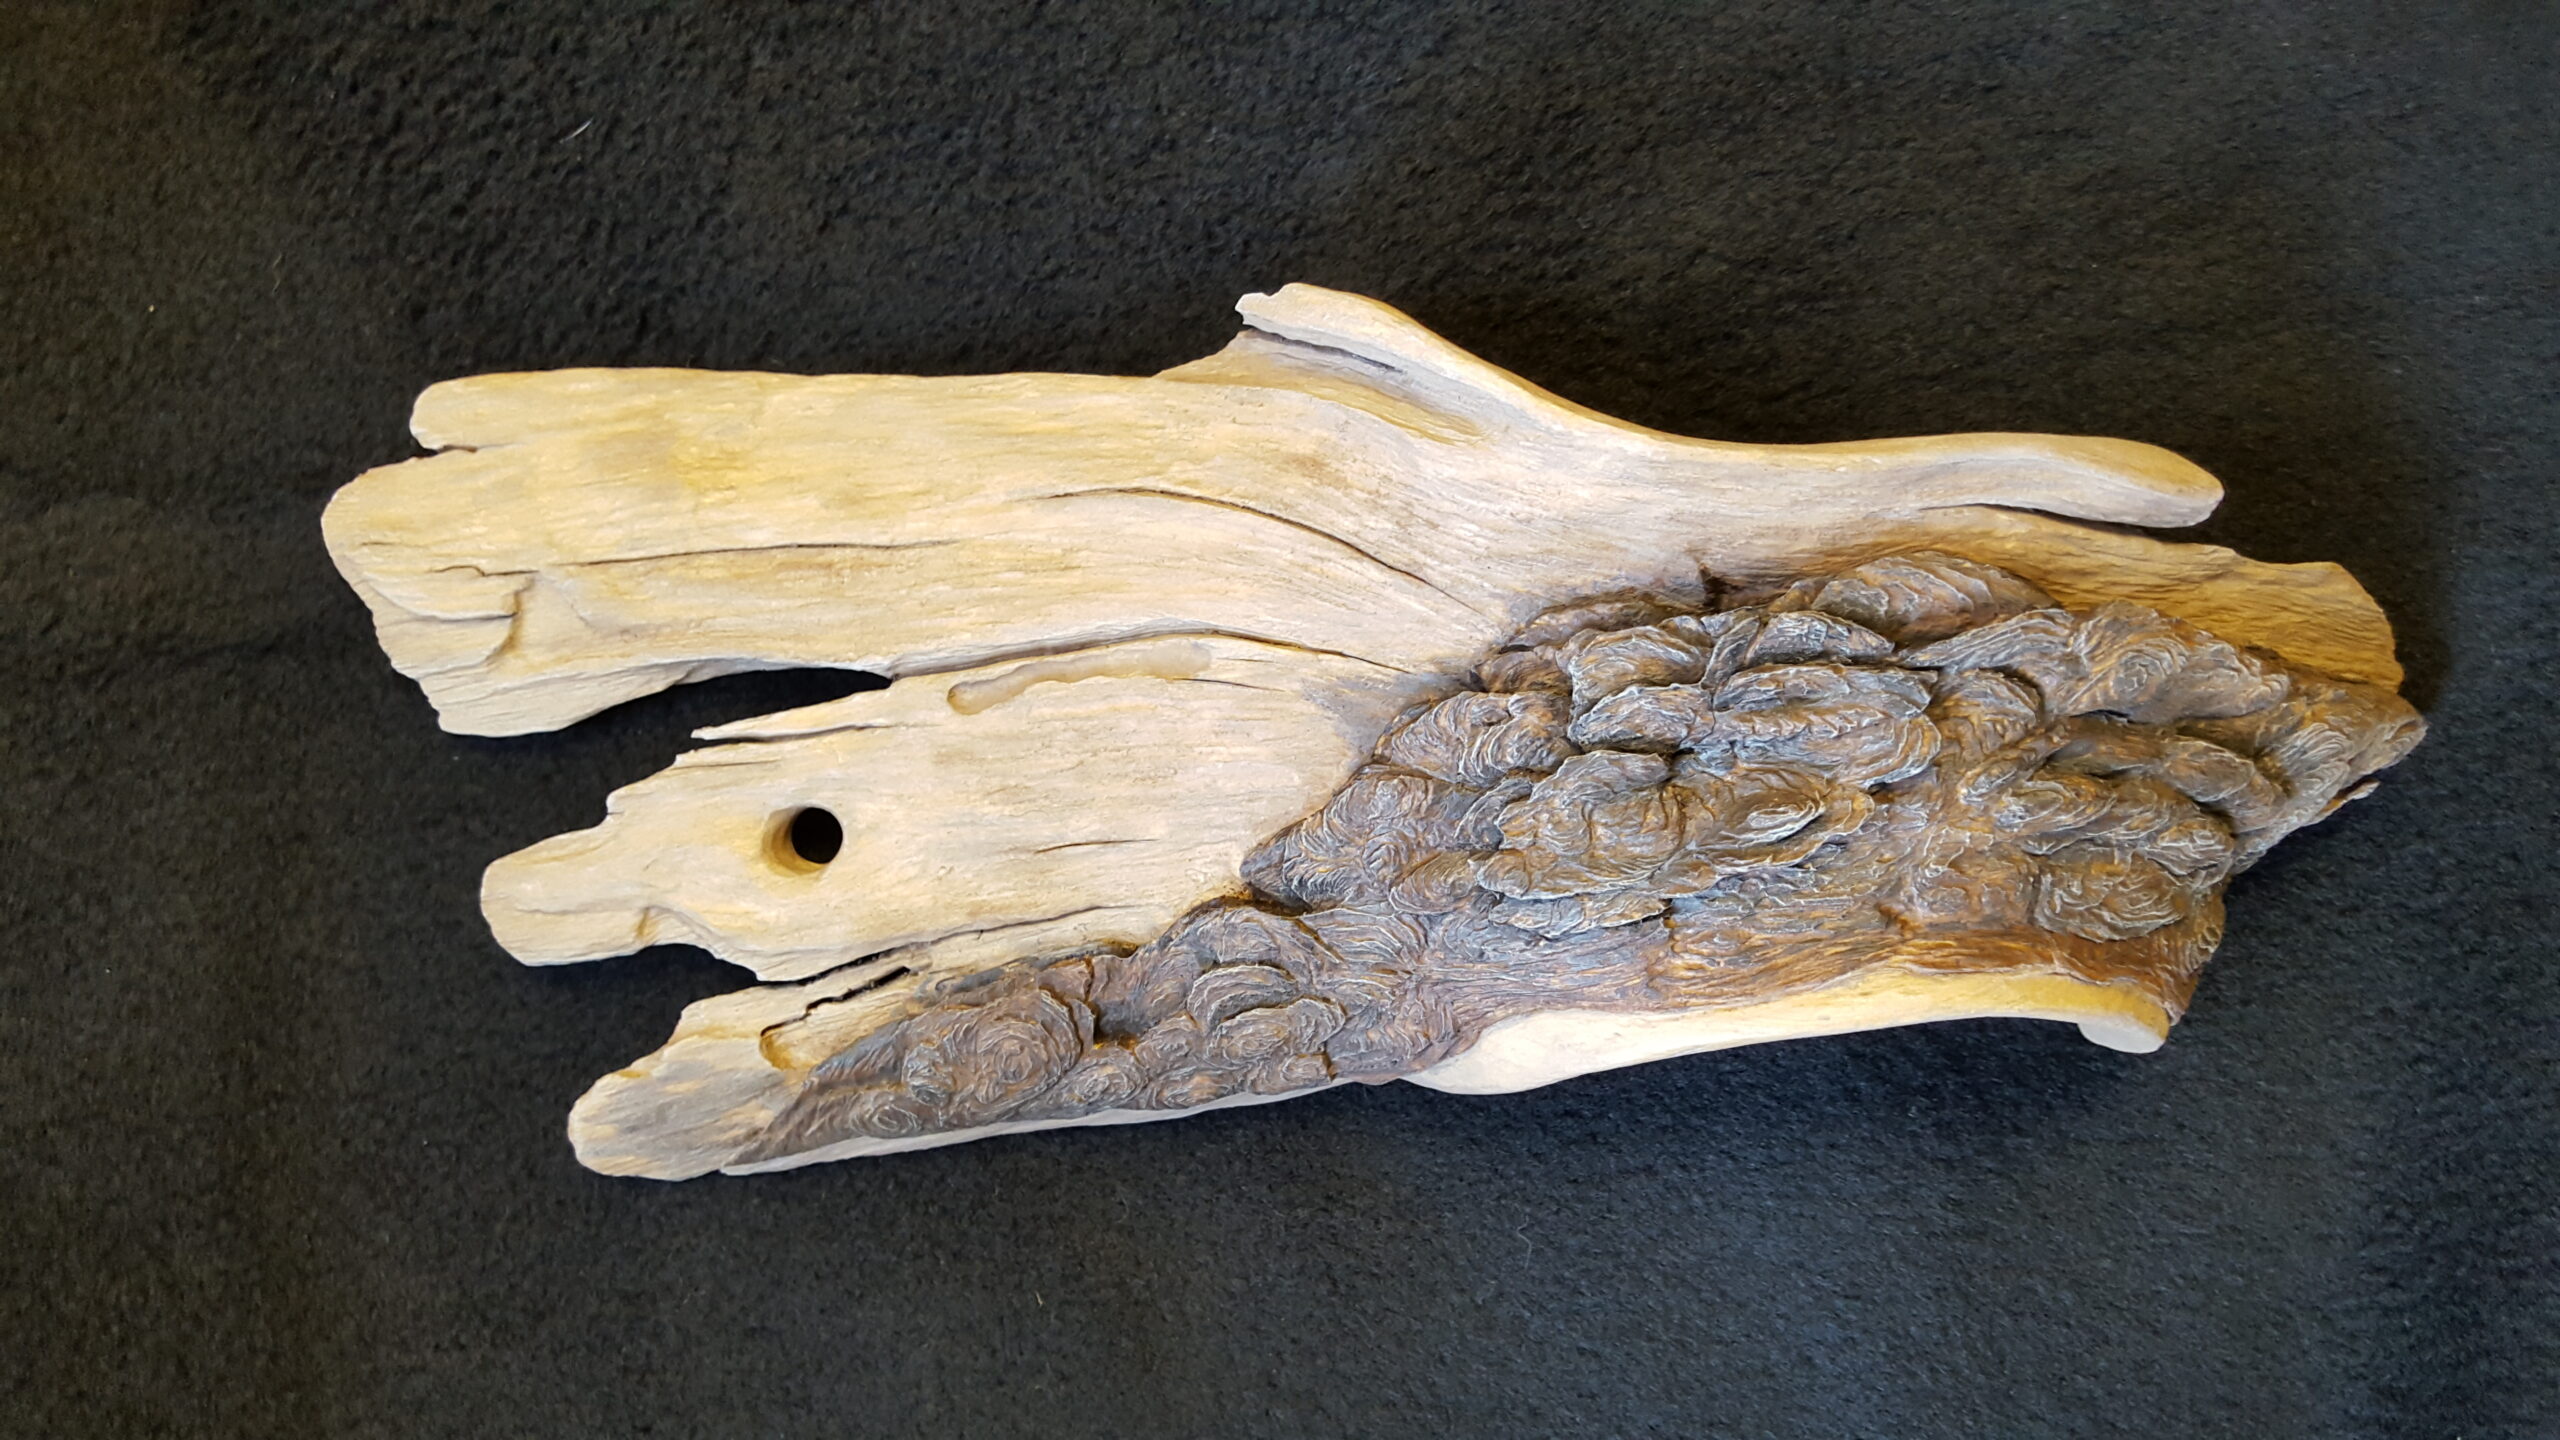
Carved porting of a dead tree that one of the nuthatches will be mounted onto.
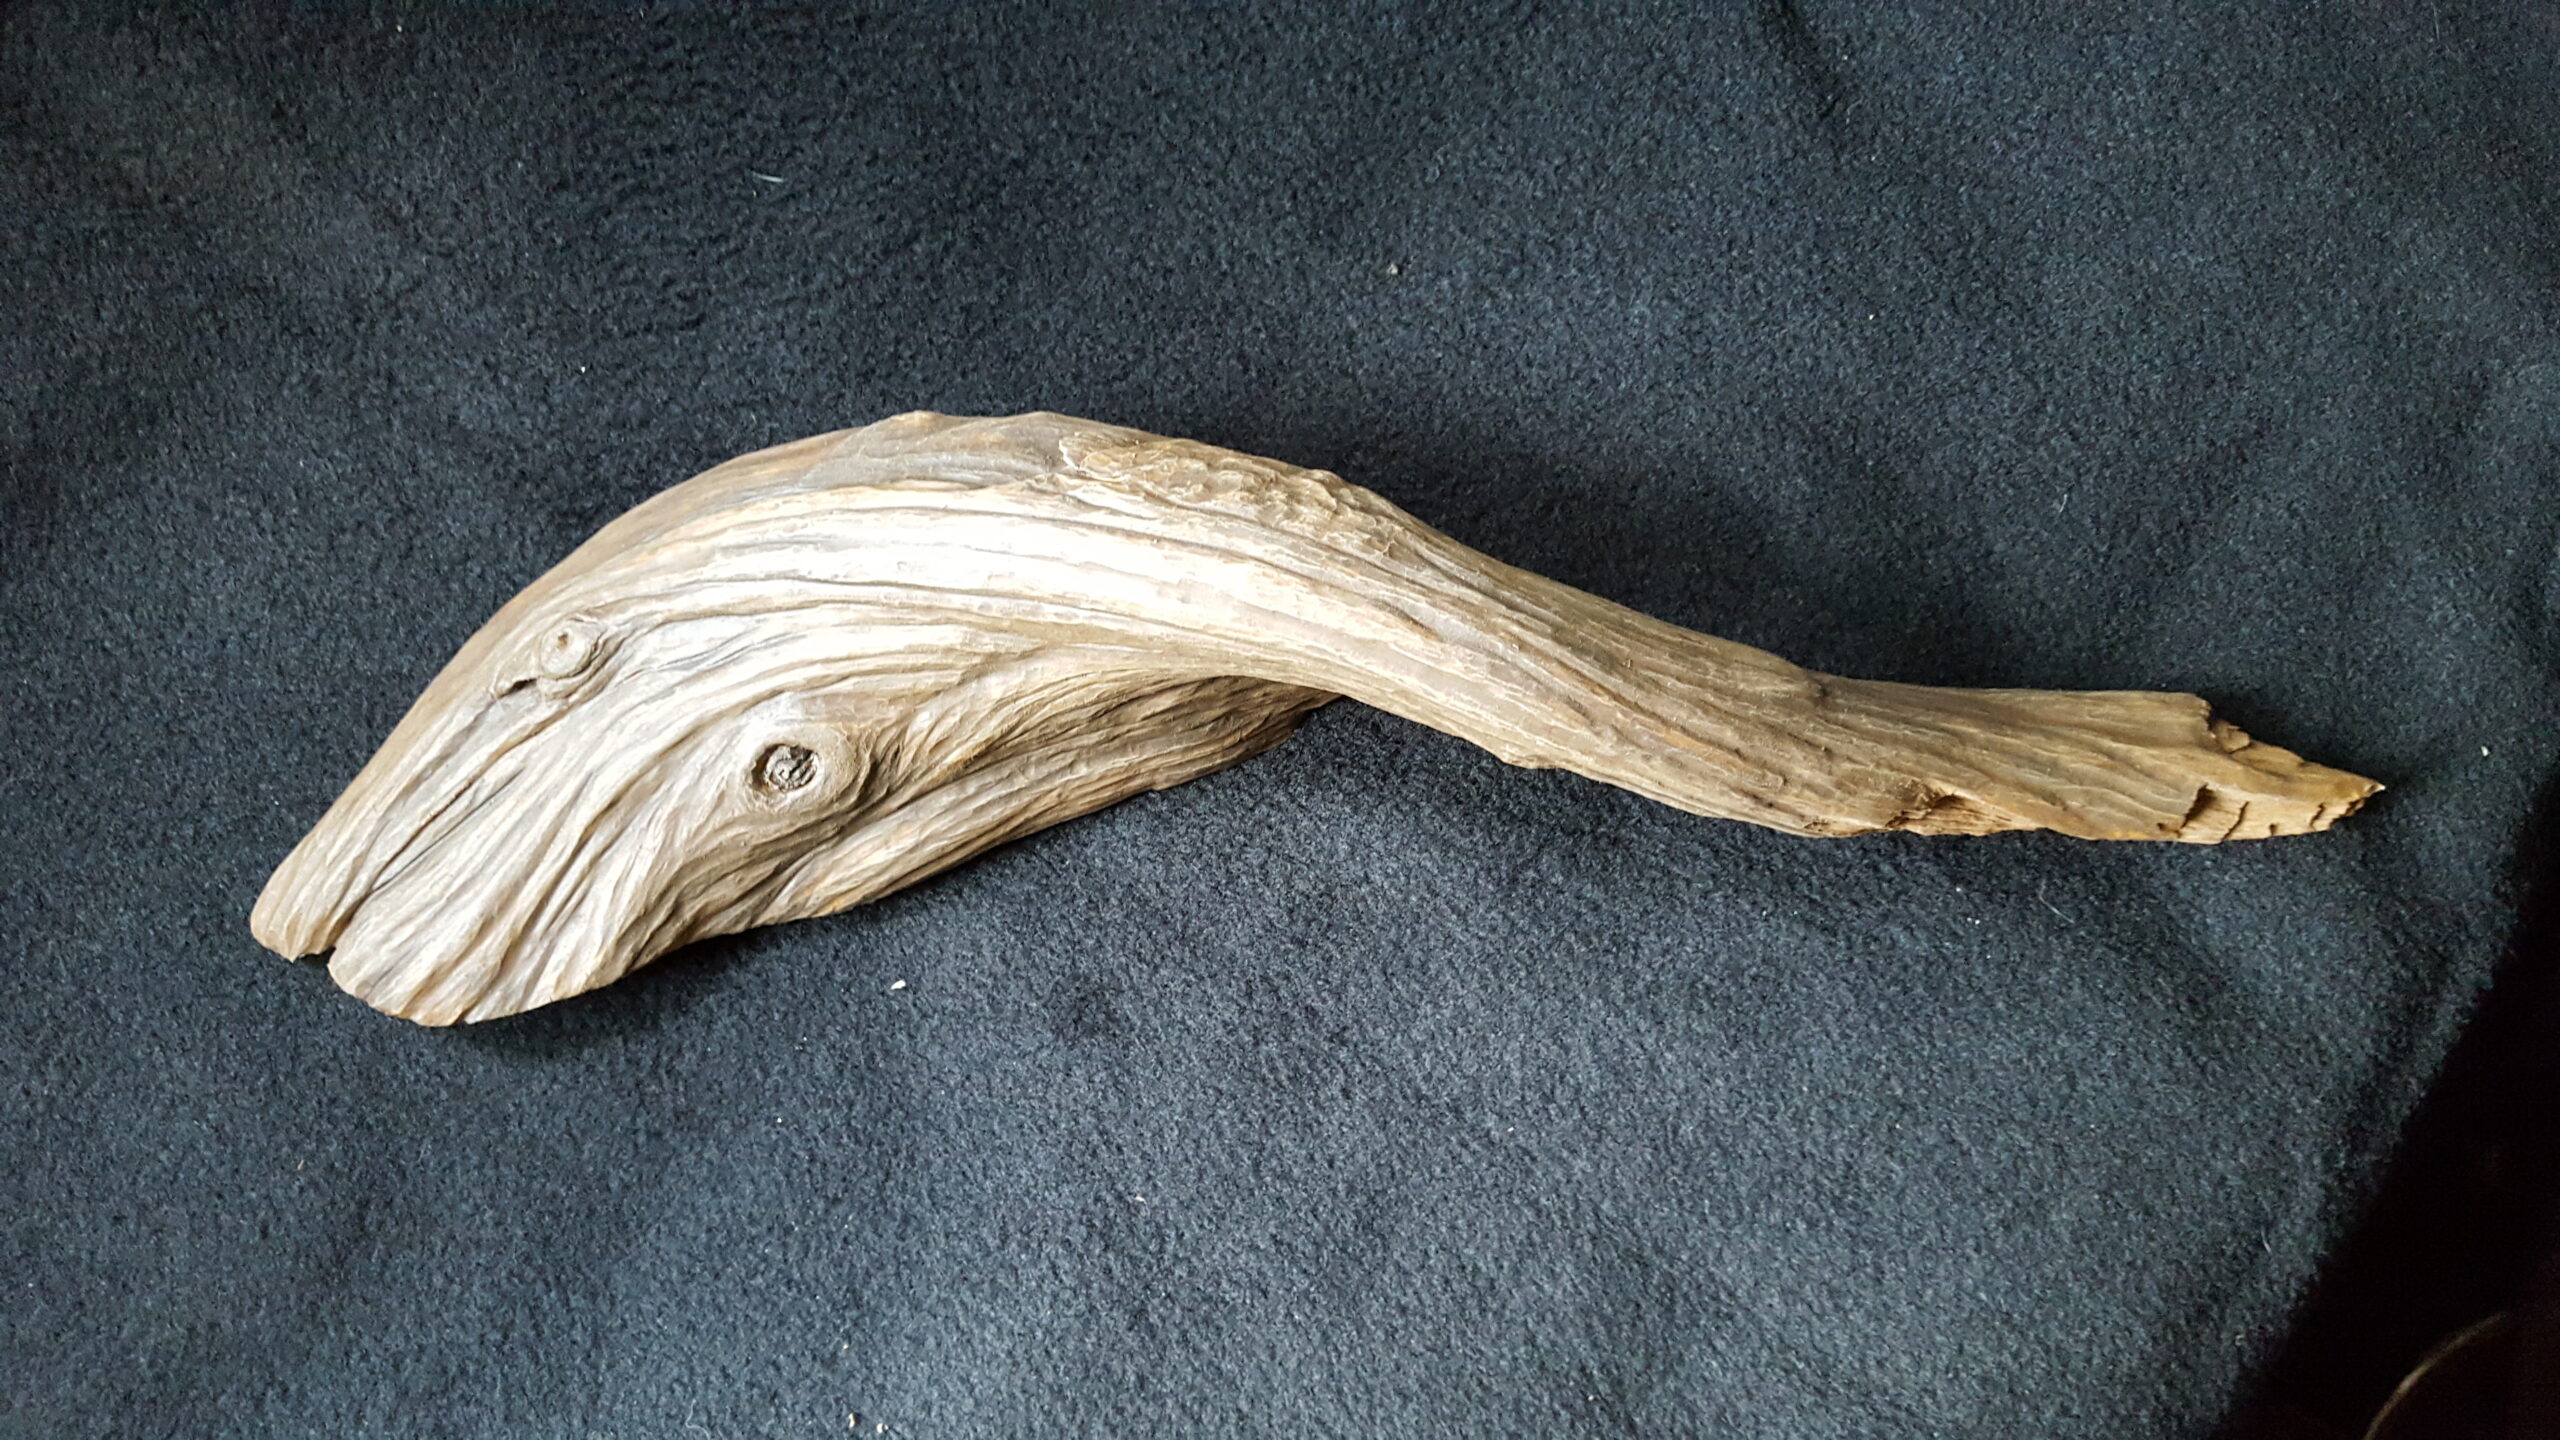
The twisted tree branch that will be used as a wall mount for one of the Nuthatches.

Four bases to be used to mount the Nuthatches. The pine cones will be attached to a piece of wood prior to the bird being placed on top of them.
The finished Nuthatches
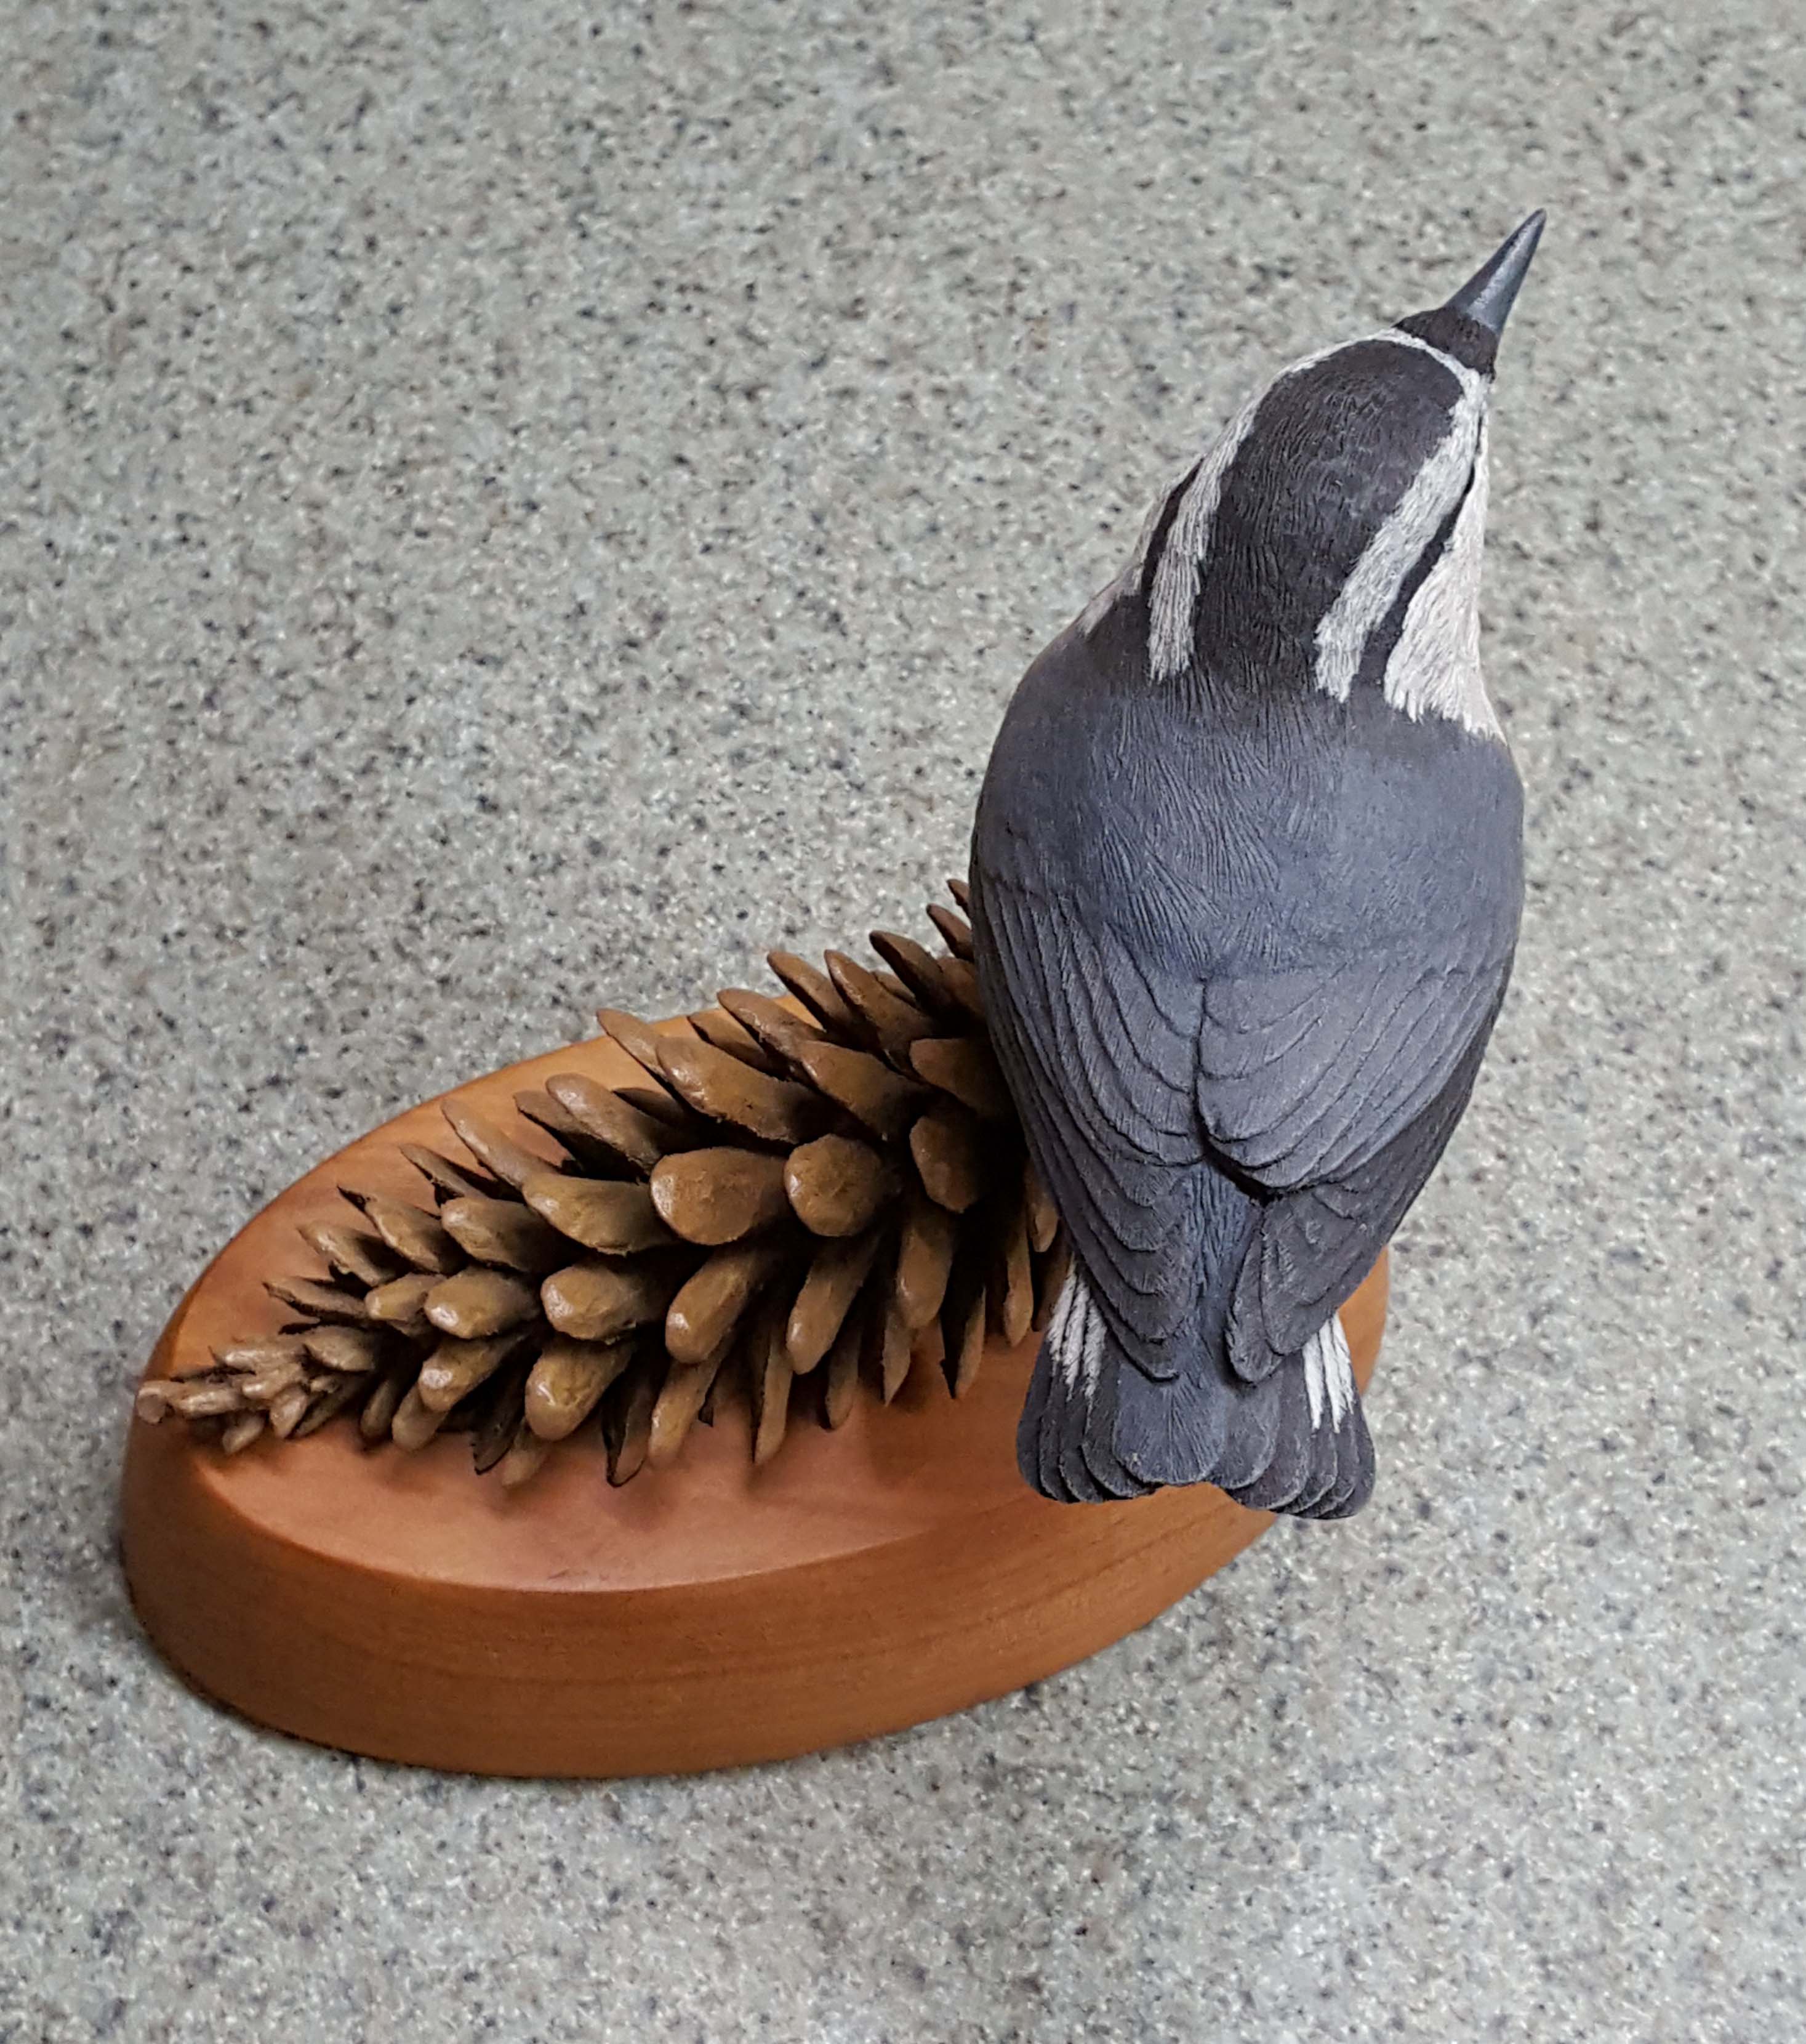
Red breasted nuthatch on a carved spruce cone.

Wall mount red breasted nuthatch on a carved branch.
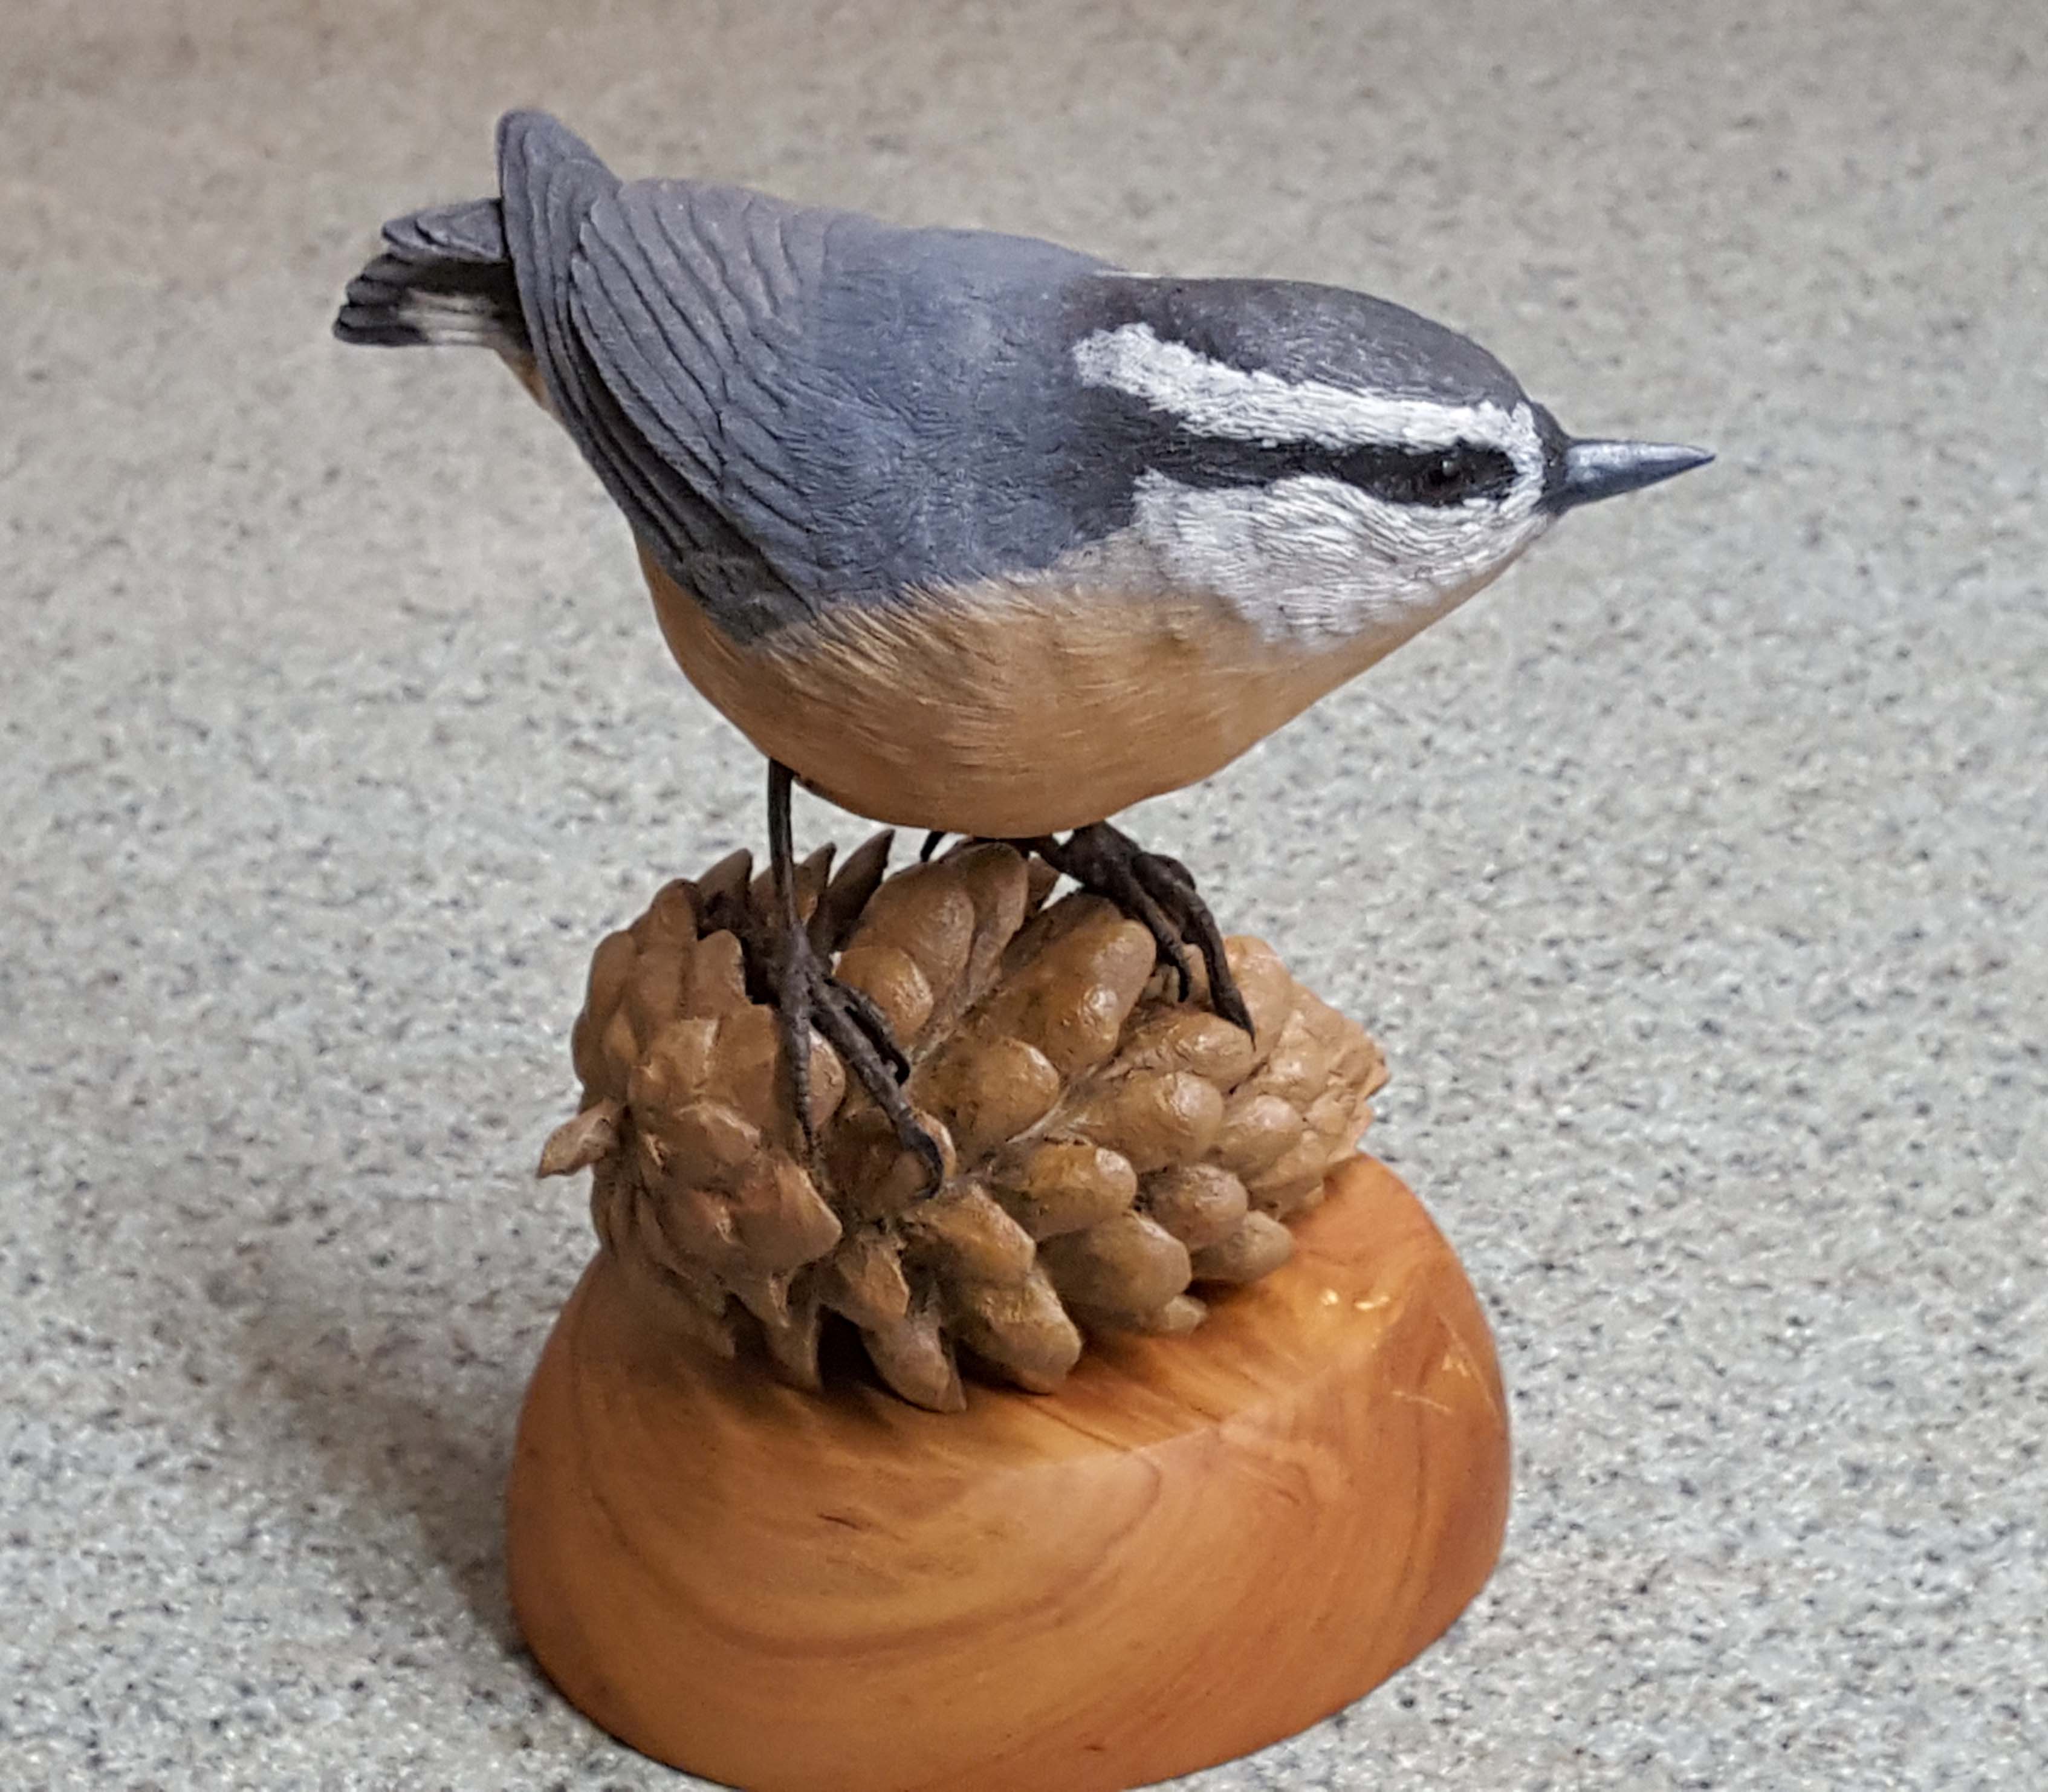
Nuthatch on top of a small carved pine cone.