And Illustration of the process of carving a peregrine falcon
My intent with this Peregrine Falcon post is to both help everyone understand the carving process and encourage people to unleash their creative abilities. Having been self taught until a year ago, I feel that anyone with the confidence to try, the courage to fail and the persistence to practice, can become a great sculptor. Along with myself, there are people who provide carving classes suited for beginner, intermediate and more advanced carvers.
Starting out
Research your subject. Pictures are a great resource for any level of sculptor. Once you have an idea of the position of your subject, you should consider composition of your piece. Will the bird be perched on a rock or a branch? Ideally you should know the position of your subject and how you want your finished sculpture to look, before you start to do any work with clay or wood. Draw a rough sketch to help you decide how your base and your subject will fit together. I prefer to have the base at least roughed out before I start on the bird. In the case of the Peregrine Falcon, fitting the bird to the base before doing any feather texturing will allow you to add more detail that connects the bird to the base. As an example: how the leg feathers come in contact with the rock.
Draw a pattern for the top and side view of the bird. Be sure to have the measurements (over all length and ends of the feather groups) line up. Side by side, the patterns should be consistent in the positions of the feather groups. Now you can mark your pattern onto the wood and cut out the shapes of the wood. Leave a block of wood large enough to give you the option of positioning the head in any direction.
The roughed out block
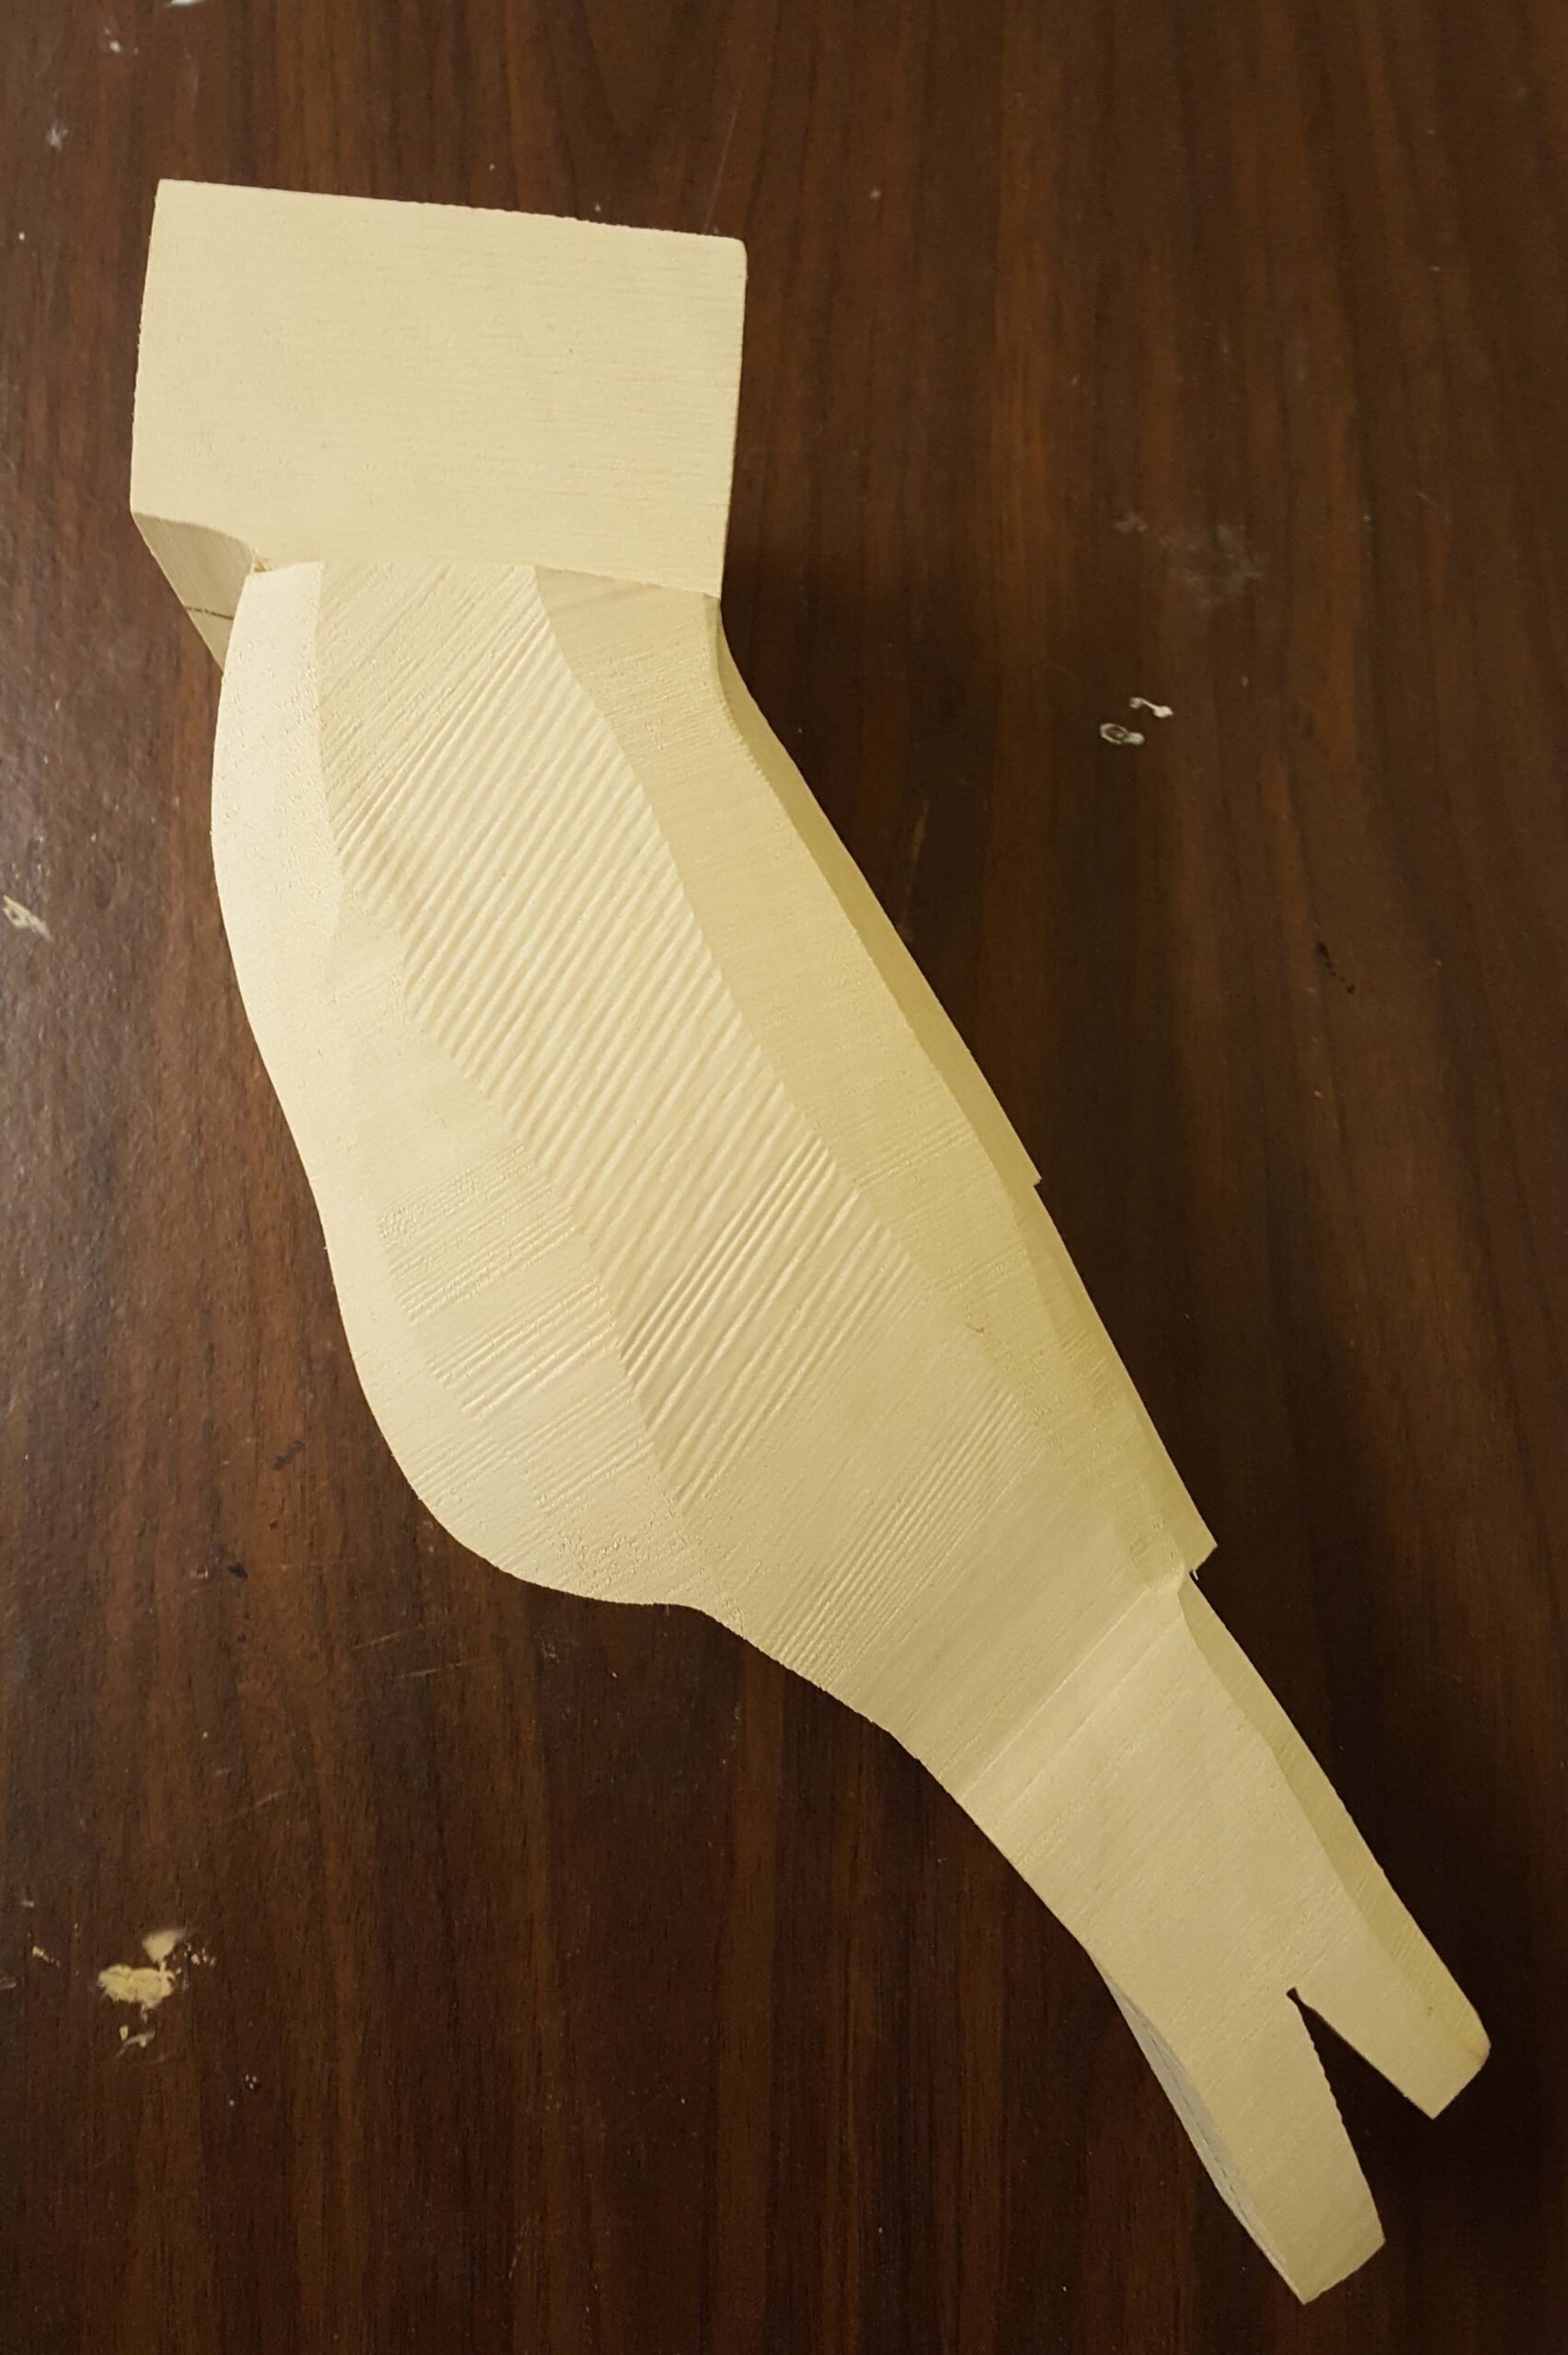
Band sawed block of tupelo.

A drawing to determine the position and shape of the head.
The value of Center lines
It is critical that you draw and redraw center lines on your sculpture throughout the entire carving process. Center lines help you maintain symmetry.
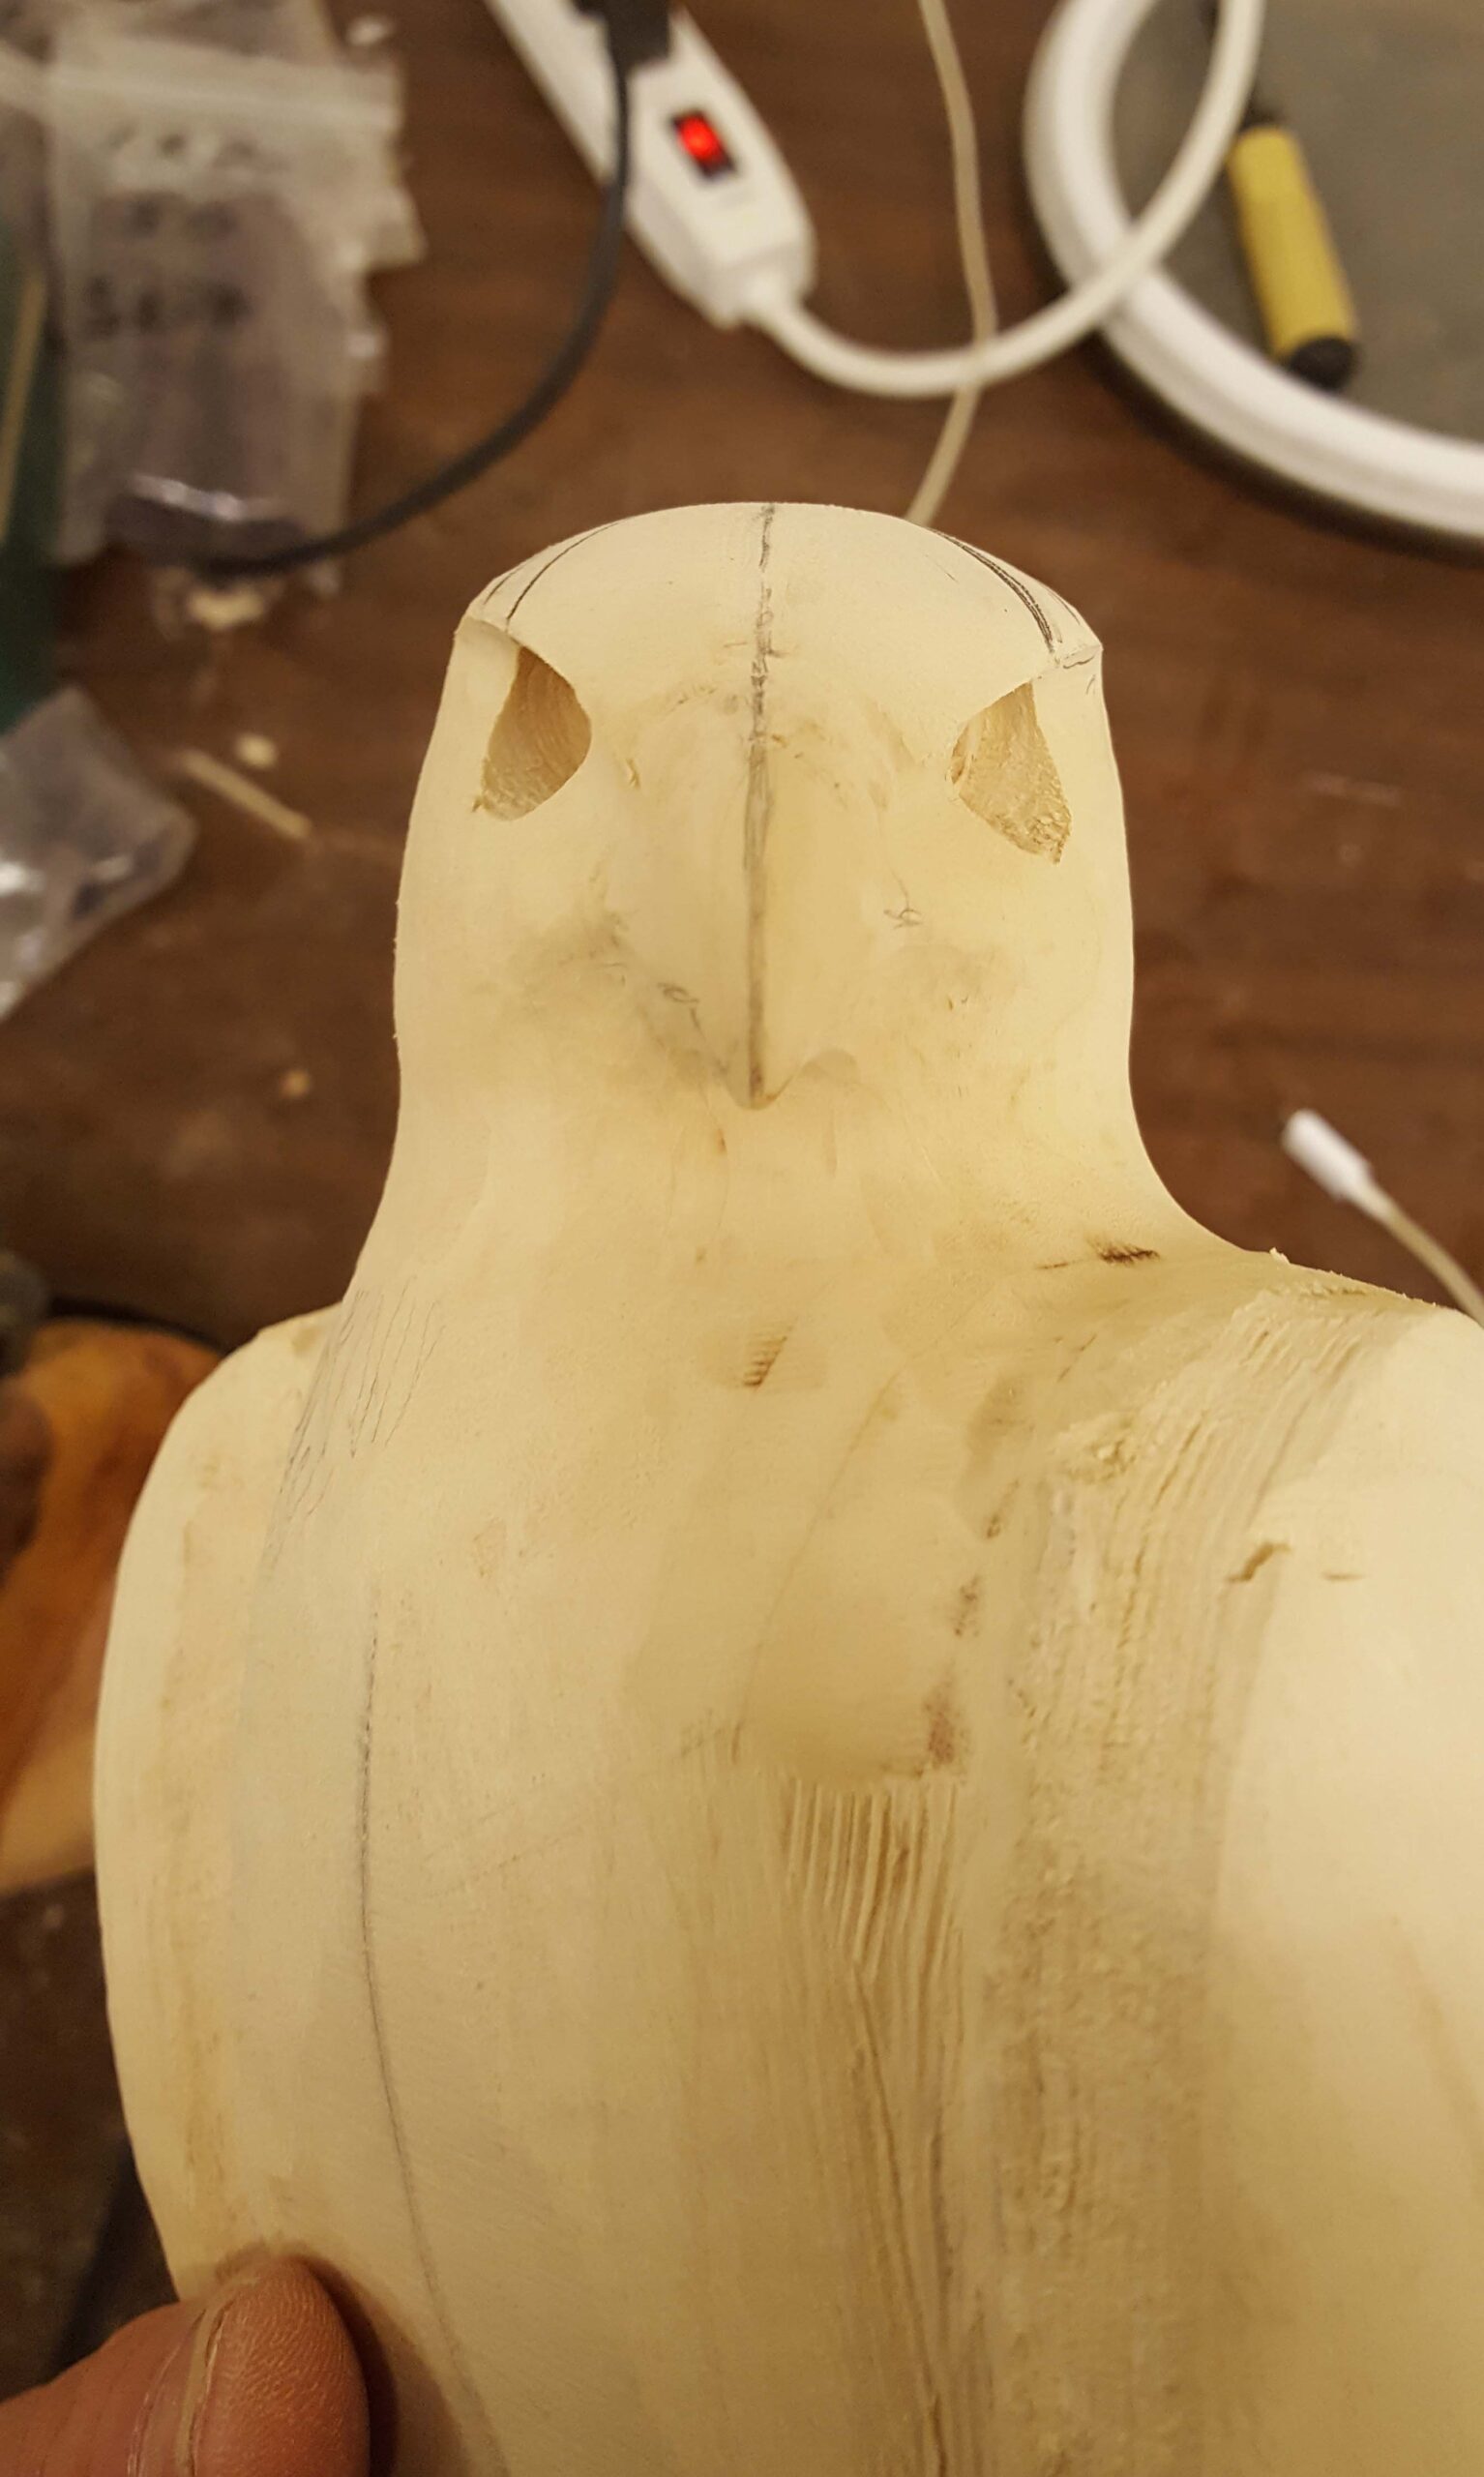
With the head shaped, eye holes are drilled.
Placement of the feather groups
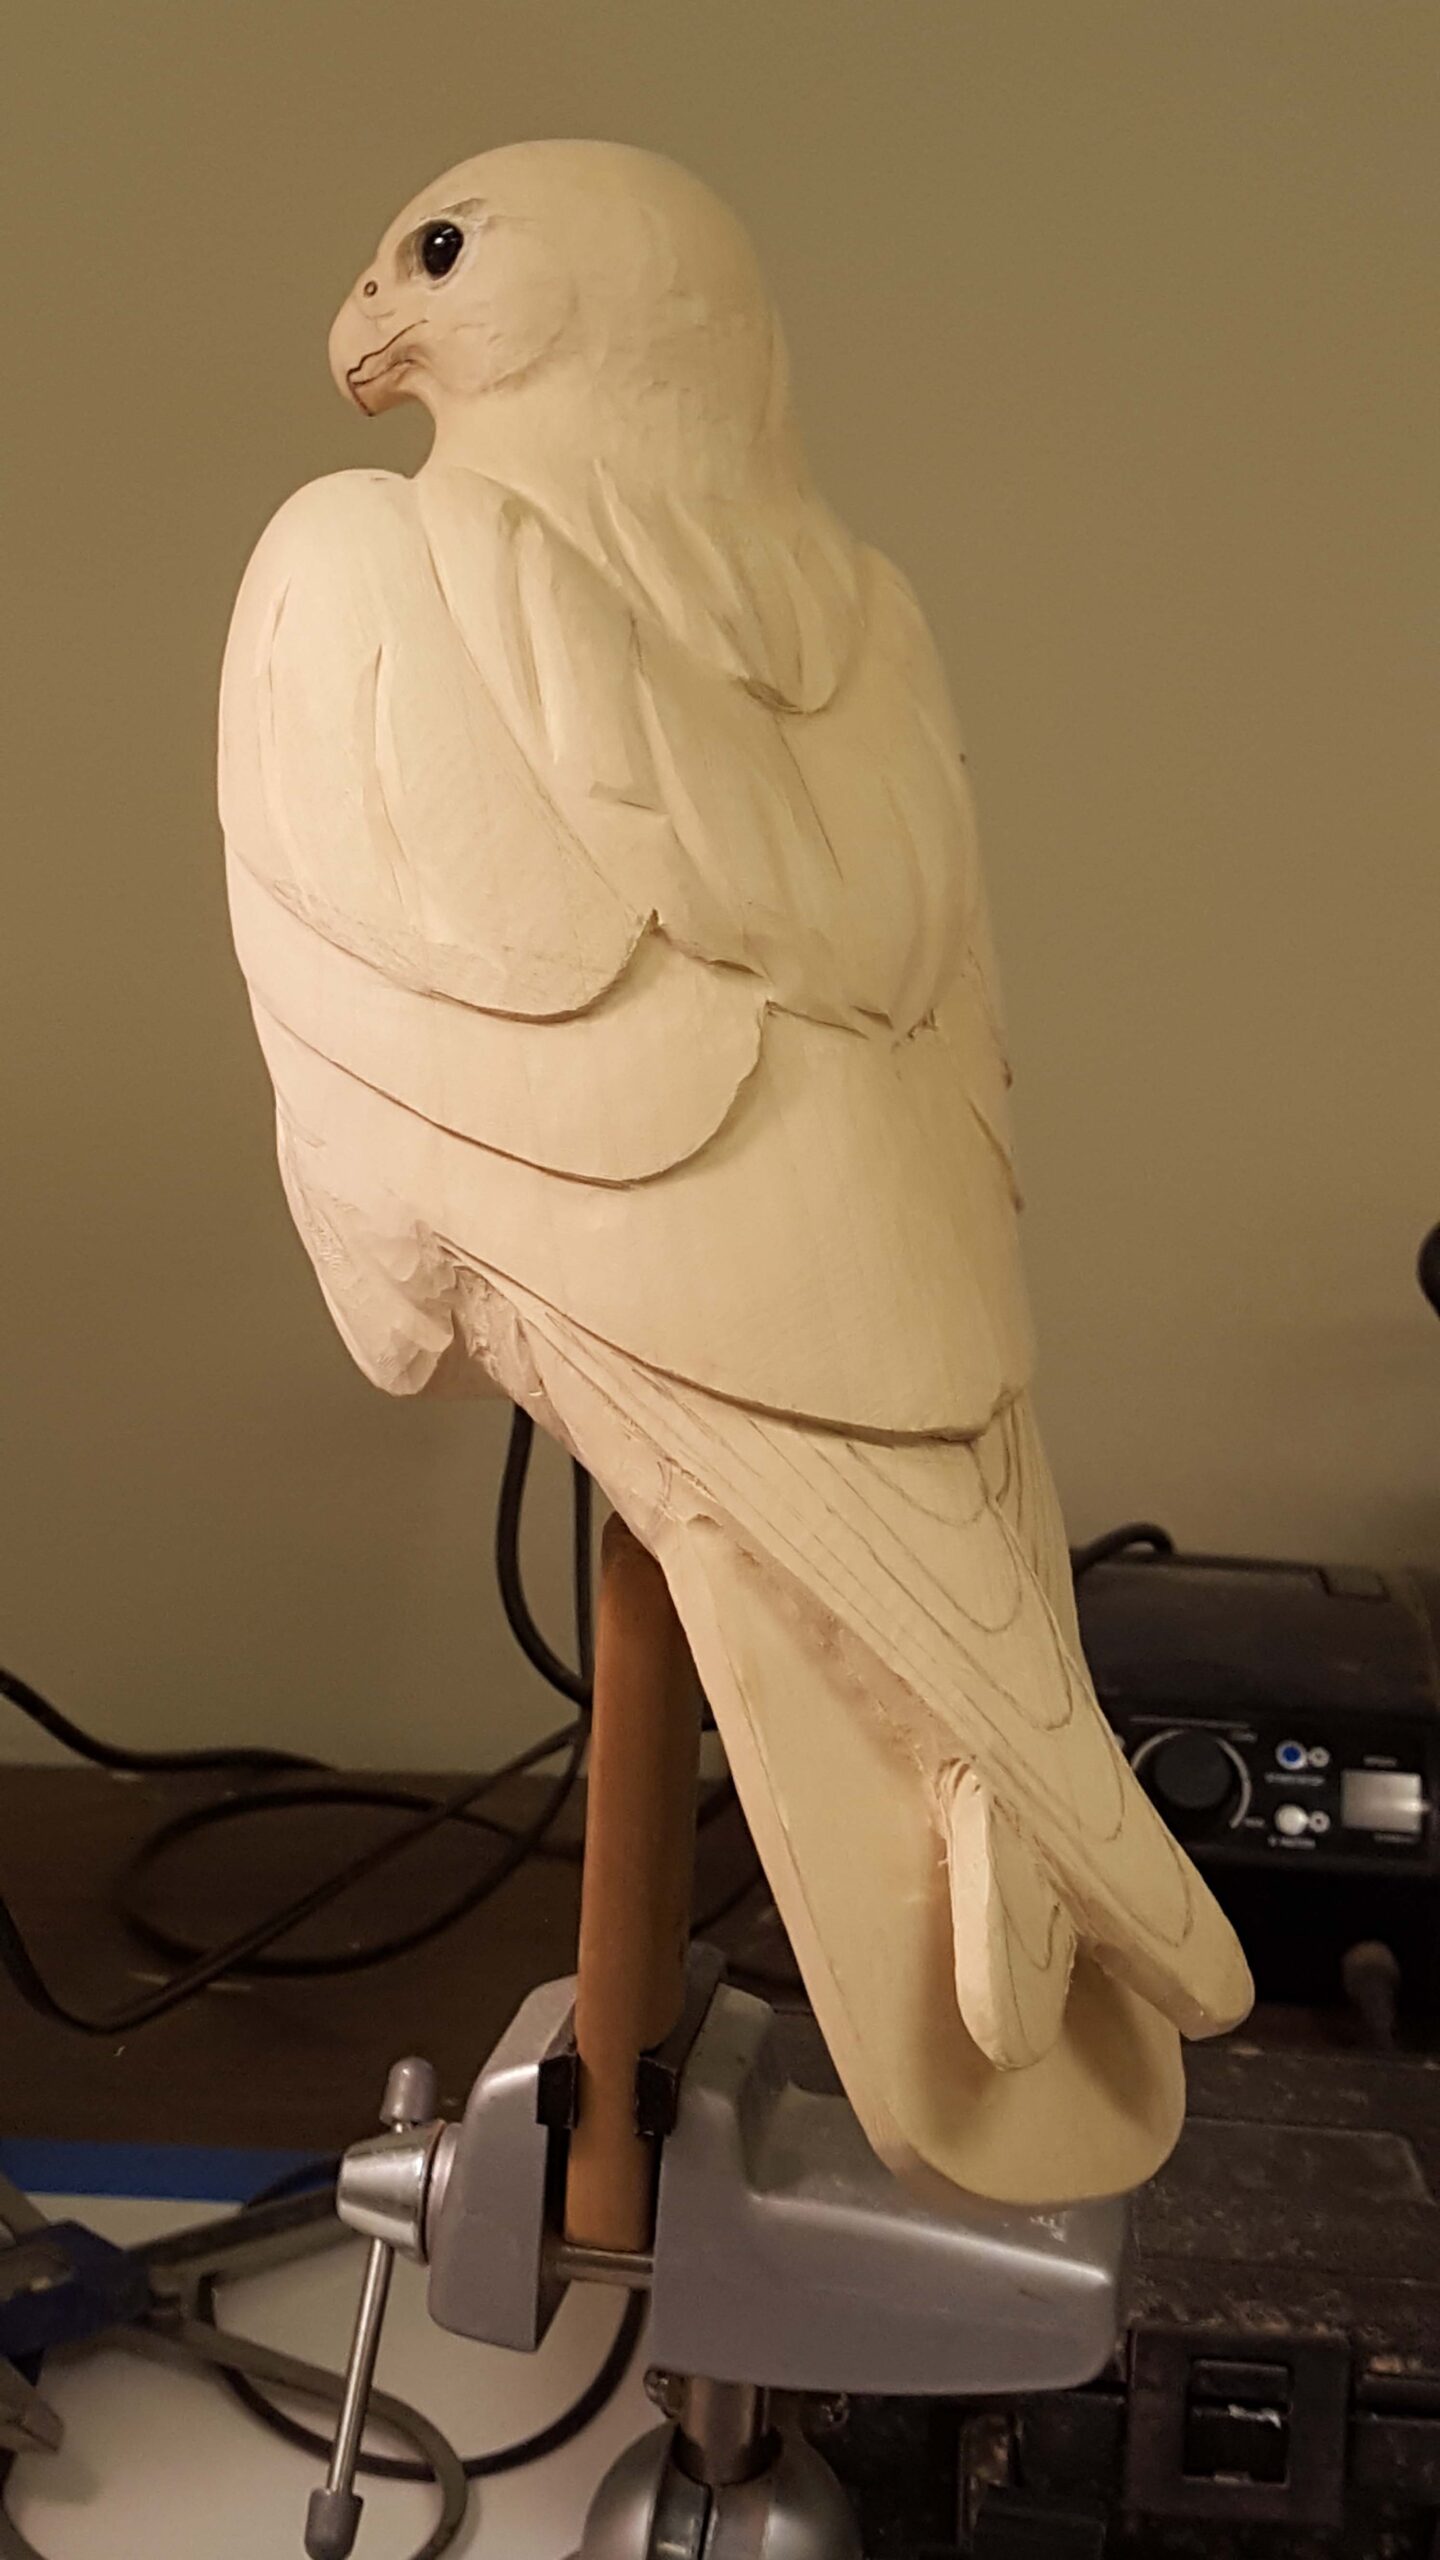
The following picture shows the shape of the nape (just below the head) the scapulars (just below the nape), the secondary and tertiaries (just below the scapulars) and the primary feathers. This foundational approach should be taken with all birds, both big and small. Use reference pictures! The second picture below shows the “necklace” area on the upper chest. All birds have this slightly raised area.
Feather groups are being defined.

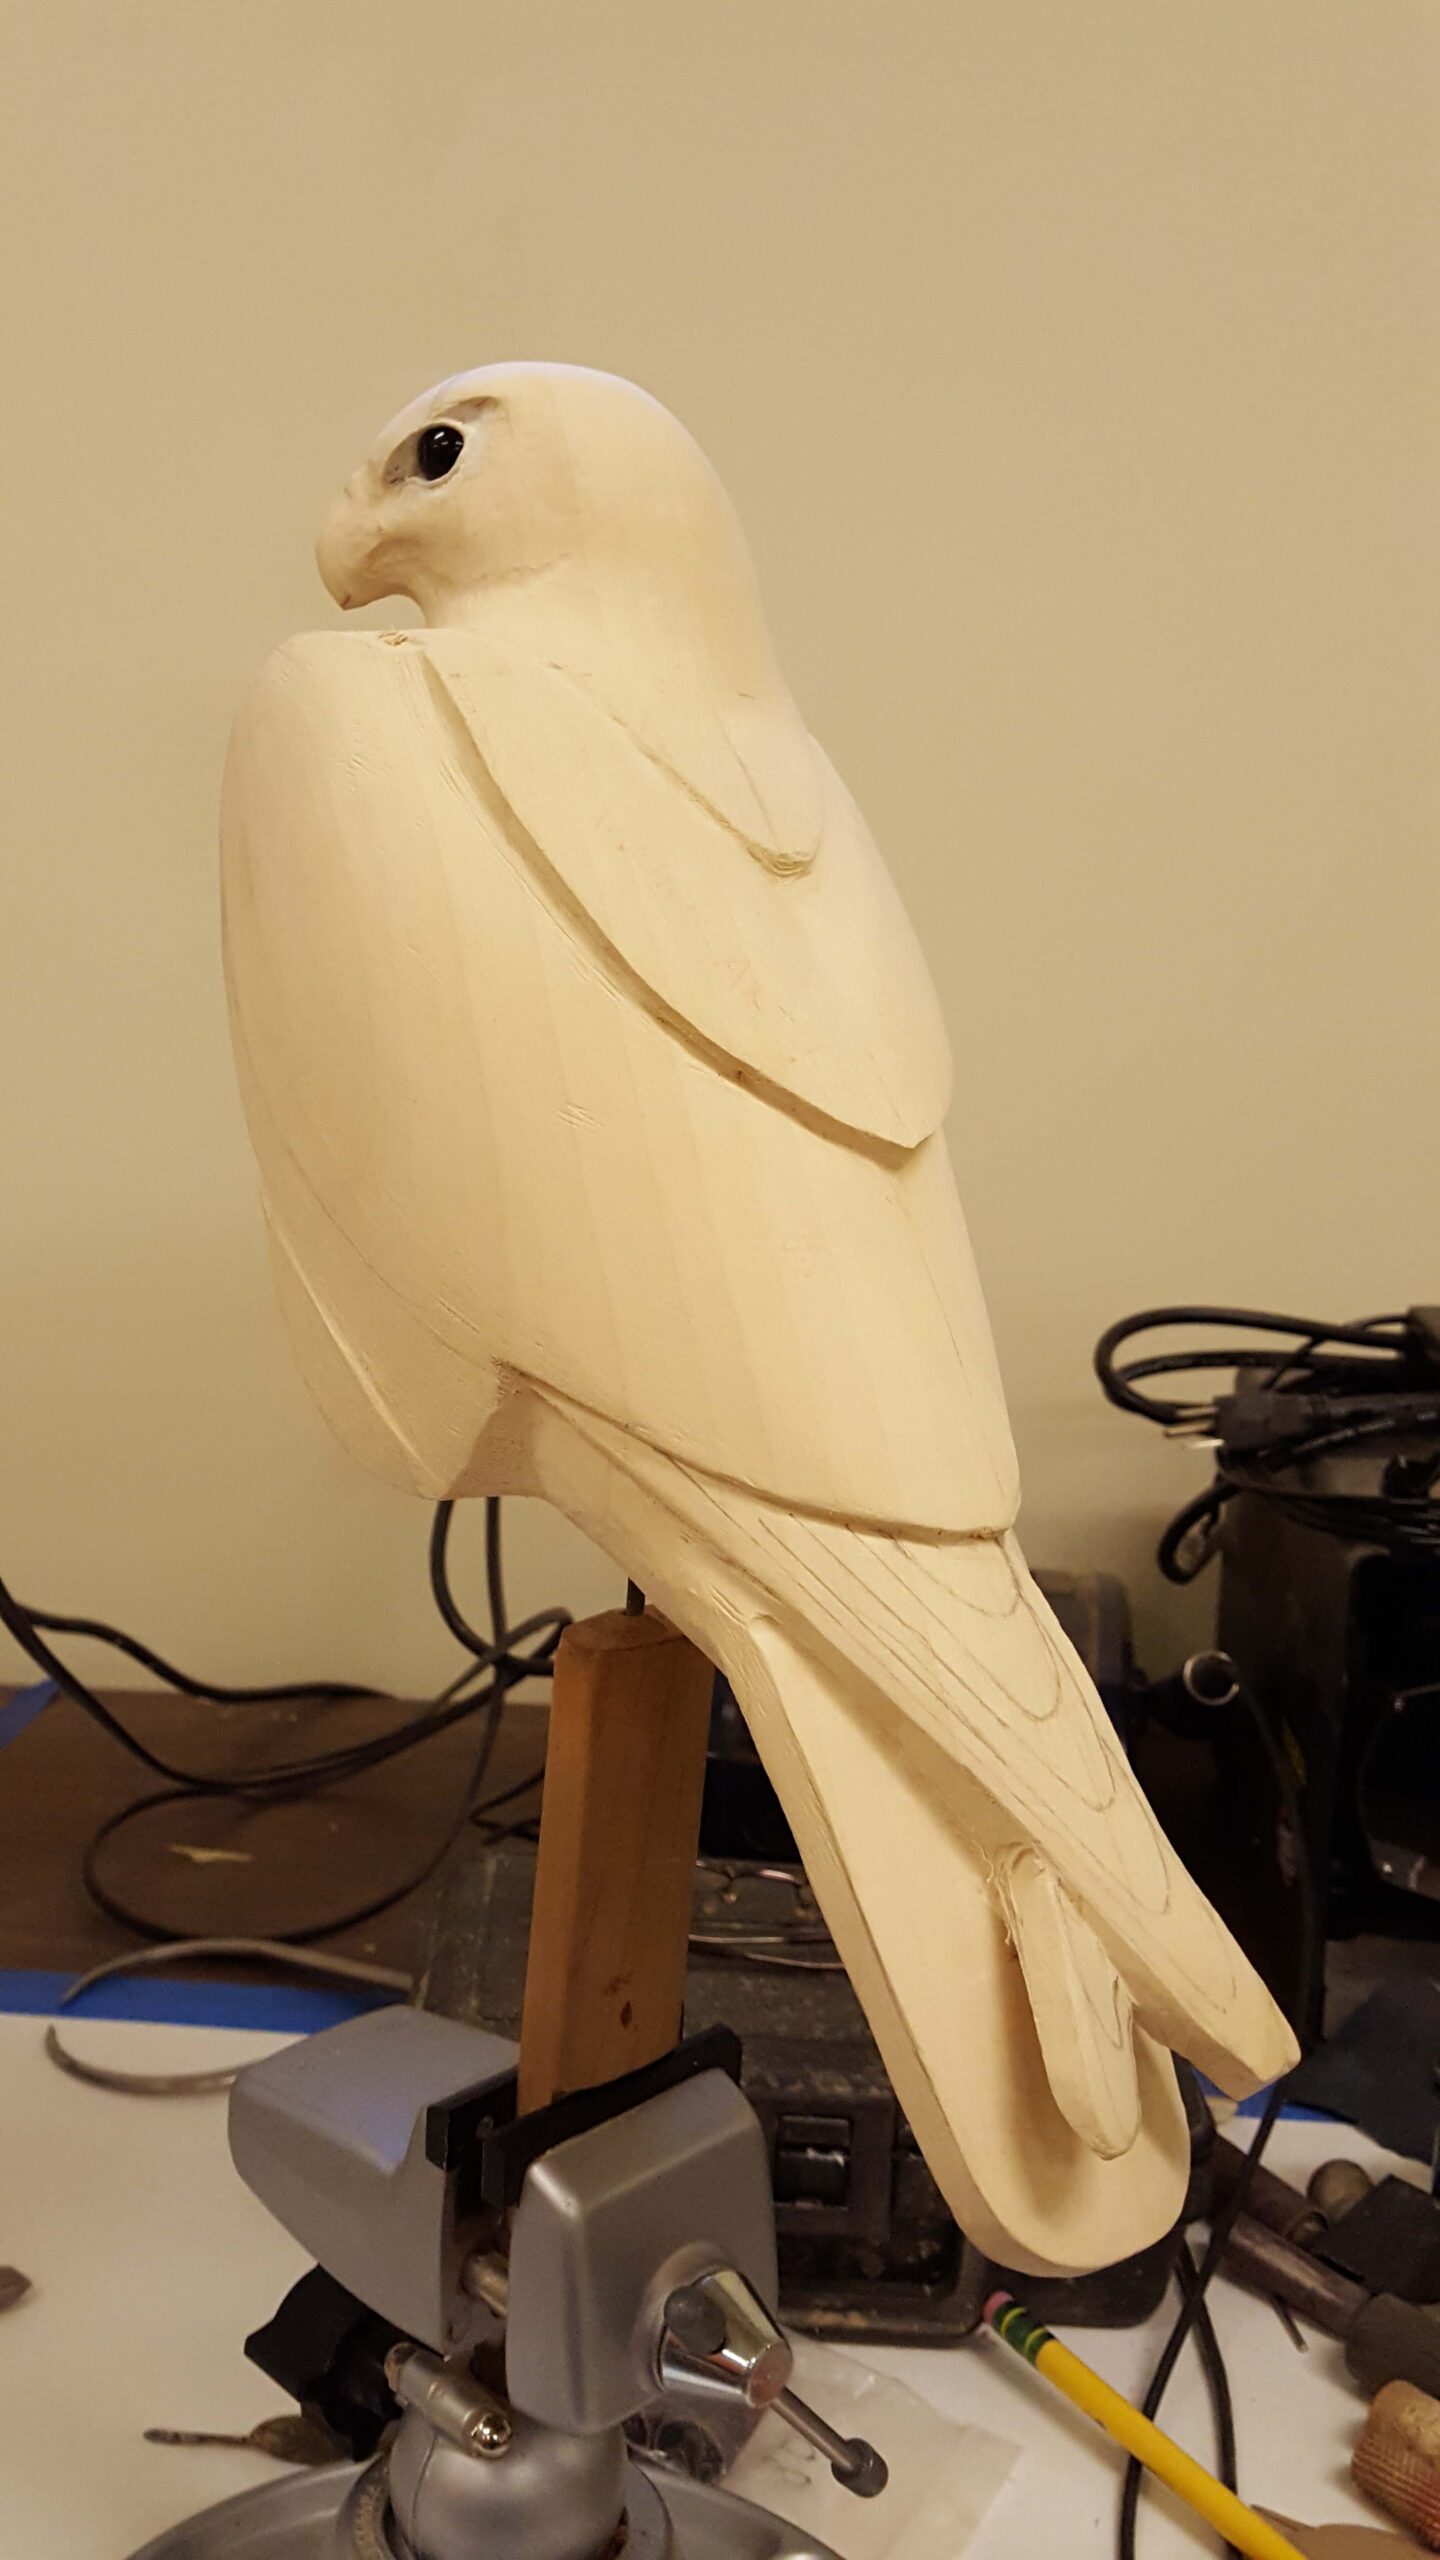
Eyes are now set in place. Note that the bottom of the beak has yet to be finished to help prevent breaking off the tip.
Contouring feathers and defining more feather groups on the wings
The first picture shows that addition of the secondary coverts as well as the feathers towards the wrist. The second picture shows the initial steps for contouring the softer feathers on the back and top of the wings. The feathers are first drawn on the wood with a pencil. Imagine “U” shapes that define each feather. A quarter inch ruby ball cutter is then used to slightly remove wood in the “U” shape. At that point from the bottom of the groove you just made, you then remove the lower edge of that groove.
All feather groups are now defined and contour is being added to the nape and scapulars

This is the first step in contouring feathers.
Feather Flow
The following picture shows how to begin the contouring process on the head. The lines show the direction the feathers flow. Once the lines are drawn, I then draw individual feathers that follow the lines. Those feathers will then be heavily burned. On the second picture shows the feather flow on the wings.
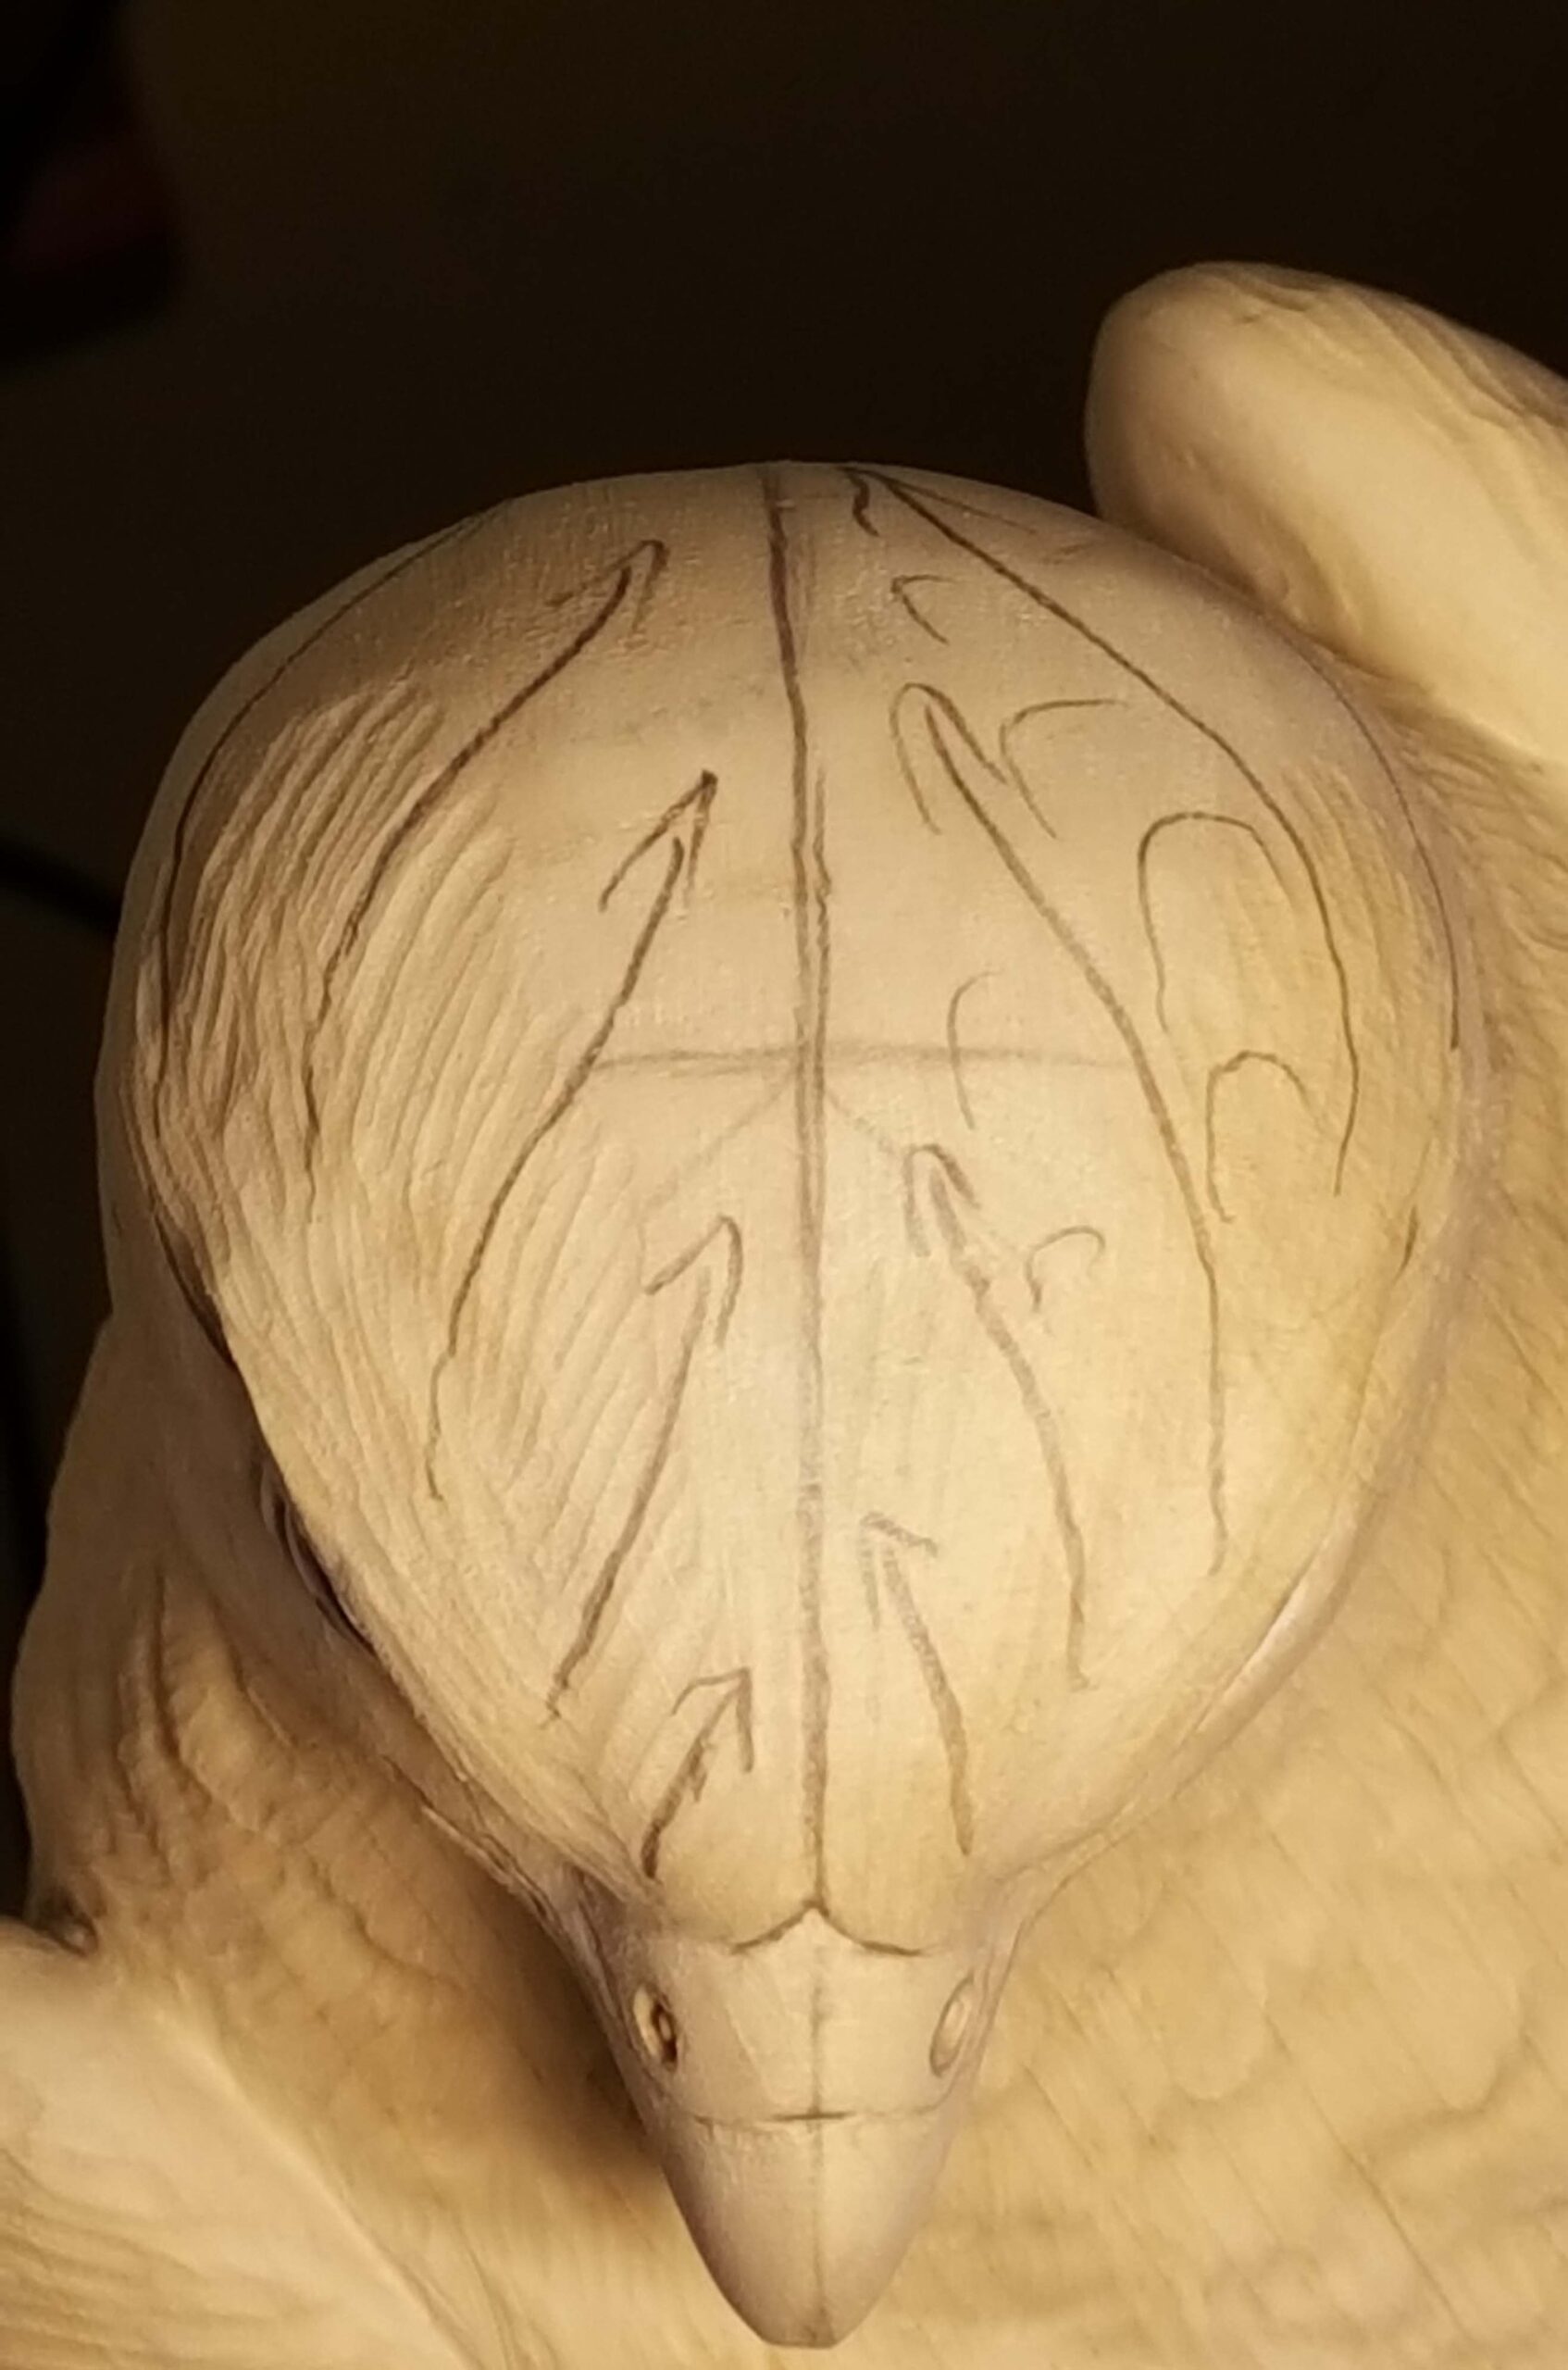
View of the top of the head. The arrows show feather flow direction on either side of the center line.
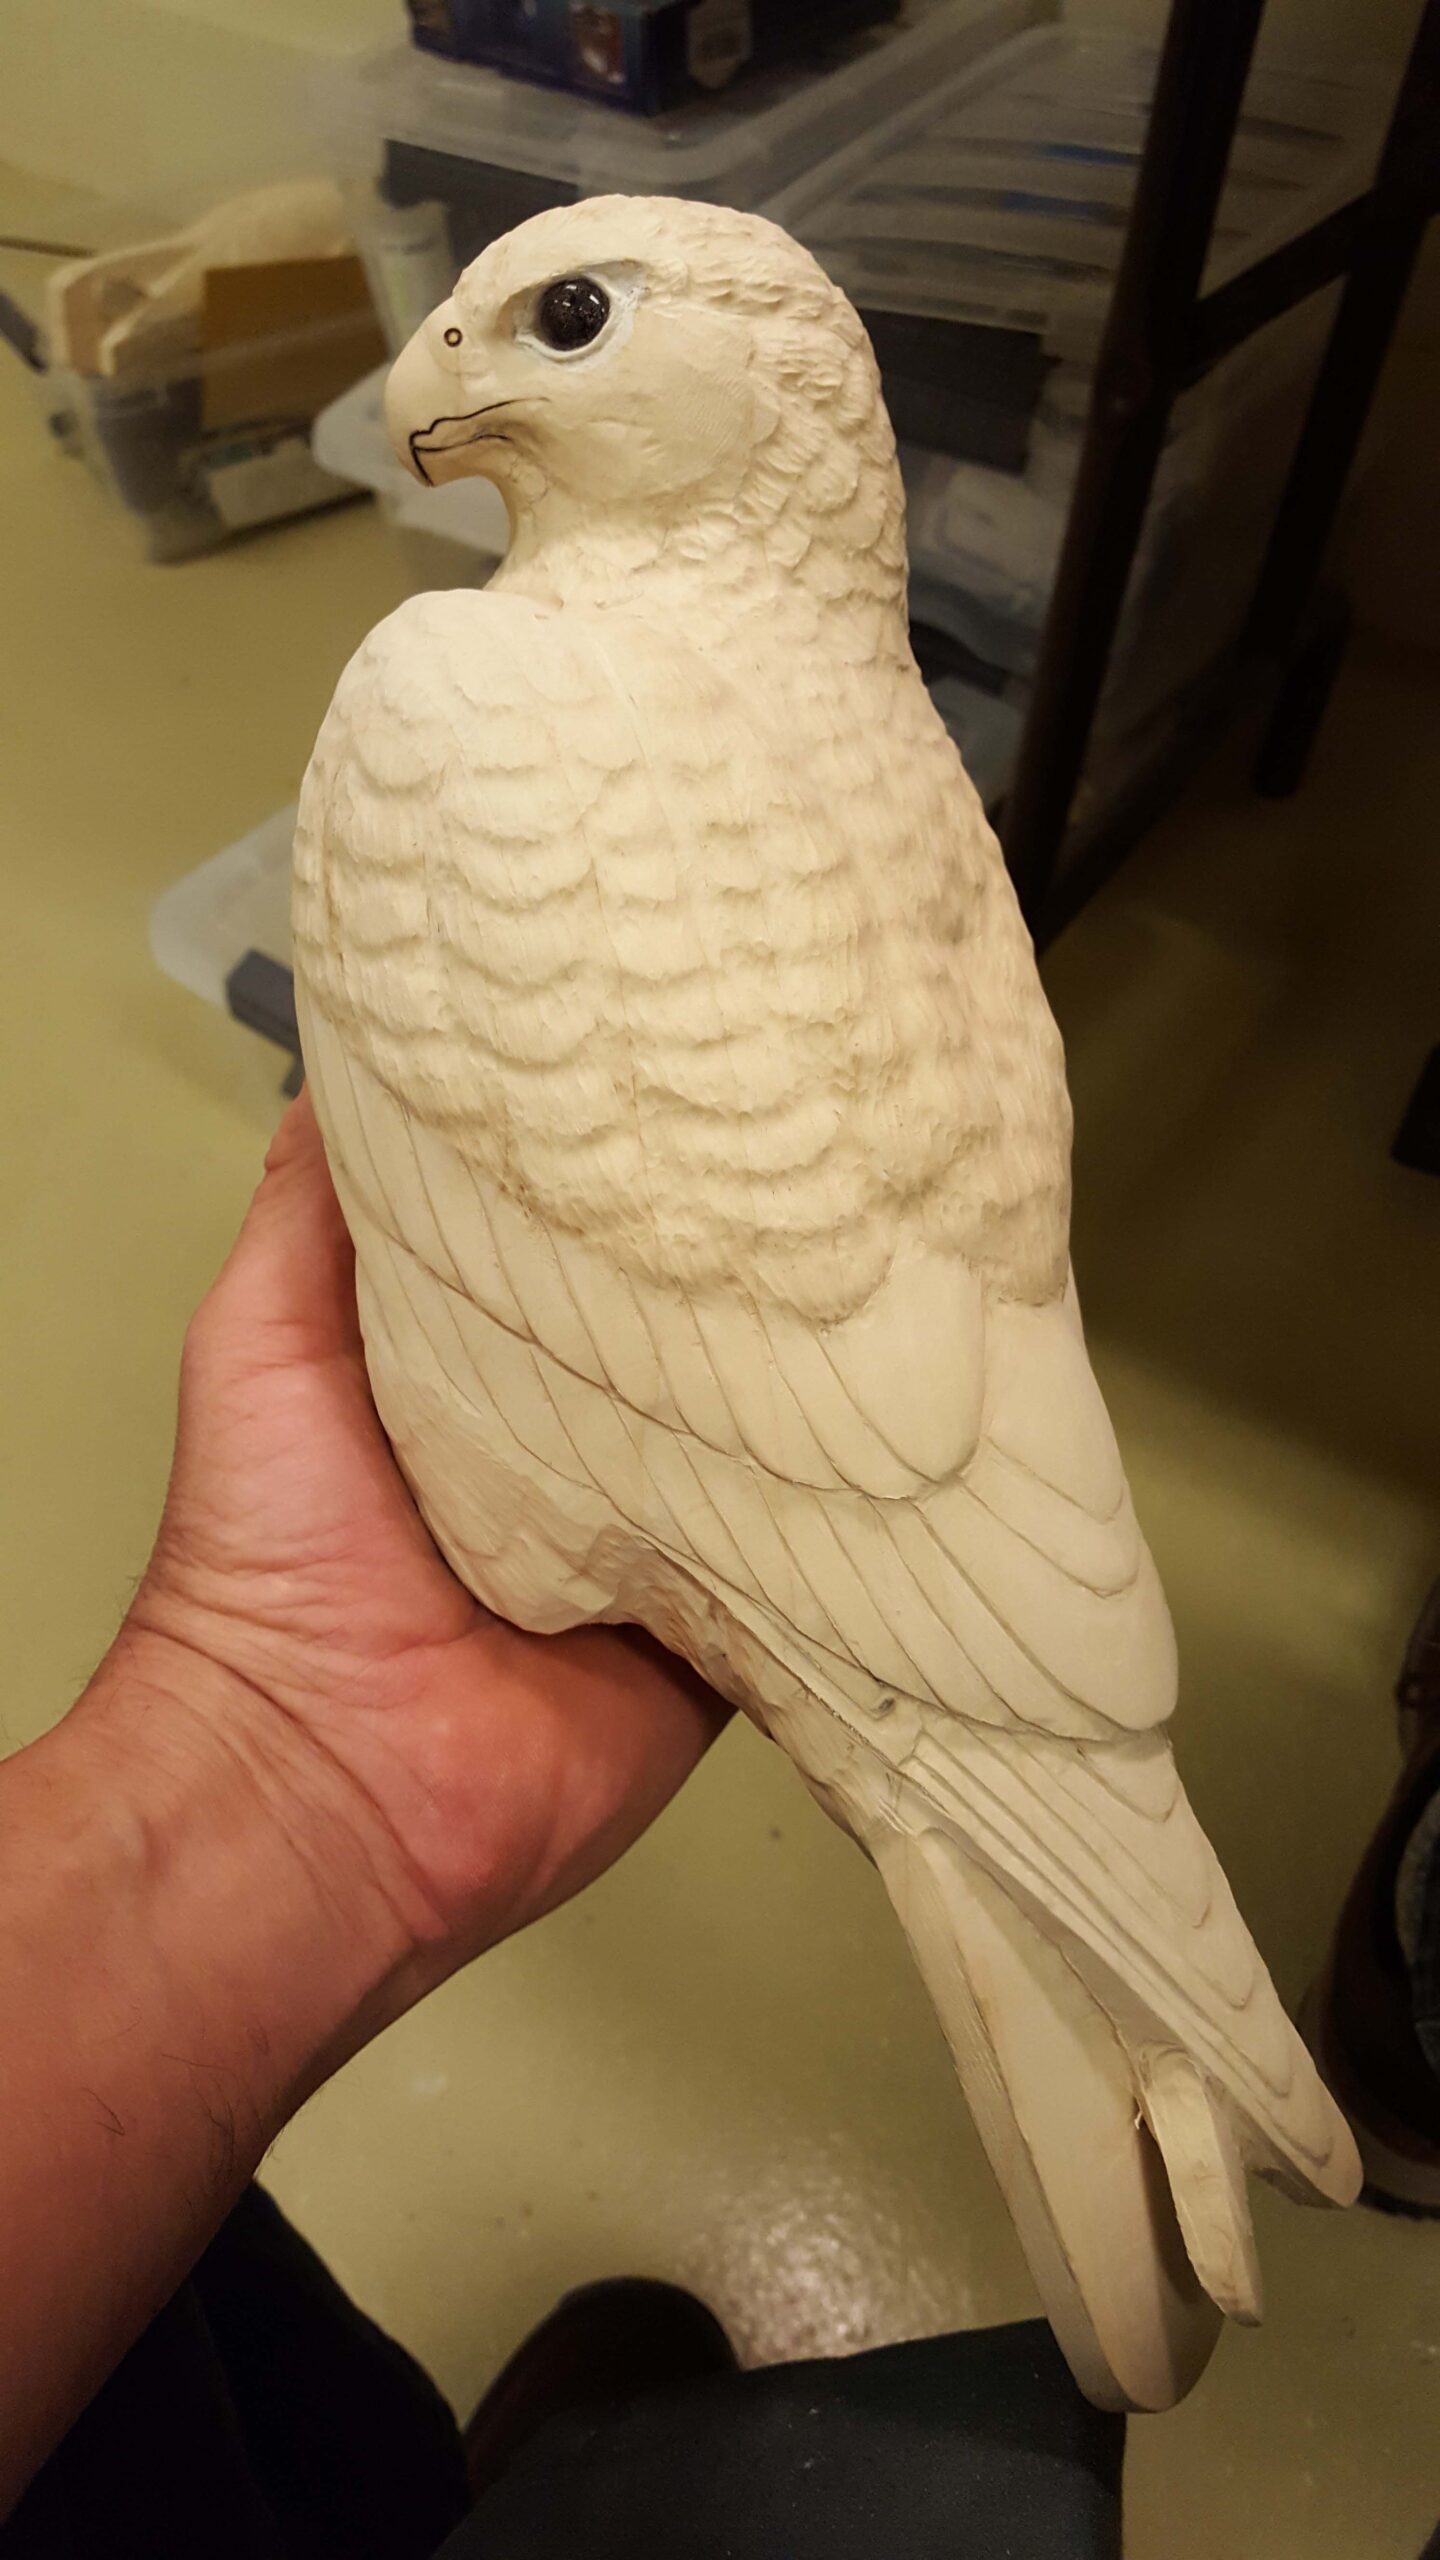
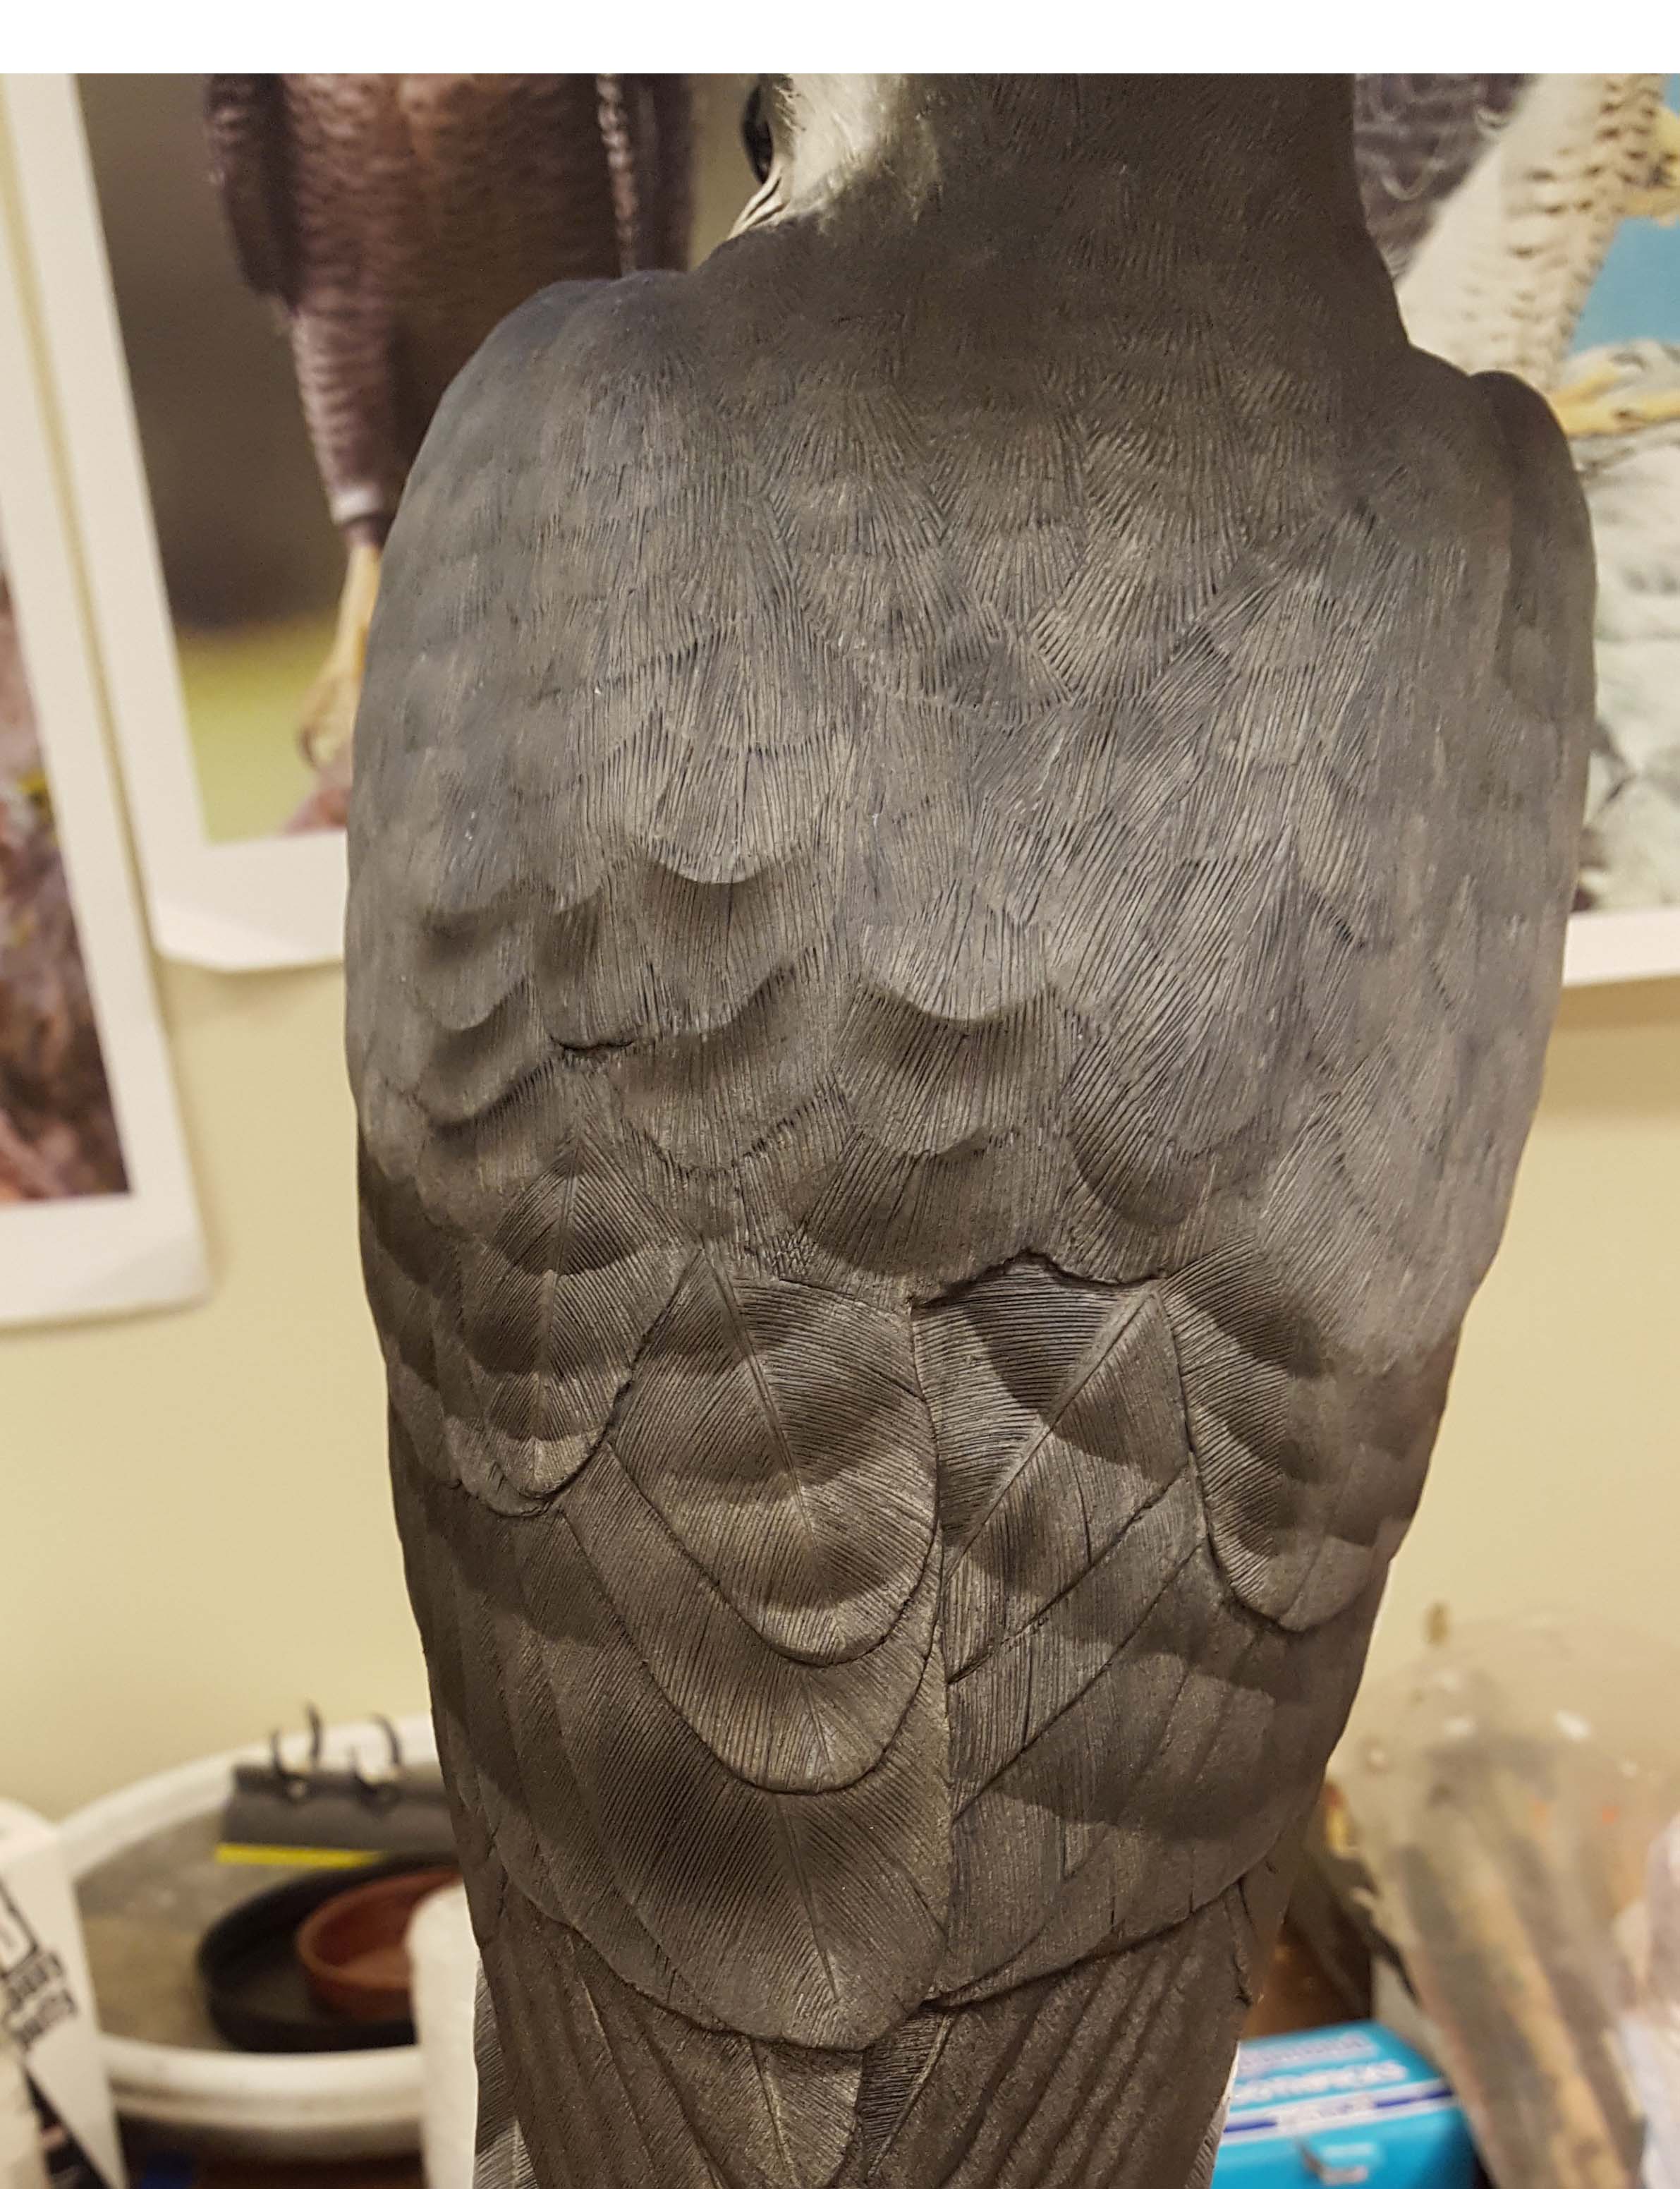
Most of the feathers have been contoured. They have yet to be sanded.

The soft feathers have now been sanded and are ready for texturing.
Burning feather detail
A burning pen gives you the opportunity to both texture and color feathers. Darker burned areas will be visible through the paint. Note the darker color on the peregrine’s head. The burning pen was hotter and the burn was deeper to create the look of a more coarse or stiff feather.

Feather detail is being added with a burning pen.
The painting begins
After the burning is completed, the entire bird is sealed and then primed with gesso. The following picture also shows how shading has been applied with an airbrush. The next step involved laying down foundation colors that will be visible in areas after more feather detail is added.

The Peregrine Falcon has been primed for painting as well as shadows have been applied with an airbrush.
The first foundation colors have now been added to the burned feathers.
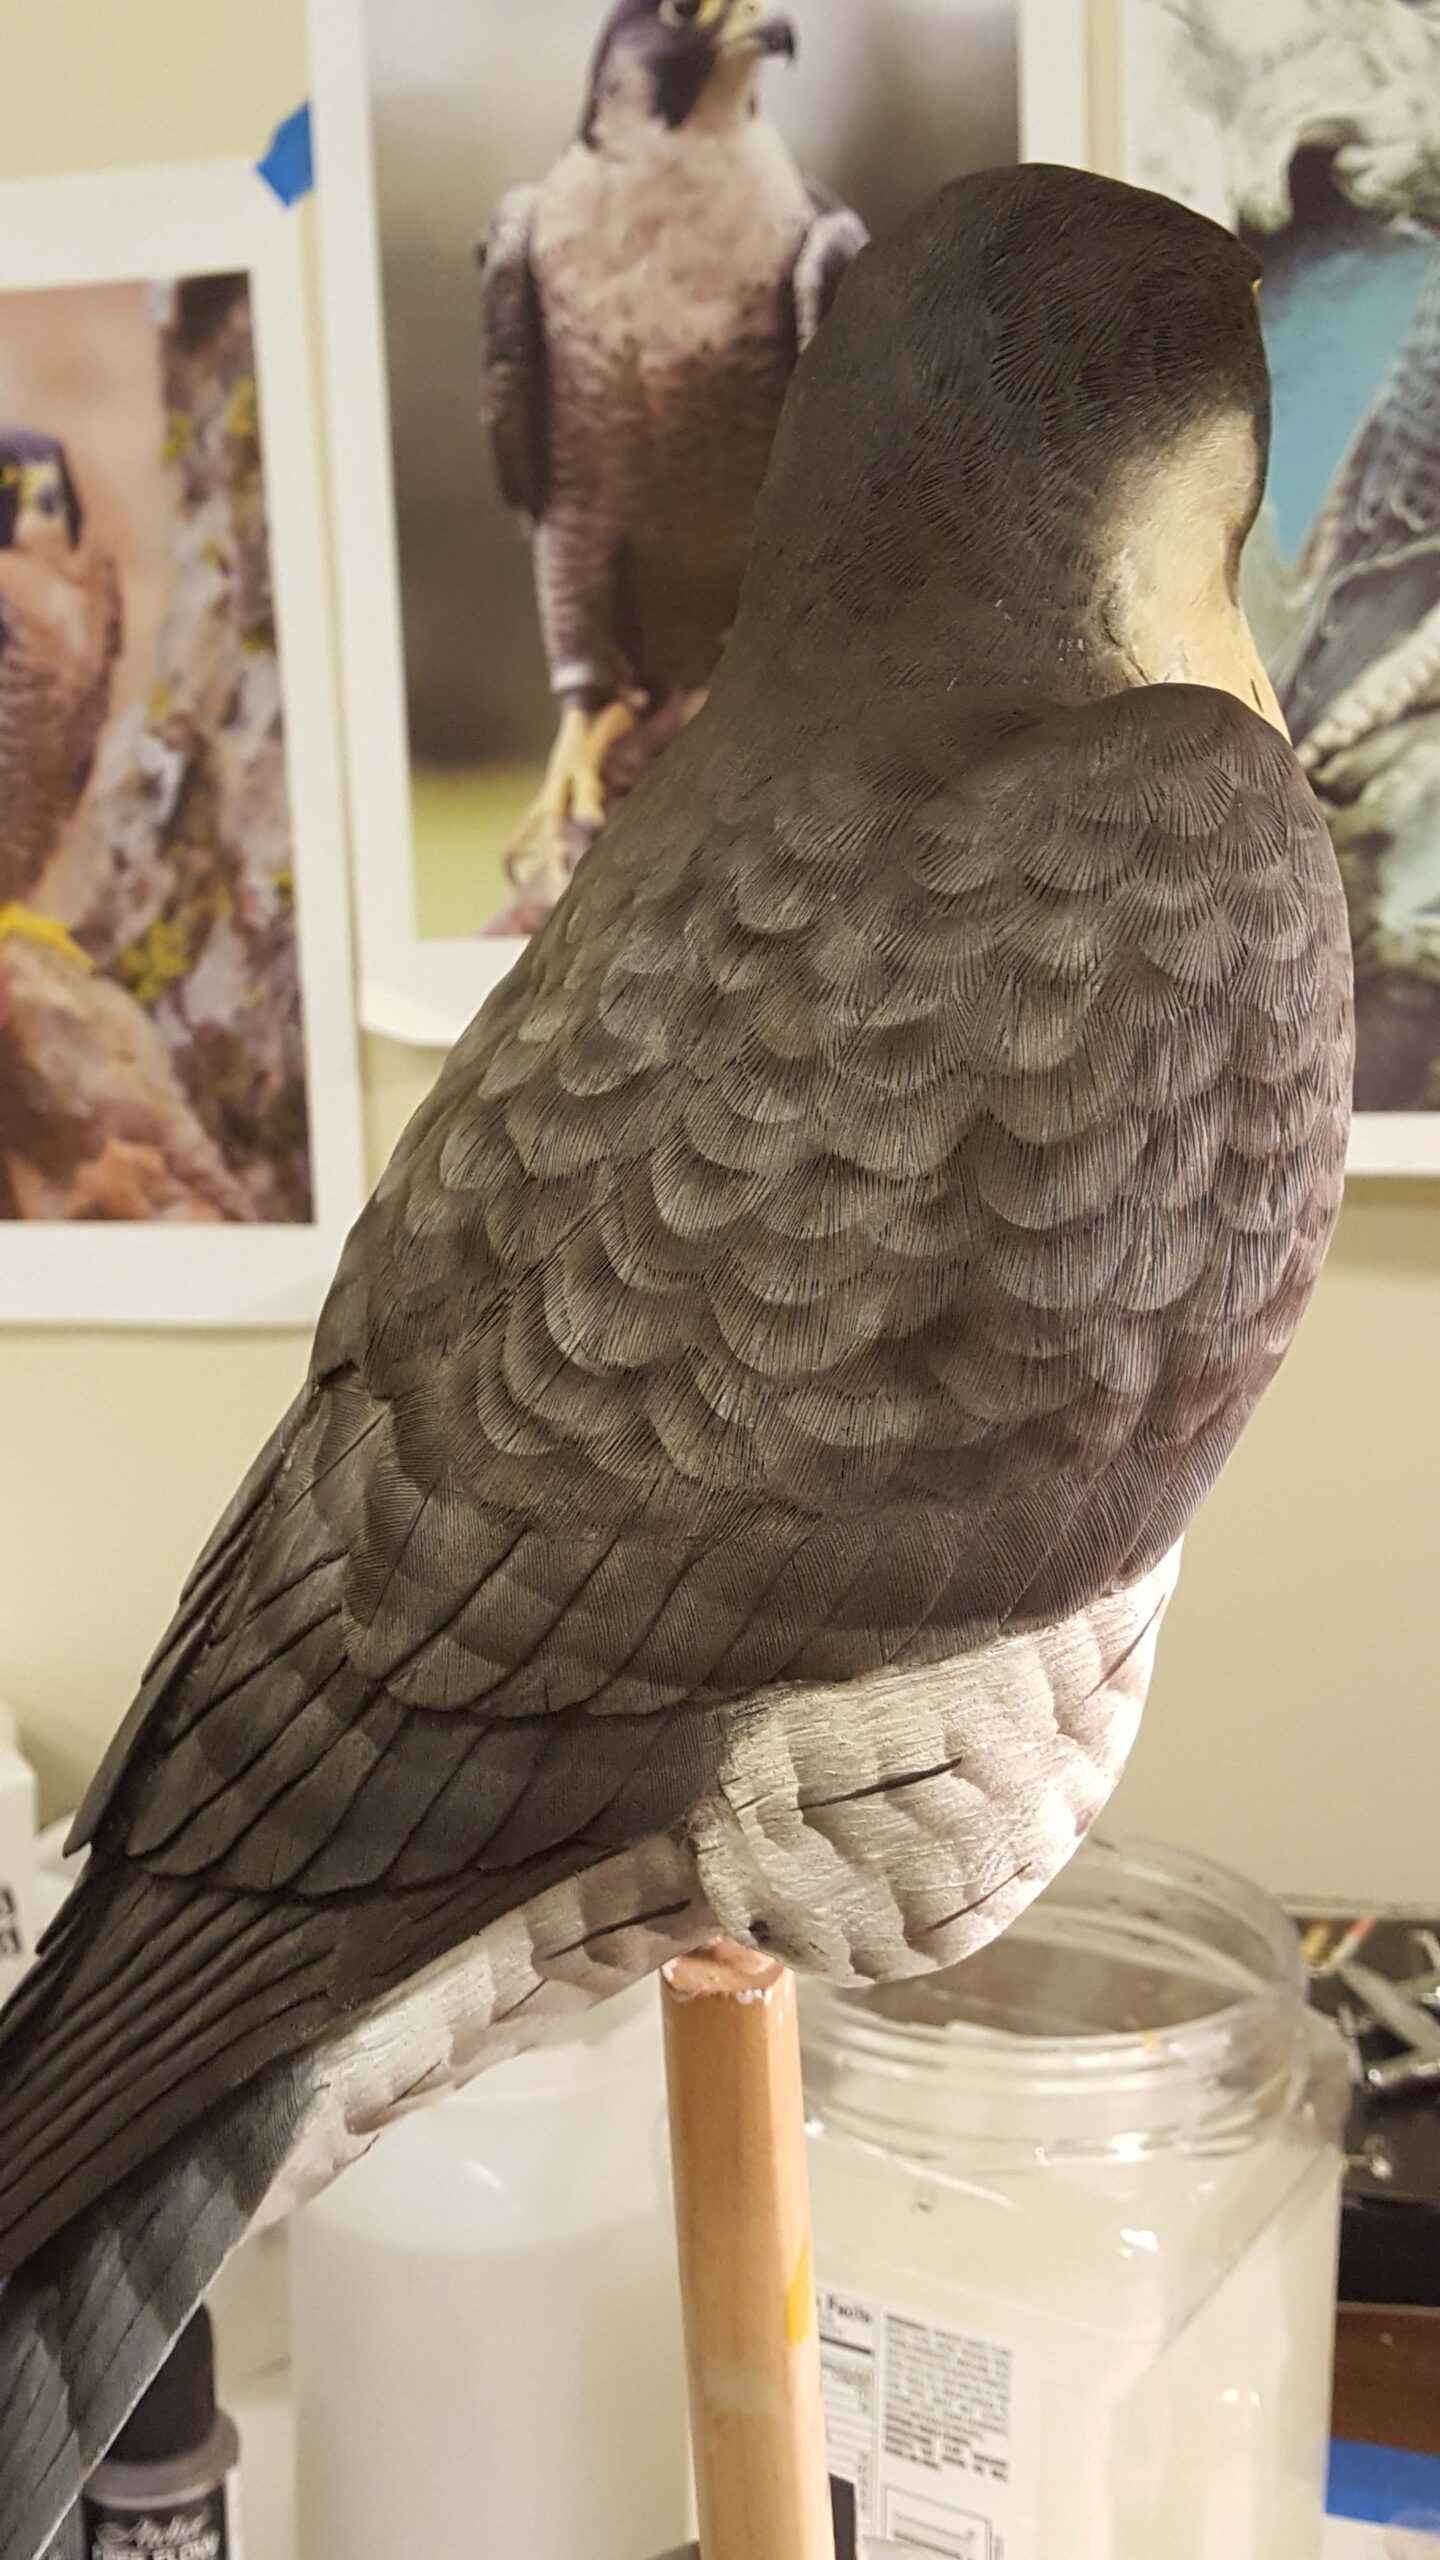
A darker coat of paint has been applied with an airbrush.
Feather baring being applied to the flight and back feathers.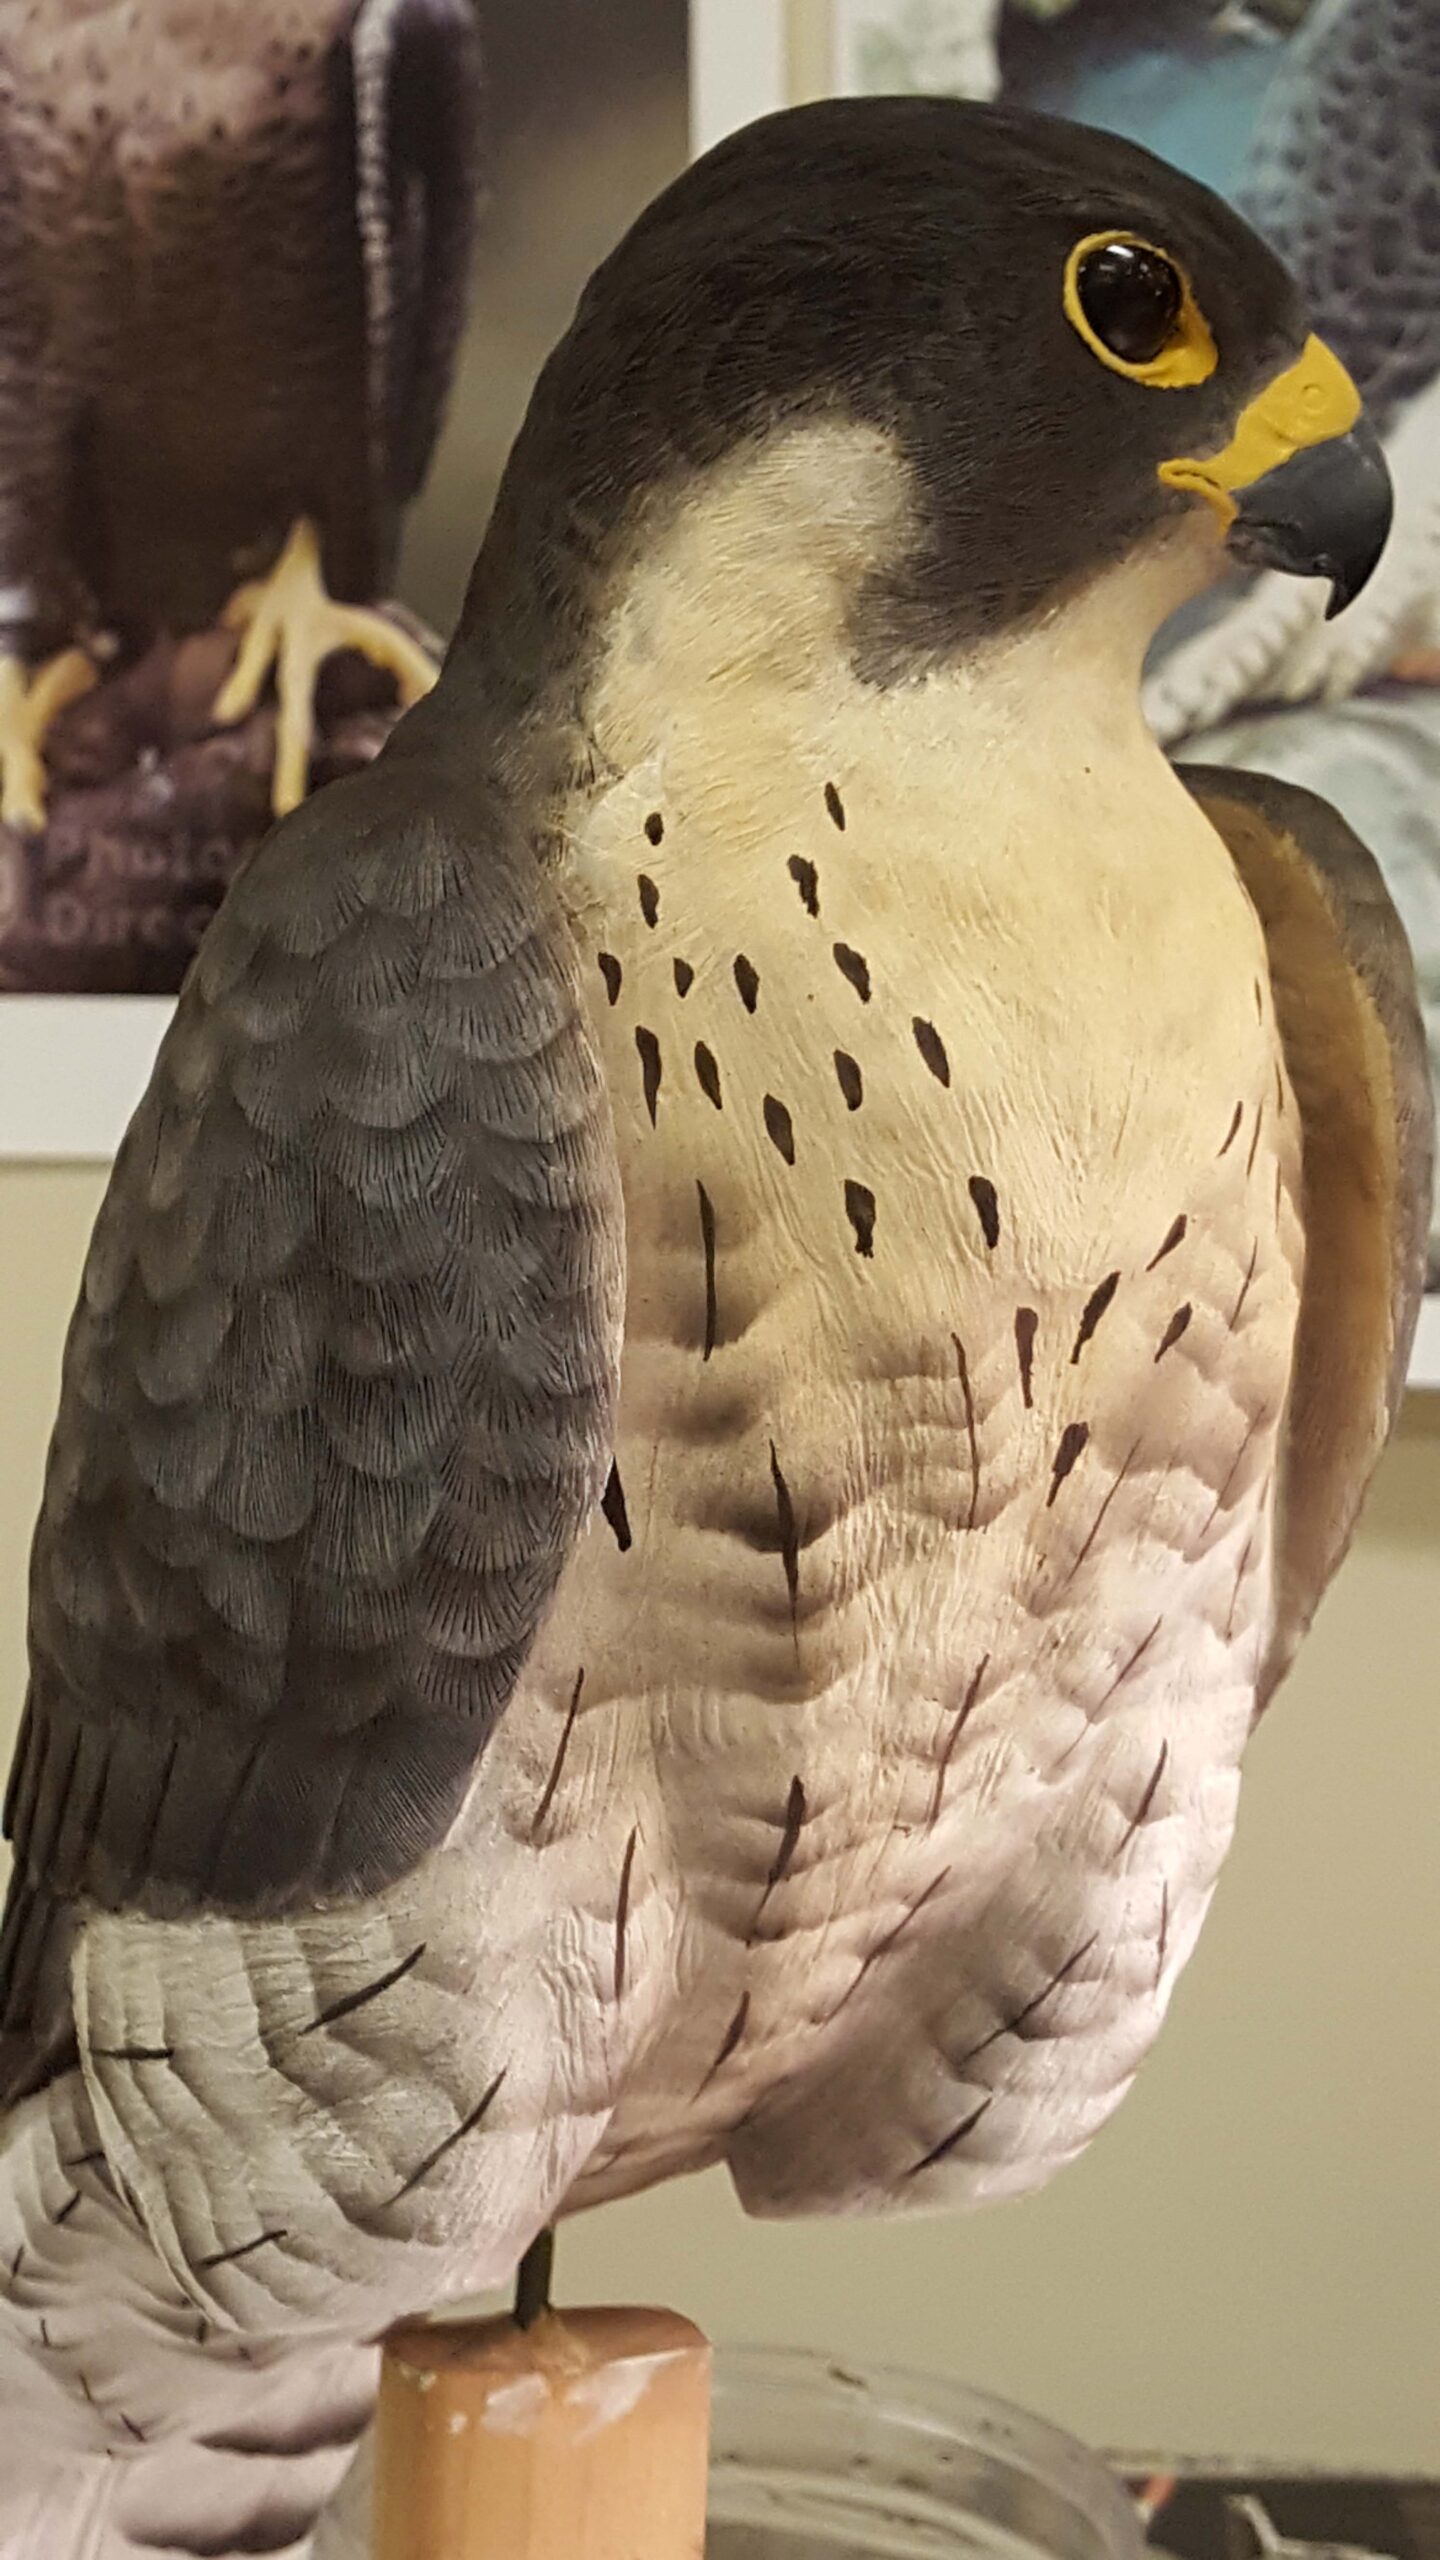
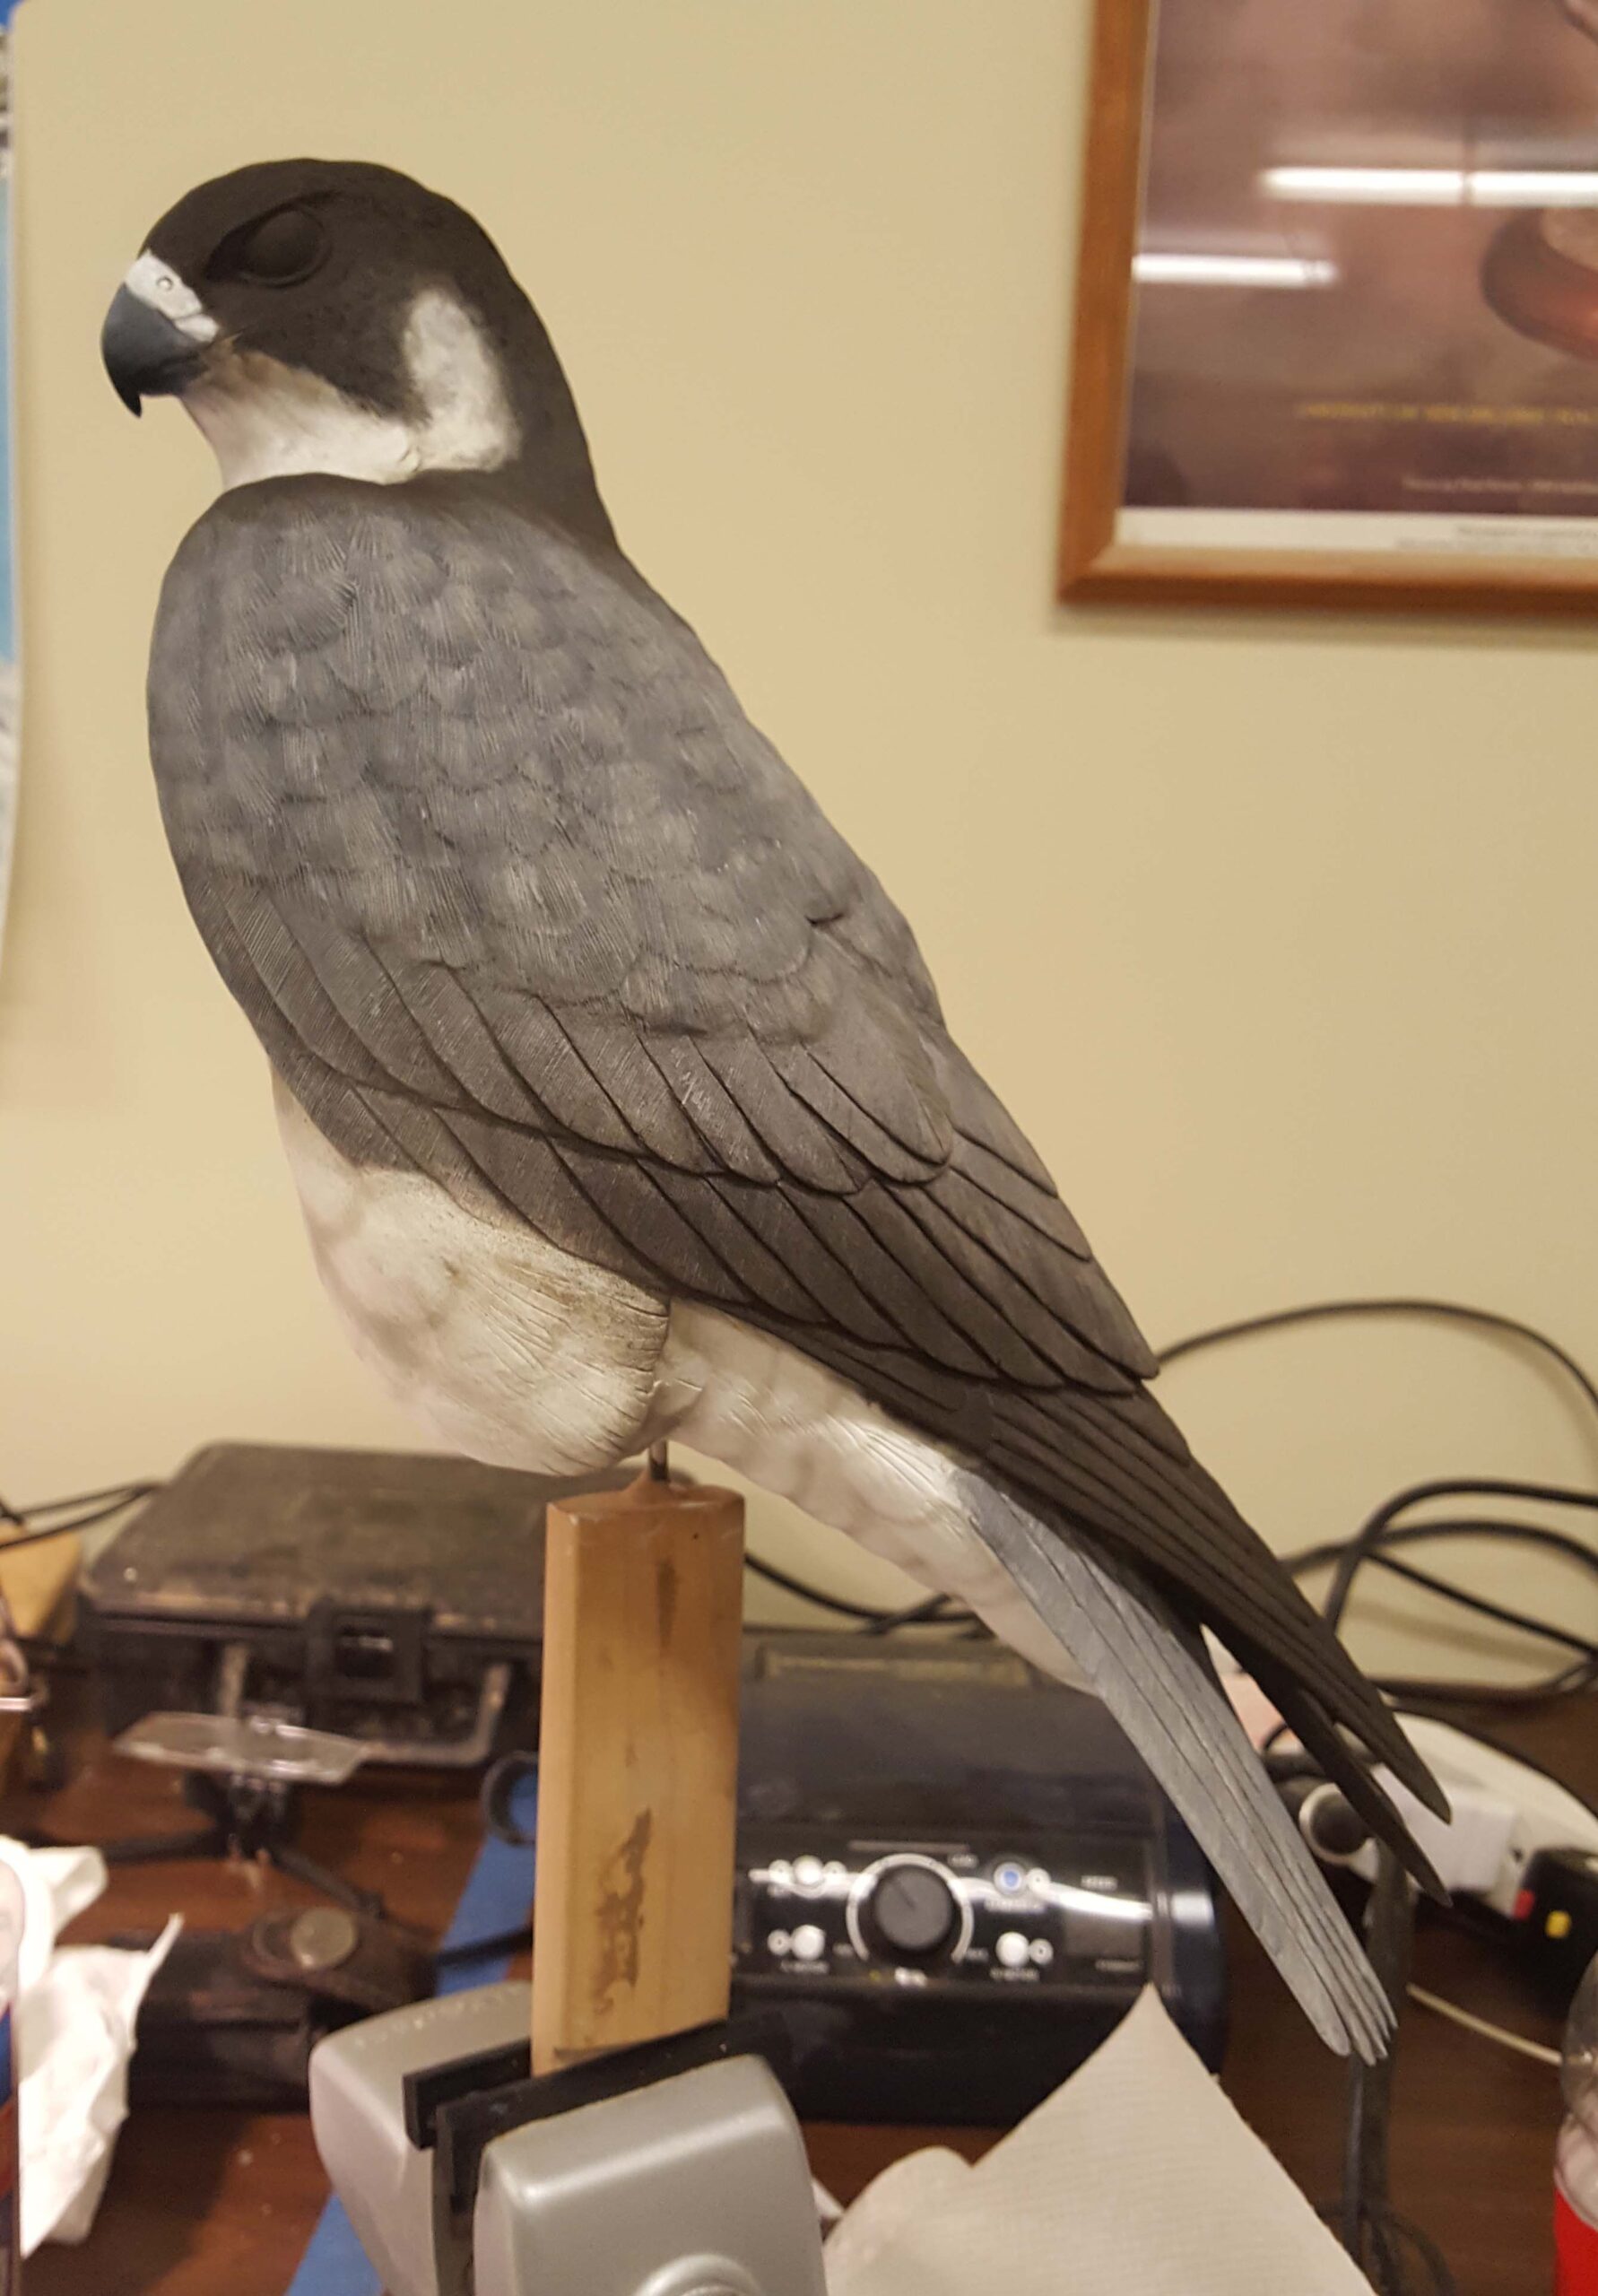
After working on the back of the bird, feathers are painted onto the front of the bird with both and airbrush and paint brush.
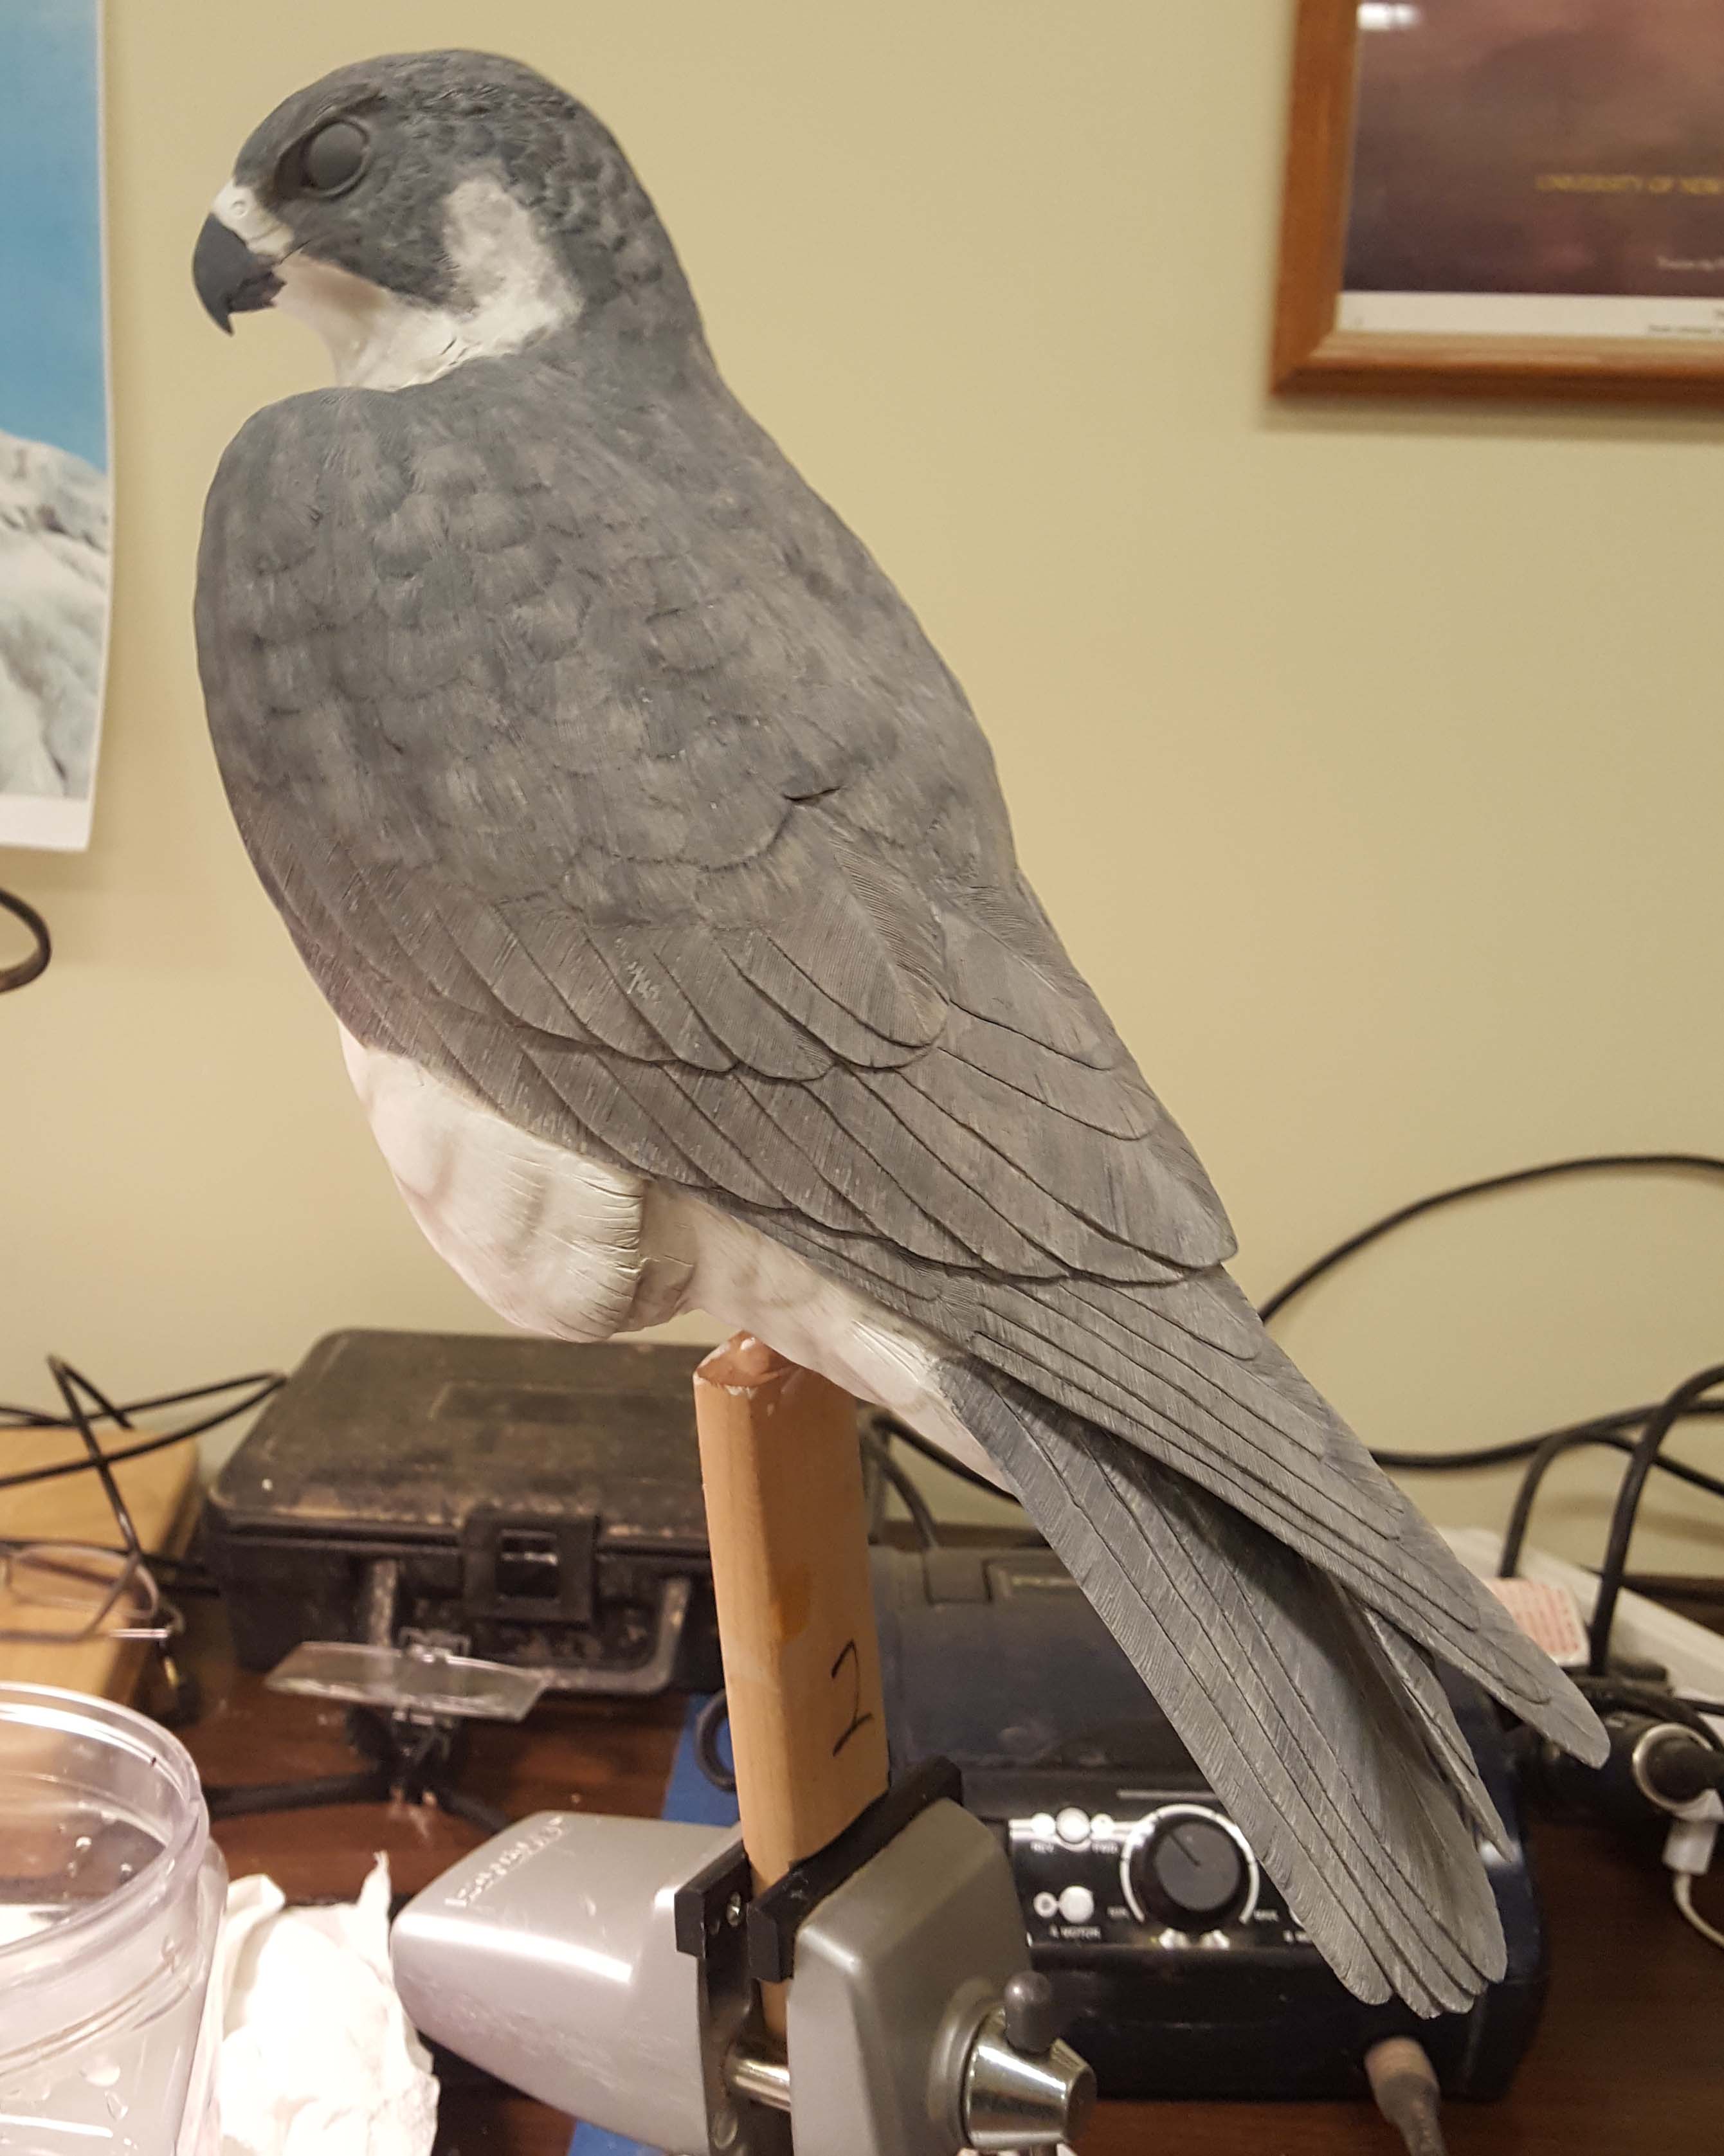
Most of the paint is done at this point. Some highlights will be added before setting the bird onto the base.
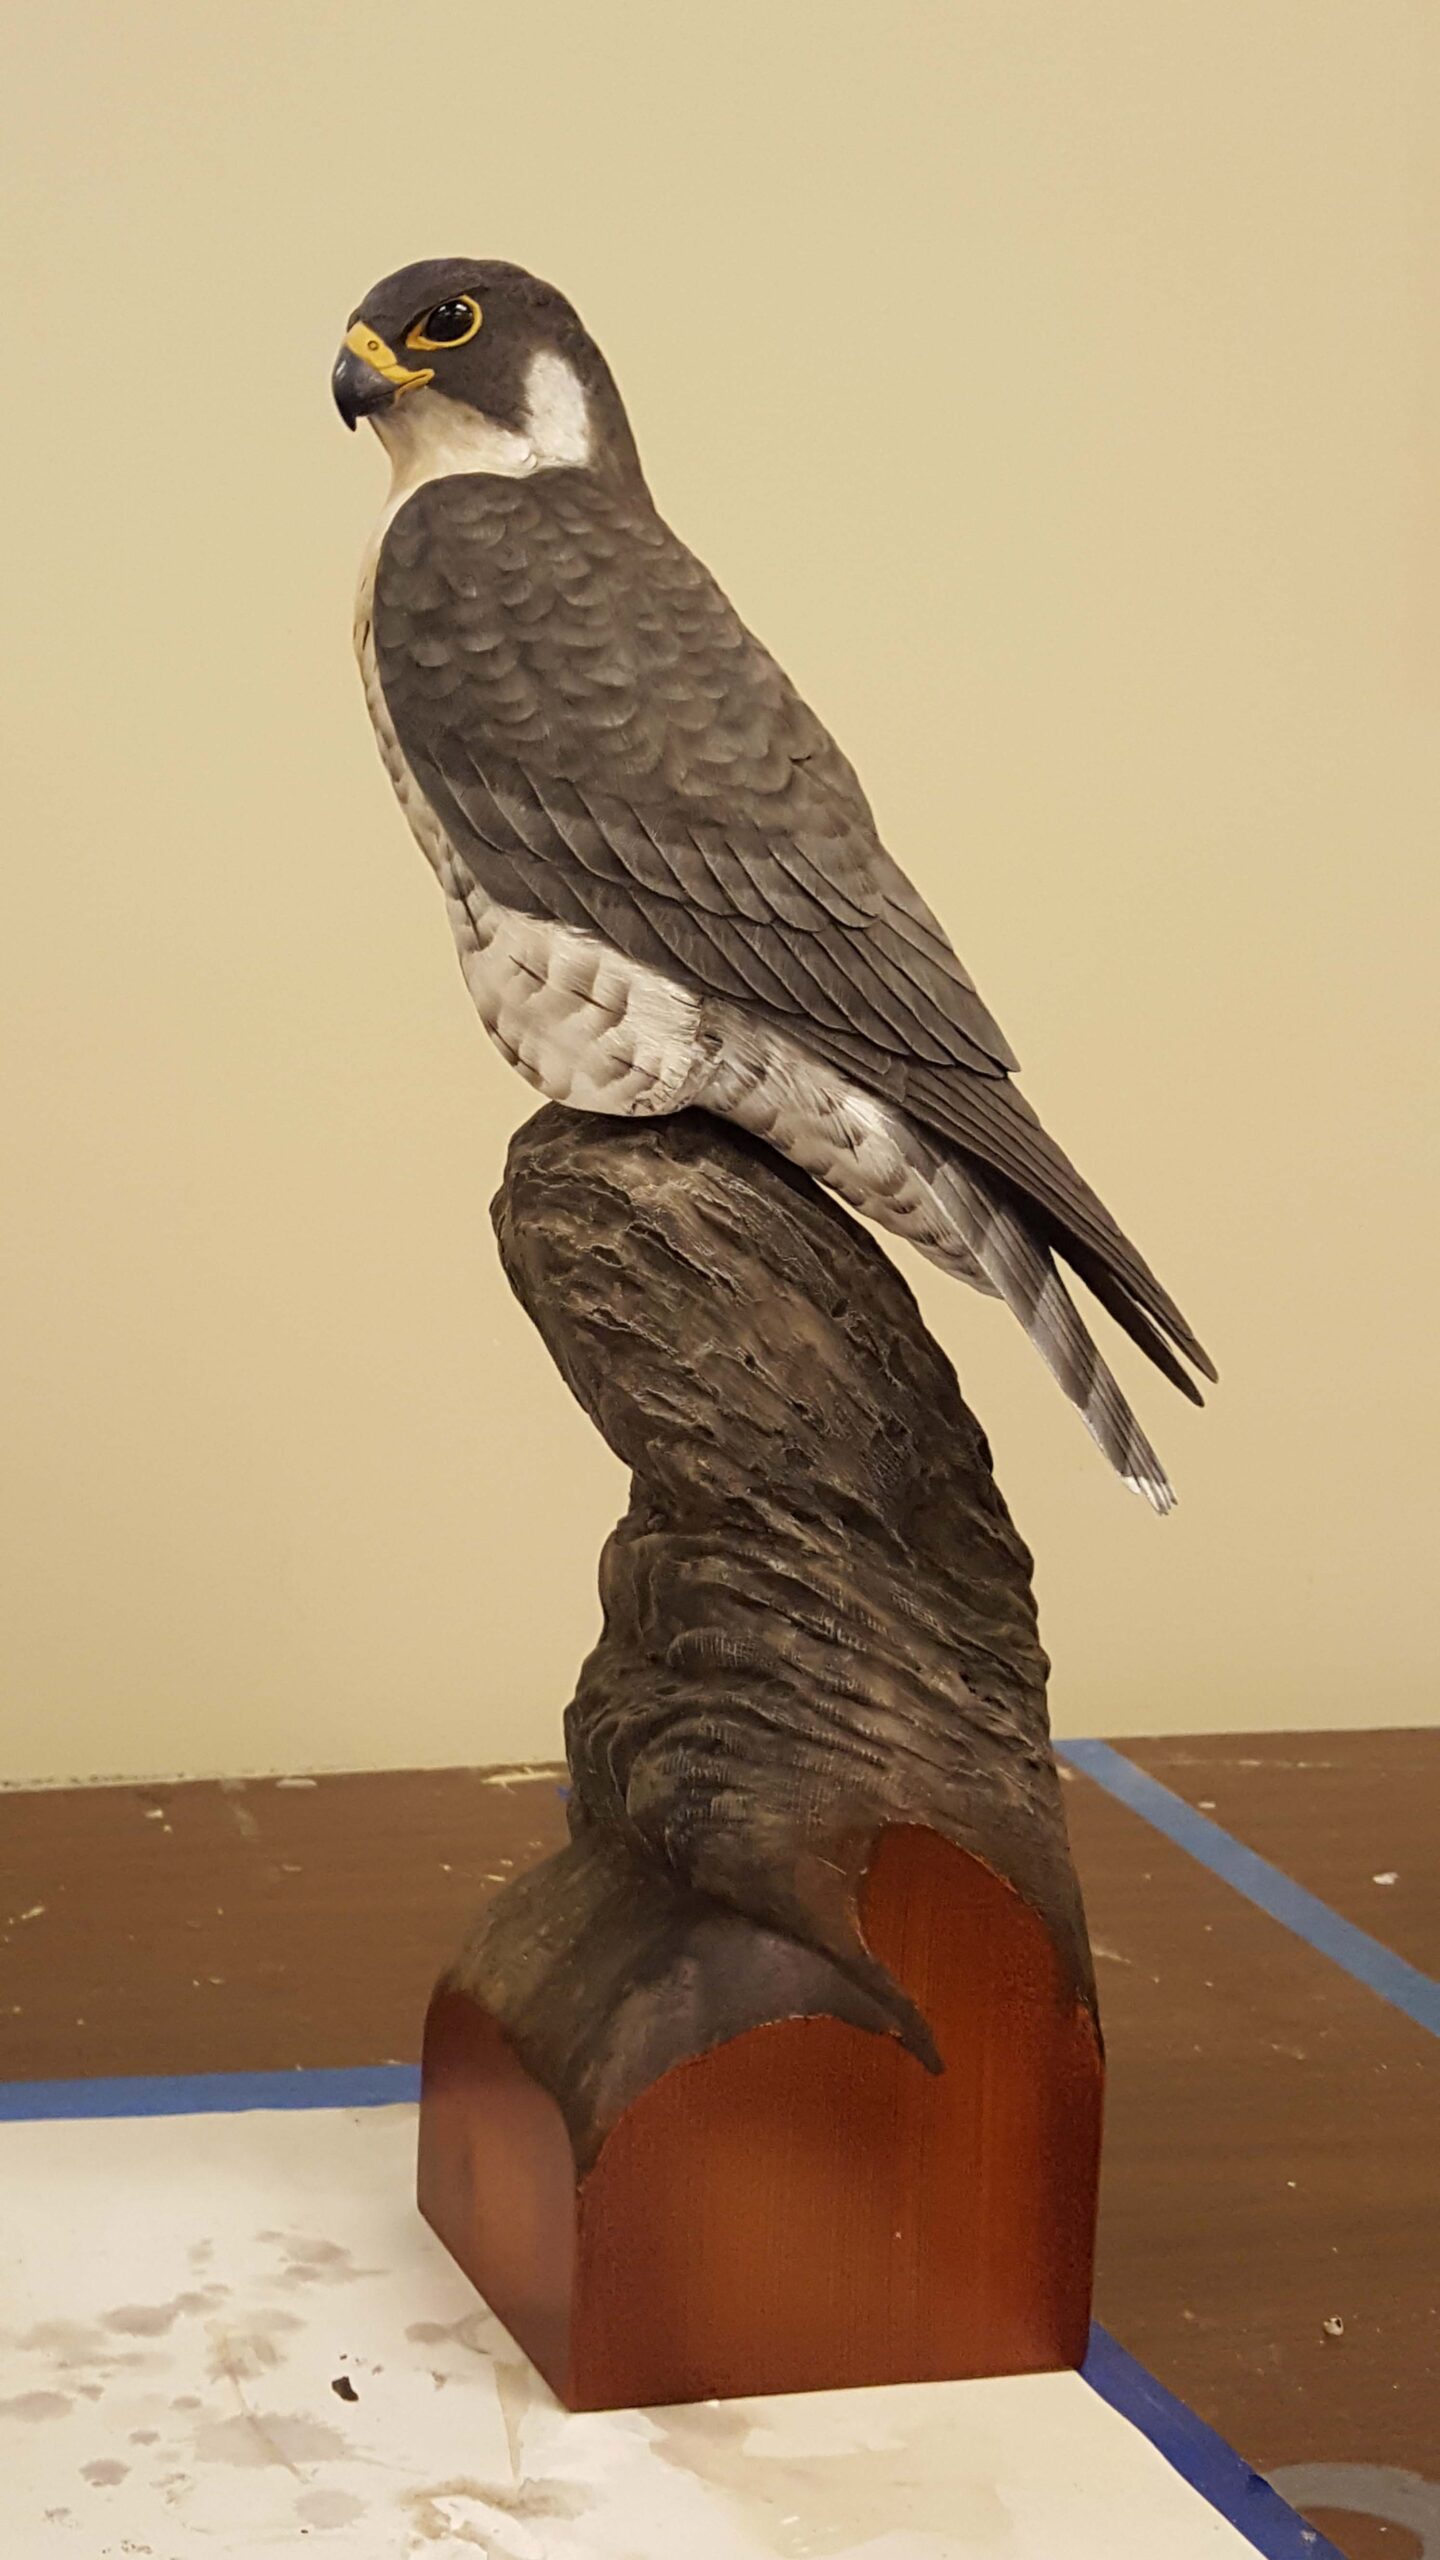
A test fitting of how the bird will sit on the carved rock.
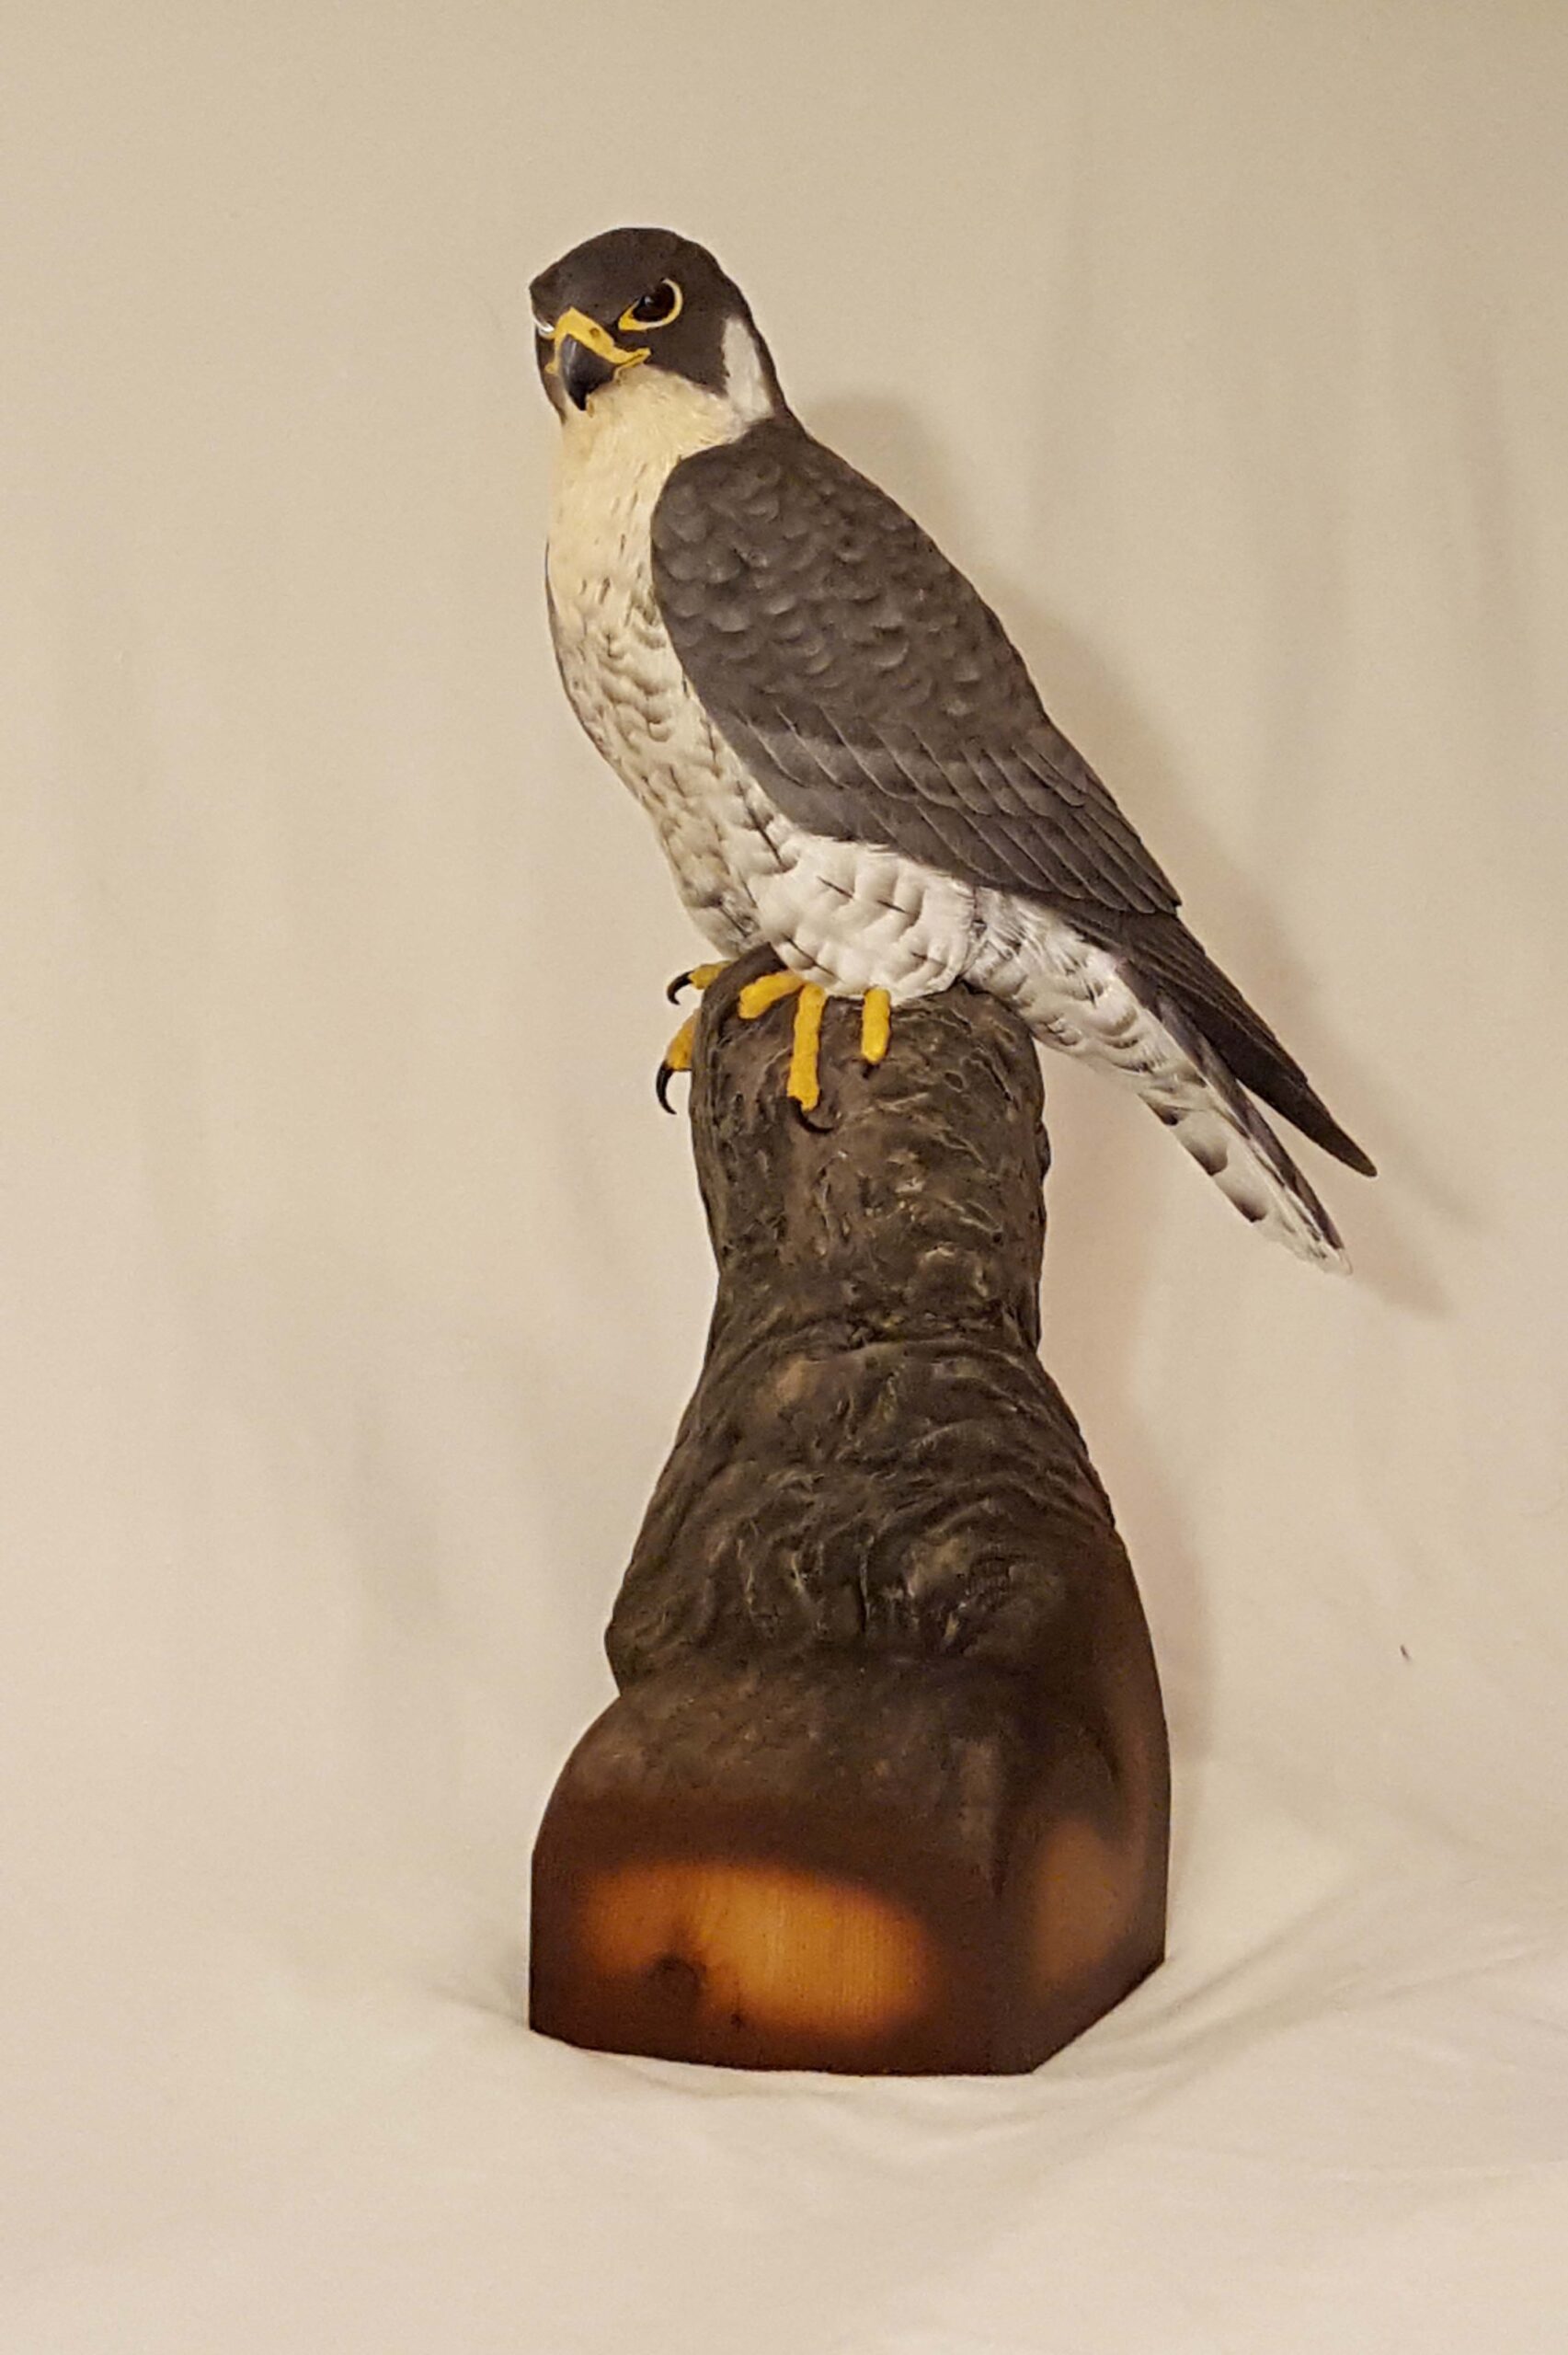
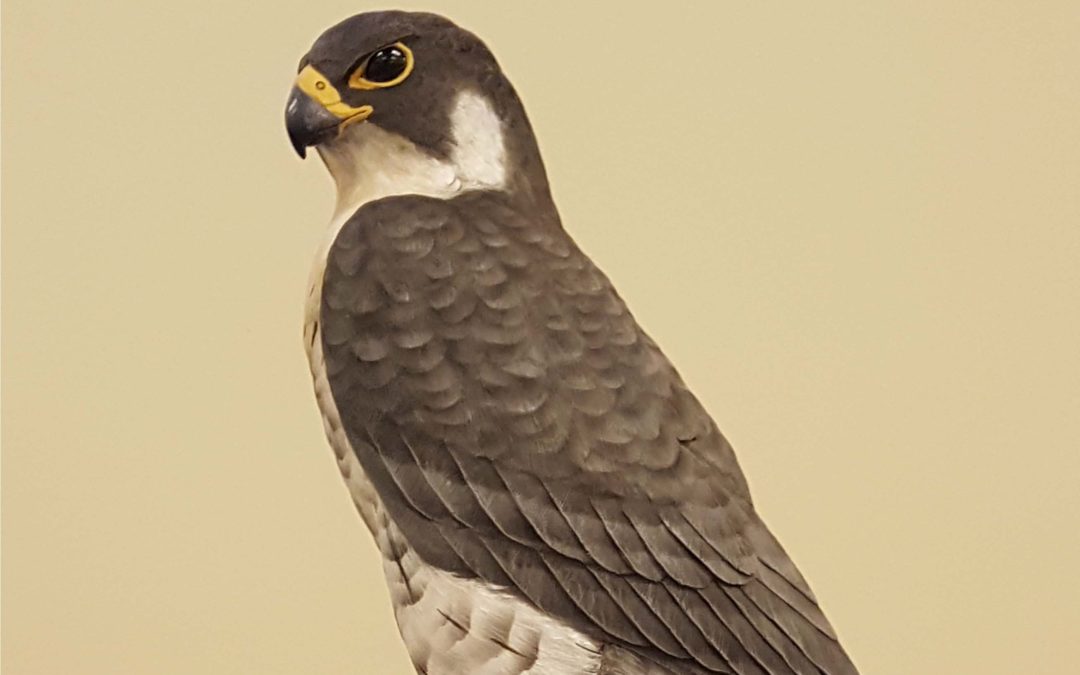
The competed sculpture of a Peregrine Falcon.