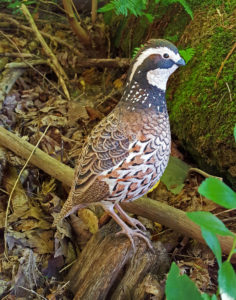
I was contacted by a lady in Maryland who asked me to do a Bobwhite quail. We discussed what she wanted the sculpture to look like. I asked her to send me some pictures that reflected the posture and attitude that appealed to her. Since people who commission a sculpture are included in the design, I shared pictures of the original clay sculpture to make sure I was on track. I also share periodic pictures of the sculpture as in progresses through the carving and painting process. As a result, she will have a one of a kind sculpture that she helped to design.
The first step – Carving the quail
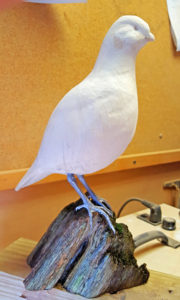 The general shape of the quail is finished. The next step is to layout feather groups such as head, breast, wings and scapulars. Then each feather will be drawn and shaped before any of the fine detail can be added. I should mention that it is advisable to use sketches and the clay model to plan the location of the legs. You could have a perfectly carved bird, but the leg placement is incorrect, you sculpture will be appear perpetually and awkwardly off balance.
Feather Contours
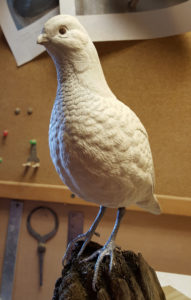 This picture shows the feather contours on the breast. The “lumps and bumps” adds dimension to the carving. The shadows along with finer (yet to be added) feather details make the bird much more life like than a smooth painted surface. The additional detailing involves using small diamond grit and grinding stones to refine the feathers. Details include accentuating depth, adding feather splits and refining the transitions between feather groups.
Feather contours on the wing
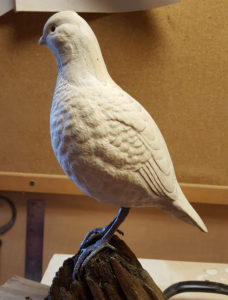 One point that many people don’t consider when carving the feather detail is how the detail will be painted. Rough texture is more difficult to paint than a smooth surface. Feather group transitions have over lapping paint to soften the area where feathers such as the side pockets cover parts of the wings.
Wood Burning Details
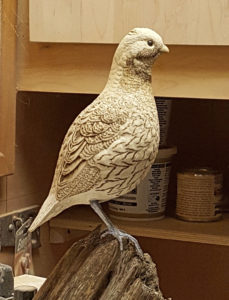 This wood burning process accomplishes two things. It helps define feather detail by adding texture. Particularly the lines of the feather. Stiff feathers have more straight parallel lines and soft feathers normally have curved lines that fan out from the shaft. The second benefit of burning is to add shading to the feather. It reduces the need for multiple layers of darker paint (which would be a nightmare if you had to do all those little details with a paint brush) This technique is well suited for birds such as ruffed grouse and woodcock.
Back view of the burning detail
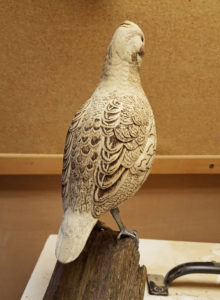 If you look closely, you can see that each feather group has a different patter on the feathers. So when drawing, sculpting or painting birds, you have to know the anatomy of the bird and then study the details for position, texture, pattern and colors of each feather group. Once the whole bird has the wood burning detail added, It will be time for the next challenge of mixing and applying the paint.
Finished Sculpture
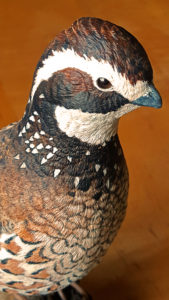
 Sculpting always involves learning something new. Studying your subject, carving new aspects to the feathers and painting techniques that represent colors and patterns realistically. This was a great project and in enjoyed being challenged .
Carving Competition
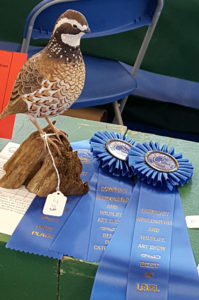 This sculpture won a ribbon for first place in game birds, first place in category, and best of level at the Maine Wood Carvers Association competition. From this point on, I’ll enter the open, advanced or masters level competitions.